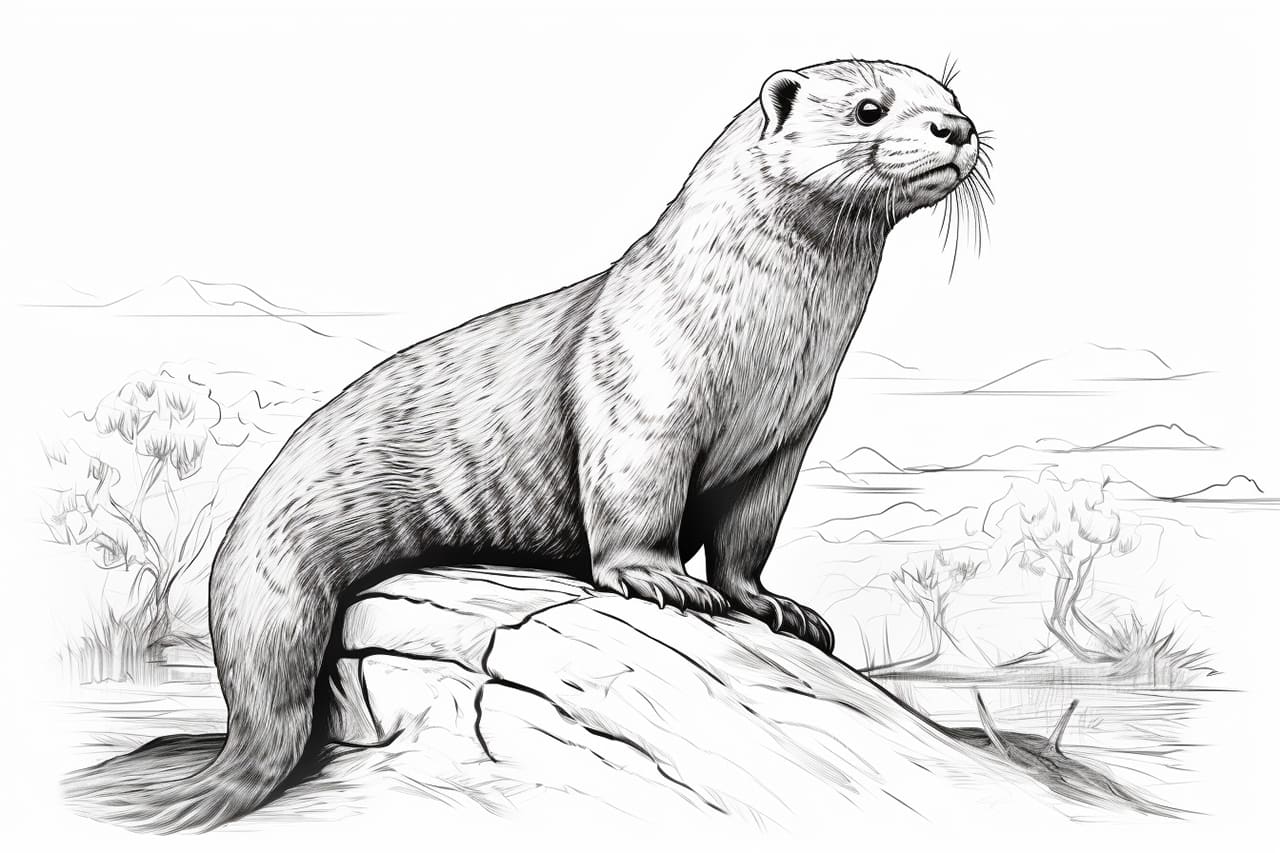
Welcome to this step-by-step tutorial on how to draw an otter. Whether you’re new to drawing or an experienced artist looking to improve your skills, this guide will help you create a realistic and adorable otter drawing. Otters are known for their playful nature and sleek bodies, making them a delightful subject to sketch. So, grab your pencil and paper, and let’s get started!
Materials Required
Before we begin, let’s gather the materials you’ll need for this drawing:
- Drawing paper or sketchbook
- Pencil (preferably an HB or 2B)
- Eraser
- Fine-tip black pen or marker (optional)
- Colored pencils or markers (optional)
Now that we have everything we need, let’s dive into the step-by-step process of drawing an otter.
Step 1 – Sketch the Basic Shapes
To start, lightly sketch the basic shapes that make up the otter’s body. Begin by drawing a large oval shape for the body, slightly tilted to one side. This oval will be the main part of the otter’s body. Next, draw a smaller oval on top of the first one, just slightly overlapping. This oval will represent the head.
Step 2 – Add the Facial Features
Now, it’s time to add some facial features to our otter. Draw two small circles inside the head shape for the eyes, leaving some space in between. Within each eye, draw a smaller circle to represent the pupils. Then, slightly below the eyes, draw a small triangular shape for the otter’s nose. Connect the nose to the head with a curved line, giving it a rounded appearance.
Step 3 – Define the Body
In this step, we will define the otter’s body and give it some shape. Start by drawing a curved line that connects the head to the body, creating the otter’s neck. Next, draw two curved lines extending from the body, making a rounded shape for the back. The otter’s body should taper towards the tail. Finally, add a small, curved line at the end of the body to represent the tail.
Step 4 – Draw the Legs and Paws
Now, let’s give our otter some adorable little legs and paws. Draw two curved lines extending from the bottom of the body, slightly bending towards each other. These lines will be the otter’s front legs. At the end of each line, draw a small oval shape to represent the otter’s front paws. Repeat this process for the back legs, making sure to position them slightly behind the front legs.
Step 5 – Refine the Details
In this step, we will refine the details of our otter drawing. Start by erasing any unnecessary guidelines and overlapping lines. Then, add some small curved lines inside the ears to give them texture. Next, draw a curved line that extends from the otter’s nose to represent the mouth. Add a few whiskers on each side of the nose for extra cuteness.
Step 6 – Add Fur Texture
To bring our otter to life, let’s add some fur texture. Start by lightly sketching small curved lines on the otter’s body and tail. These lines should follow the direction of the otter’s fur, creating a sense of softness and depth. To enhance the fur texture, you can use a fine-tip black pen or marker to outline the otter’s body and add more definition to the fur.
Step 7 – Optional: Color Your Otter
If you’d like to add some color to your otter drawing, now is the time to do so. Use colored pencils or markers to fill in the different parts of the otter’s body. Otters typically have a brownish color, but feel free to get creative and experiment with different shades. Remember to start with lighter colors and gradually build up the darker tones for a more realistic effect.
Conclusion
Congratulations! You’ve successfully learned how to draw an otter from start to finish. By following these step-by-step instructions, you should now have a charming otter drawing that you can be proud of. Remember, practice makes perfect, so feel free to revisit this tutorial and try drawing otters in different poses or perspectives. Keep exploring your artistic skills and enjoy the process!

