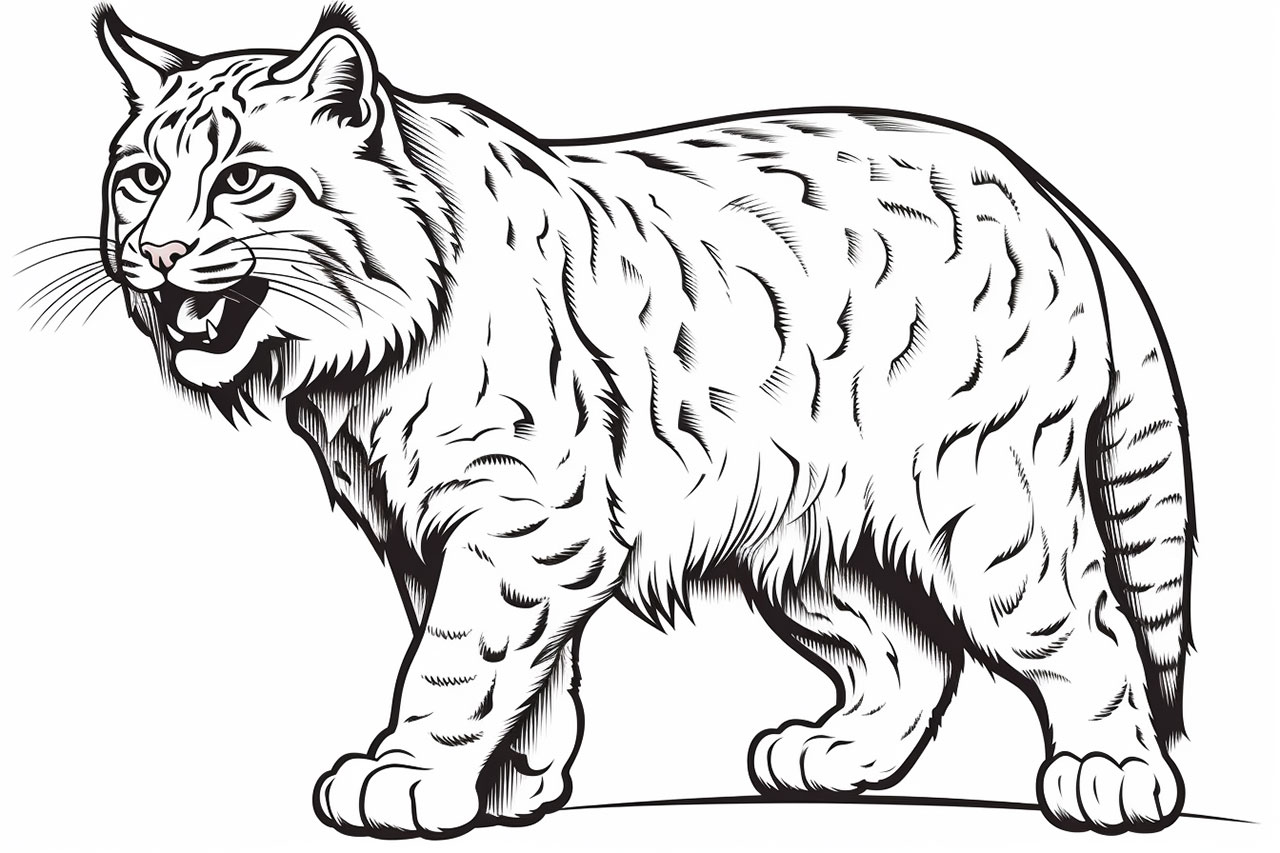
Welcome to this step-by-step tutorial on how to draw a bobcat! In this guide, I will walk you through the process of creating a realistic and detailed drawing of this magnificent feline. Whether you are a beginner or an experienced artist, I’m confident that you will find these instructions helpful in capturing the essence and beauty of a bobcat in your artwork. So let’s get started!
Materials Required
Before we dive into the step-by-step process, let’s gather the materials you will need for this drawing:
- Pencil (preferably an HB or 2B for sketching)
- Eraser
- Drawing paper or sketchbook
- Reference photo of a bobcat (you can find one online or use a book for inspiration)
Now that you have your materials ready, let’s begin creating our bobcat drawing!
Step 1: Basic Shapes
Start by sketching the basic shapes that will serve as the foundation for your bobcat drawing. Begin with a large oval shape for the head, followed by a smaller oval below it for the body. Add circles for the shoulders, hips, and joints to establish the pose. Remember to keep these shapes light and loose as we will refine them later.
Step 2: Outlining the Body
Using the basic shapes as a guide, start outlining the more defined shapes of the bobcat’s body. Pay close attention to the proportions and contours of its muscular physique. Use light, quick strokes to create the outline, making adjustments as needed. Focus on capturing the distinctive features of the bobcat, such as its short tail, pointed ears, and facial markings.
Step 3: Adding Facial Details
Now let’s move on to the face of the bobcat. Start by sketching the eyes, which are almond-shaped and set wide apart. Add the triangular-shaped ears, and be sure to include the tufts of hair on top of each ear. Use short, curved lines to depict the fur around the face, paying attention to the direction of the fur growth. Don’t forget to add the distinctive markings below the eyes and on the cheeks.
Step 4: Refining the Features
In this step, we will refine the features of the bobcat to give it a more realistic appearance. Pay close attention to the texture and details of the fur. Use short, overlapping lines to create the fur texture, especially around the face, neck, and body. Add more definition to the eyes by shading the pupils and adding highlights. Don’t be afraid to take your time during this step to achieve the desired level of detail.
Step 5: Working on the Body
Now let’s focus on adding more depth and detail to the bobcat’s body. Start by shading the areas that are in shadow, using a combination of parallel lines and crosshatching. Pay attention to the reference photo to accurately depict the patterns and textures of the fur. Gradually build up the layers of shading, adding darker values where necessary to create a three-dimensional effect. Remember to use your eraser to create highlights and enhance the contrast.
Step 6: Final Touches
In the final step, take a moment to evaluate your drawing and make any necessary adjustments. Pay attention to the overall proportions and symmetry of the bobcat. Refine any areas that may need further detail or shading. Take this opportunity to add any finishing touches to enhance the realism of your drawing.
And there you have it! You have successfully drawn a stunning bobcat. I hope you enjoyed this step-by-step tutorial and found it helpful in honing your drawing skills. Remember, practice makes perfect, so keep drawing and exploring your creativity.
Conclusion
In this tutorial, we explored the step-by-step process of drawing a bobcat. By following these instructions and practicing regularly, you can improve your drawing skills and capture the beauty of these magnificent creatures in your artwork. Remember to be patient, take your time, and most importantly, have fun! So grab your pencils and paper, and start drawing your very own bobcat masterpiece.