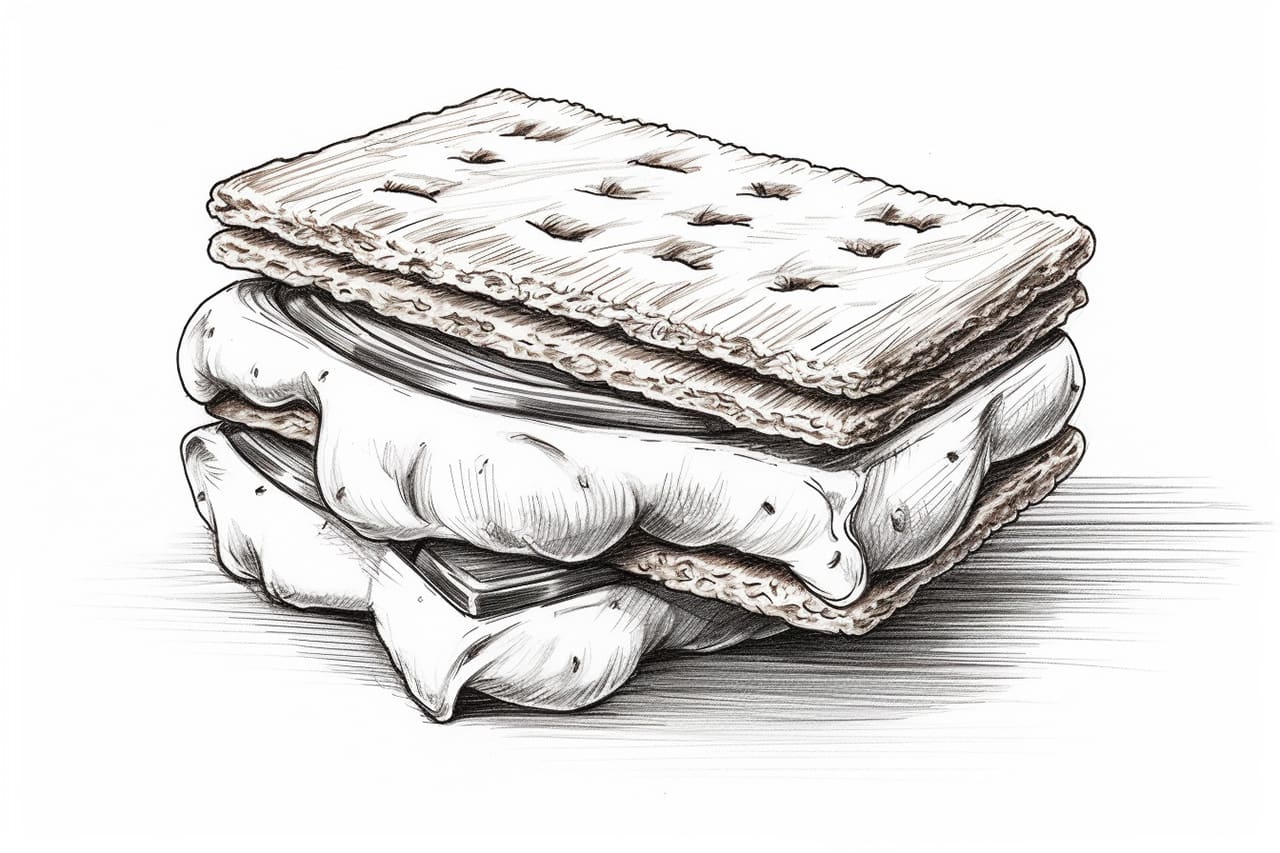
Welcome to this step-by-step guide on how to draw a mouthwatering smore! Whether you are a beginner or an experienced artist, this tutorial will walk you through the process of capturing the deliciousness of a smore in a drawing. So grab your sketchbook, sharpen your pencils, and let’s get started!
Materials Required
Before we begin, make sure you have the following materials handy:
- Drawing paper or sketchbook
- Pencils (HB, 2B, and 4B recommended)
- Eraser
- Blending stump or cotton swab
- Ruler (optional)
- Reference image of a smore (optional)
Now that we have our materials ready, let’s dive into the step-by-step process of drawing a smore!
Step 1: Outline the Marshmallow
Start by lightly sketching a circle shape in the center of your paper. This will serve as the base for the marshmallow. Keep in mind that smores come in various sizes, so adjust the size of your circle accordingly. Don’t press too hard on the pencil, as we’ll be refining the outline in the following steps.
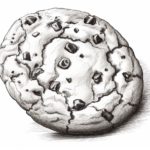
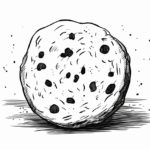
Step 2: Add Texture to the Marshmallow
To give the marshmallow a realistic texture, lightly sketch lines in a random pattern within the circle. These lines will represent the ridges and folds of the marshmallow. Make sure the lines are not perfectly straight or evenly spaced to create a natural look.
Step 3: Draw the Graham Cracker Base
Beneath the marshmallow, draw a rectangular shape for the graham cracker base. Use a ruler if you prefer precise lines, or freehand it for a more organic feel. Remember that the base should be slightly larger than the marshmallow.
Step 4: Enhance the Texture of the Graham Cracker
Add texture to the graham cracker by sketching horizontal and vertical lines that intersect each other. This will simulate the texture of a real graham cracker. Keep the lines uneven and irregular for a more realistic appearance.
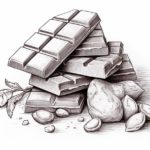
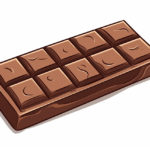
Step 5: Draw the Chocolate
On top of the graham cracker base, draw another rectangular shape for the chocolate. The chocolate should be smaller than the base, leaving some space around the edges to show the graham cracker.
Step 6: Shade the Marshmallow
Now it’s time to add some depth to our drawing. Begin by shading the marshmallow using a soft pencil (2B or 4B). Start with light, even strokes and gradually build up the shading, focusing on the areas where the light hits the marshmallow. Leave some areas lighter to create highlights and give it a rounded look.
Step 7: Shade the Graham Cracker
Next, shade the graham cracker using the same pencil you used for the marshmallow. Apply light, even strokes along the intersecting lines to give it a textured appearance. Use darker shading in some areas to create depth and dimension.
Step 8: Shade the Chocolate
For the chocolate, use a slightly darker pencil (4B or 6B) and shade it in a smooth and even manner. Start with light strokes and gradually build up the shading, paying attention to the highlights and shadows. Blend the shading with a blending stump or a cotton swab for a smoother look if desired.
Step 9: Refine the Details
Now that the basic shapes and shading are done, it’s time to refine the details. Use a sharpened pencil (HB or 2B) to add any necessary lines or accents. Pay attention to the ridges and edges of the marshmallow, the details on the graham cracker, and any additional details on the chocolate. Take your time and make any adjustments needed to bring your smore to life.
Step 10: Finalize and Erase
Take a step back and evaluate your drawing. Are there any areas that need adjustments or further shading? Make any necessary changes to bring your smore drawing to its final form. Once you’re satisfied, carefully erase any visible guidelines and excess shading, leaving behind a clean and crisp smore drawing.
And there you have it – a delicious smore drawing that looks good enough to eat! We hope you enjoyed following along with this tutorial and that it helped you improve your drawing skills. Remember, practice makes perfect, so keep exploring different techniques and subjects to further develop your artistic abilities.
Conclusion
In this step-by-step guide, we learned how to draw a smore from start to finish. By breaking down the process into simple steps, anyone can create a mouthwatering smore drawing. So grab your pencils and start sketching your way to a scrumptious piece of art!