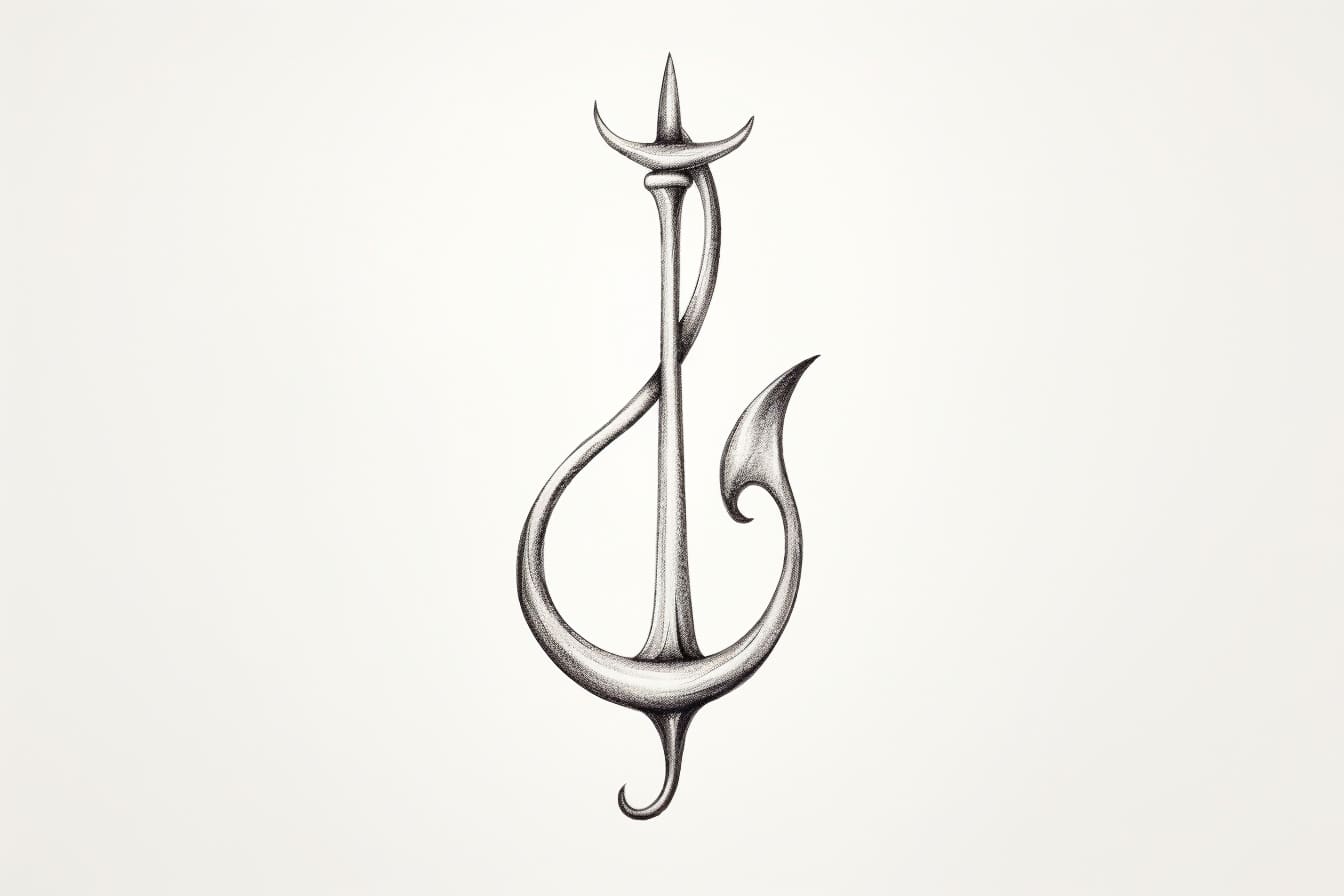
As an artist, being able to draw various objects is an important skill to have. Whether it’s for a project or simply for fun, learning how to draw objects accurately can greatly improve your artistic abilities. In this article, I will guide you through the process of how to draw a hook, step by step. By the end, you’ll be able to draw a realistic and detailed hook that you can be proud of.
Materials Required
Before we begin, gather these materials:
- Pencil
- Eraser
- Drawing paper
- Ruler
- Compass (optional)
Now that you have your materials ready, let’s get started!
Step 1: Sketch the Basic Shape
To begin, draw a horizontal line using your ruler. This line will serve as the base for your hook. Next, draw a vertical line connecting to one end of the base line, creating the shape of a letter “L”. This will form the main body of the hook.
Step 2: Curve the Main Body
Using the end of your vertical line as a pivot point, draw a curved line that connects to the other end of the base line. This curved line will give the hook its characteristic shape. Make sure the curve is smooth and consistent.
Step 3: Create the Hook’s Bottom
Now, extend the curved line slightly beyond the base line to create the bottom part of the hook. This portion should be smaller in size compared to the main body. Remember, the tip of the hook should face upward.
Step 4: Add Detail to the Main Body
To make the hook look more realistic, add some details to the main body. Start by drawing a small curve on the concave side of the hook, near the top. This will give the hook a more polished and finished appearance.
Step 5: Draw the Hook’s Tip
Next, draw a small curve at the very tip of the hook, pointing in the opposite direction. This will represent the sharp end of the hook. Be careful to keep the curve subtle and not too pronounced.
Step 6: Shade and Add Texture
To add depth and dimension to your drawing, start shading the hook. Begin by lightly shading the entire hook with your pencil. Then, darken the areas where shadows would naturally form, such as the concave side and the bottom of the hook. Use your eraser to lighten certain areas and create highlights.
Step 7: Refine the Details
Take a step back and evaluate your drawing. Look for any areas that need refinement or additional detail. Pay attention to the curves, proportions, and overall balance of the hook. Make any necessary adjustments to ensure your drawing looks accurate and well-crafted.
Step 8: Finalize the Drawing
Once you are satisfied with your drawing, go over the lines with a darker pencil or pen. This will make your drawing more defined and finished. Take your time and follow the original lines you created, making them more prominent.
Conclusion
Drawing a hook may seem challenging at first, but with practice and patience, you can master it. By following the step-by-step instructions provided in this article, you can create a realistic and detailed hook drawing. Remember to take your time, pay attention to the curves and proportions, and add shading to enhance the depth of your drawing. With every drawing, you’ll improve your skills and gain confidence in your artistic abilities.
So grab your materials and start drawing! You’re on your way to becoming an expert in drawing hooks.


