Welcome to this step-by-step guide on how to draw a beer can. Drawing everyday objects such as cans can be a challenging but rewarding exercise that can enhance your drawing skills. In this tutorial, we will break down the process into simple steps, making it easier for you to create a lifelike representation of a beer can. So, grab your pencils and let’s get started!
Materials Required
To begin with, gather the following materials:
- Drawing paper or sketchbook
- Pencils of different grades (2B, 4B, HB)
- Eraser
- Ruler
- A reference photo of a beer can (optional but recommended)
With these materials on hand, you’ll be well-prepared to create your drawing.
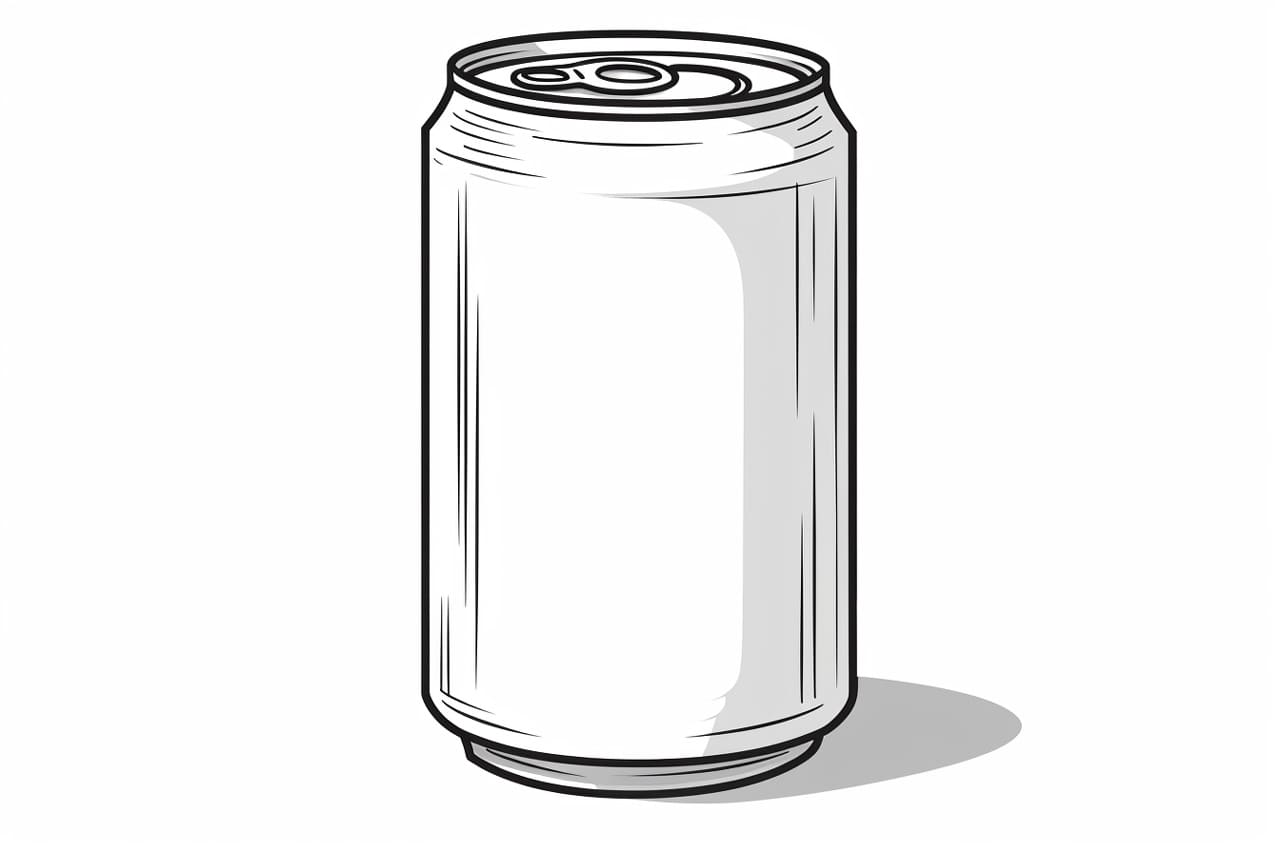
Step 1: Outline the Basic Shape
Start by lightly sketching an oval shape to define the overall form of the beer can. Keep the shape relatively round, but remember that beer cans have slightly tapered tops and bottoms. Use a light pencil, such as the HB grade, to avoid leaving heavy lines on the final drawing.
Step 2: Draw the Top and Bottom of the Can
Using your reference photo as a guide, draw the top and bottom rims of the can. Notice that the top rim is slightly smaller than the bottom rim. Be accurate with your proportions, but don’t worry if it’s not perfect – slight imperfections can give your drawing a realistic touch.
Step 3: Add the Main Body
Next, create the main body of the can by drawing two vertical lines that connect the top and bottom rims. These lines should be parallel to each other and slightly curved. Remember to keep your lines light and avoid pressing too hard on the paper.
Step 4: Sketch the Details
Now it’s time to add some details to make your drawing more realistic. Pay attention to the details of the beer can, such as the pull tab, logo, and text. Use a reference photo to accurately depict these elements, but feel free to add your own creative touches as well.
Step 5: Shade the Can
To add depth and dimension to your drawing, it’s important to shade the beer can. Start by identifying the light source in your reference photo. Typically, the light source will create areas of light and shadow on the can. Use a slightly softer pencil, such as 4B, to create shading. Gradually build up the value by adding layers of shading, starting with the areas of darkest shadow.
Step 6: Refine the Details
Now that you have shaded the beer can, it’s time to refine the details. Use a fine pencil, like an HB or 2B, to add smaller details such as reflections, highlights, and texture. Use light strokes and pay close attention to the subtle variations in tone and texture.
Step 7: Add Background and Final Touches
To complete your drawing, consider adding a simple background to provide context for your beer can. It could be a table, a hand holding the can, or any other element that enhances the overall composition. Additionally, take a step back and evaluate your drawing as a whole, making any necessary adjustments and final touches to improve its overall appearance.
Conclusion
Congratulations! You have successfully learned how to draw a realistic beer can. By following these step-by-step instructions and practicing regularly, you can continue to develop your drawing skills. Remember, drawing everyday objects like a beer can helps you gain a deeper understanding of shape, form, shading, and texture. Enjoy the process, have fun with your drawings, and keep honing your artistic abilities. Cheers to your creativity!