Welcome to this step-by-step guide on how to draw a sock. Drawing objects can be a fun and relaxing activity, allowing you to express your creativity and improve your artistic skills. In this tutorial, we will break down the process of drawing a realistic sock into easy-to-follow steps. So, grab your pencils and let’s get started!
Materials Required:
- A pencil
- Eraser
- Paper
- Colored pencils or markers (optional)
Step 1: Sketch the Outline
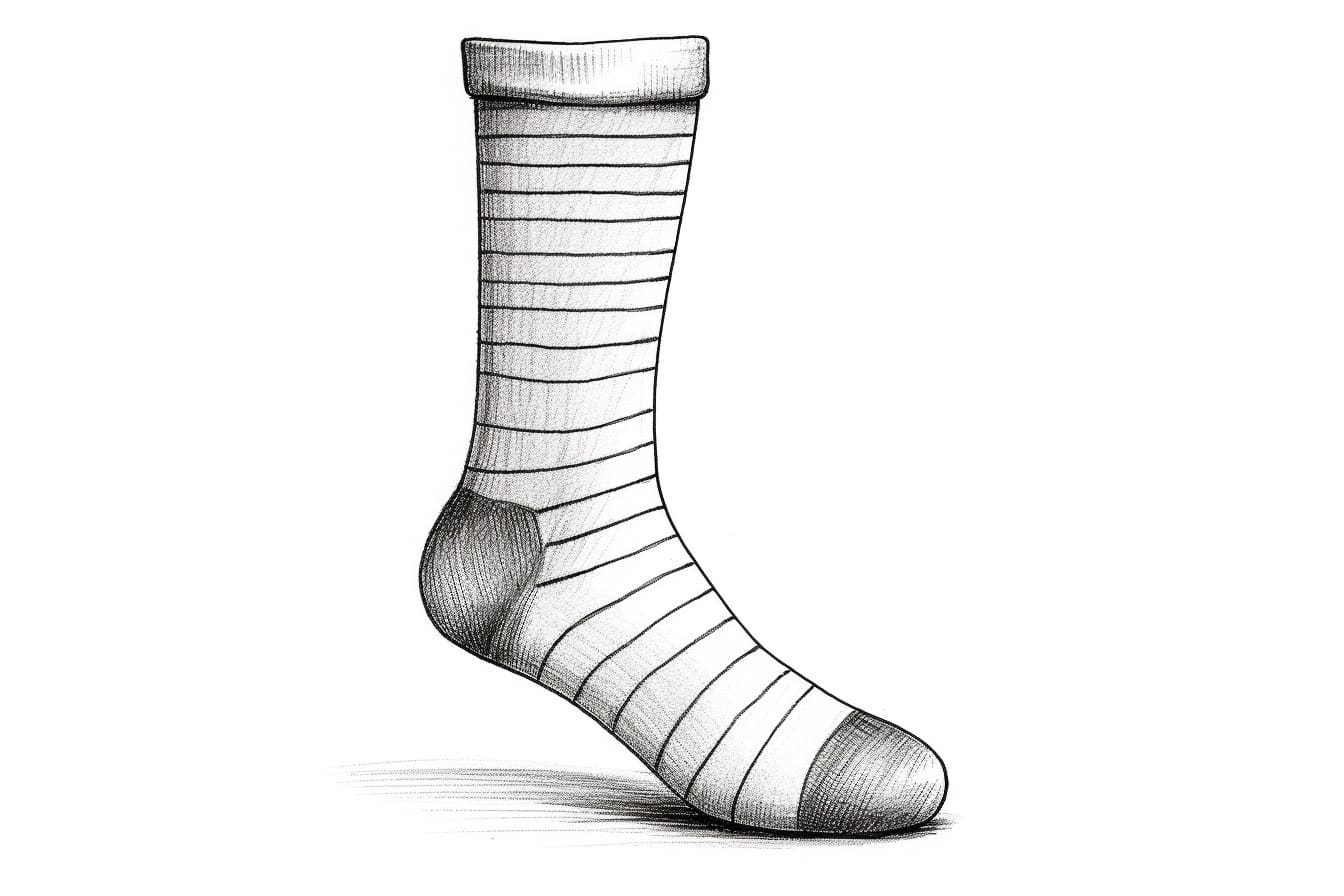
Begin by lightly sketching the outline of the sock using your pencil. Start with a curved line to represent the top opening of the sock, and then draw a long vertical line down for the body. Remember, this is just a rough sketch, so it doesn’t have to be perfect. Use light strokes to allow for adjustments as you progress.
Step 2: Add the Ribbing
To give your sock a realistic texture, add the ribbing detail. Draw parallel curved lines around the top opening of the sock. These lines should follow the curve of the opening and give the appearance of stretchy fabric. Make sure the lines are evenly spaced for a neat and uniform look.
Step 3: Draw the Heel and Toe
Now, let’s draw the heel and toe of the sock. For the heel, draw a curved line that connects the body of the sock and forms a rounded shape on one side. For the toe, draw a curve that extends from the bottom of the sock and tapers to a point. Remember to keep the lines soft and gentle to capture the fabric’s flexibility.
Step 4: Define the Sock’s Body
Next, add some definition to the sock’s body. Draw a curved line across the middle of the sock, following its shape. This line will create the illusion of depth and add more visual interest. Then, draw another curved line below it, parallel to the first one, to represent the stretchiness of the fabric.
Step 5: Add Details
To make your sock drawing more realistic, it’s time to add some finer details. Start by drawing a line running across the ribbing detail, following the curve of the sock’s opening. This line represents the stitching where the ribbing is attached to the body of the sock. You can also add small curved lines on the heel and toe to enhance the fabric’s texture.
Step 6: Erase Unnecessary Lines
Now that you have sketched the basic structure and details of the sock, carefully erase any unnecessary guidelines and overlapping lines. This step will clean up your drawing and make it easier to add shading and colors later on.
Step 7: Shading and Texturing
To bring your sock artwork to life, it’s time to add shading and texture. Begin by identifying the light source in your drawing. With that in mind, lightly shade one side of the sock using hatching or cross-hatching techniques. Pay attention to the curves and folds of the fabric to create a three-dimensional effect. Add darker shading on areas where the fabric overlaps or creases are formed.
Step 8: Add Colors (optional)
If you prefer a colorful sock, you can use colored pencils or markers to add vibrant hues. Start by choosing the colors you want for your sock’s body, ribbing, heel, and toe. Apply the colors with light pressure and gradually build up the intensity. Blend the colors with gentle strokes to create a smooth transition between shades.
Step 9: Finalize the Details
To make your sock drawing truly realistic, focus on finalizing the details. Add some highlights on the curved areas of the fabric to create the illusion of shine or reflectiveness. You can also add extra shading and texture to areas that need more depth. Take your time and pay attention to the small details – they can make all the difference!
Conclusion
Drawing a sock may seem like a simple task, but paying attention to the details can greatly enhance the realism of your artwork. By following these step-by-step instructions, you have learned how to sketch the outline, add texture and shading, and even introduce colors if desired. Remember to be patient with yourself and keep practicing to improve your drawing skills. So, grab your sketchbook and pencils, and start creating beautiful sock drawings!