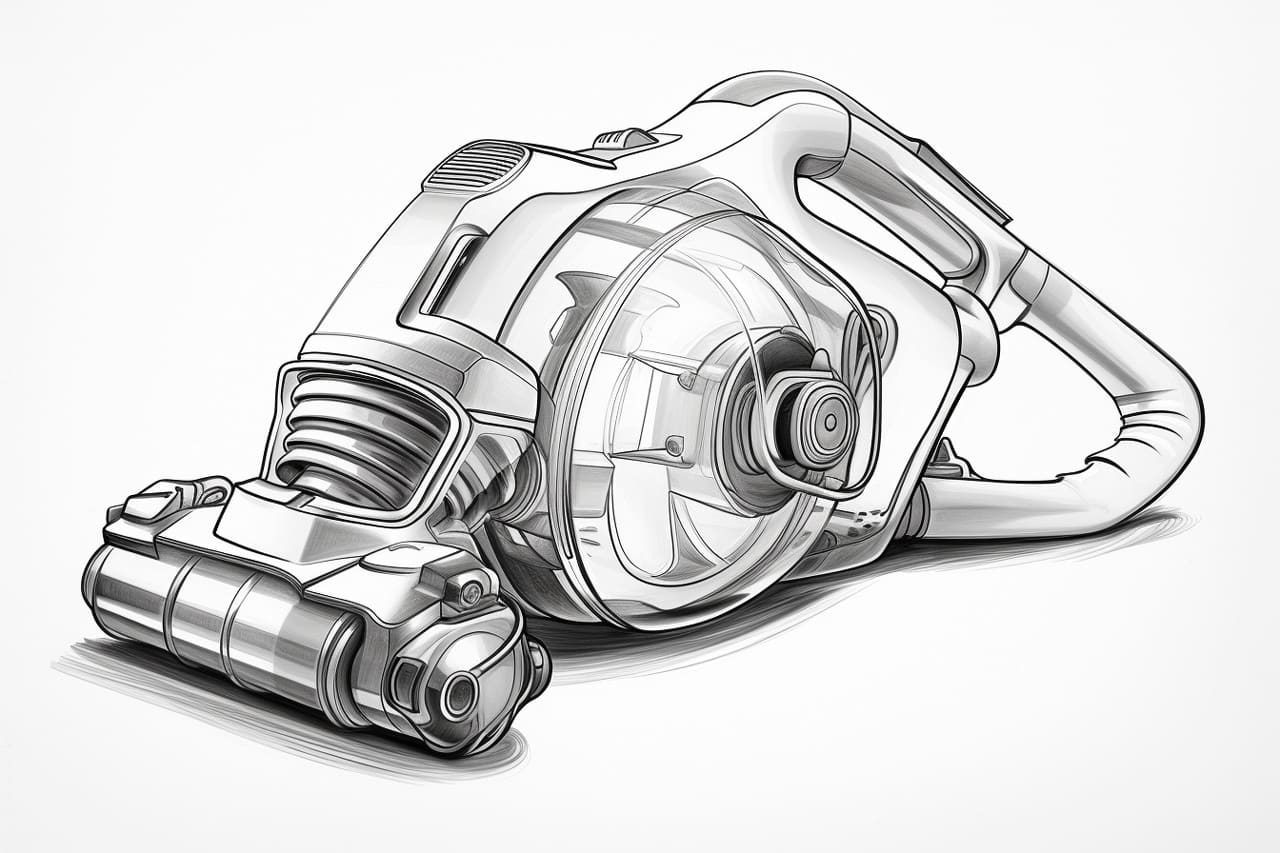
Do you want to learn how to draw a vacuum? Whether you’re an aspiring artist or simply looking for a fun and creative activity, drawing a vacuum can be a great way to improve your artistic skills. In this step-by-step guide, I will show you how to draw a vacuum in a clear and concise manner. So grab your sketchbook and let’s get started!
Materials Required
To draw a vacuum, you will need the following materials:
- Pencil: A regular HB pencil will work just fine for this drawing.
- Sketchbook: Use any sketchbook or drawing paper that you feel comfortable with.
- Eraser: Have an eraser handy to erase any mistakes or guidelines.
- Pen: A fine-tipped pen can be used to add some details and definition to your drawing.
- Optional: Colored pencils or markers to add color to your vacuum drawing.
Now that you have all your materials ready, let’s begin the process of drawing a vacuum.
Step 1: Outline the Shape
Start by lightly sketching an outline of the vacuum shape on your paper. Begin with a rectangular shape for the body of the vacuum. Make sure to keep the lines light and loose, as you will be refining them later.
Step 2: Add the Handle
Next, add a curved line at the top of the vacuum body to create the handle. Ensure that the handle is proportionate to the size of the vacuum. The handle should extend slightly above the body, as this is where the user would grasp it.
Step 3: Draw the Base
Now, draw a rectangular shape at the bottom of the vacuum body to create the base. The base should be slightly wider than the body and extend outwards towards the front. This is where the vacuum stands to maintain its balance.
Step 4: Create the Wheels
Add two circles at the bottom corners of the base to represent the wheels. These circles should be smaller in size compared to the base and evenly spaced.
Step 5: Refine the Outline
Go back to your initial outline and refine the shape of the vacuum body, handle, base, and wheels. Use more precise lines to define the edges and curves of each element. Pay attention to the proportions and try to capture the overall shape and form of a vacuum.
Step 6: Add Details
Now that you have the basic structure, it’s time to add some details to make your vacuum drawing more realistic. Begin by drawing the power cord, which typically extends from the back of the vacuum body. Use curved lines to create a realistic cord.
Next, draw the nozzle at the front of the vacuum. Start by sketching a rectangular shape and then add some curved lines to create the opening for suction. You can also add buttons, switches, or other small details to enhance the overall look of the vacuum.
Step 7: Erase Guidelines
Carefully erase any remaining guidelines or unnecessary lines that you no longer need. Use a gentle touch to avoid smudging the pencil lines of your drawing.
Step 8: Finalize with Pen
Take your fine-tipped pen and go over the pencil lines to make them more defined and pronounced. Trace the outline and the important details of your vacuum drawing. This step will give your drawing a clean and finished look.
Step 9: Add Color (Optional)
If you want to add some color to your vacuum drawing, now is the time to do so. Use colored pencils or markers to bring your drawing to life. Select colors that you feel best represent the vacuum or get creative with your choices.
Conclusion
Drawing a vacuum is not only a fun and engaging activity, but it also helps improve your drawing skills. By following these step-by-step instructions, you can create a realistic and detailed vacuum drawing. Don’t be afraid to experiment with different styles and techniques to personalize your artwork. So grab your materials and start drawing your very own vacuum masterpiece today!