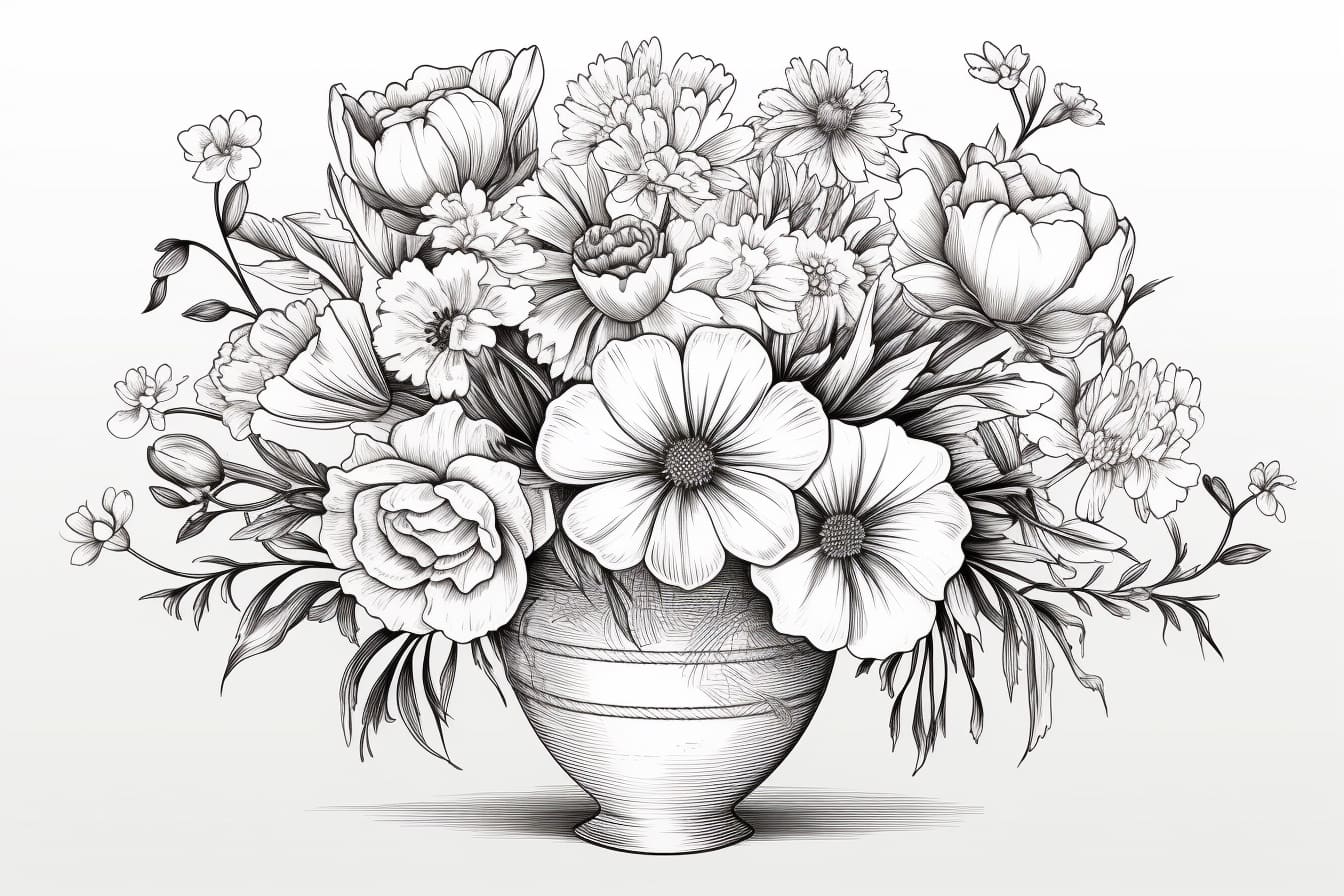
Welcome to this step-by-step guide on how to draw a vase of flowers. Whether you are a beginner or an experienced artist, this tutorial will take you through the process of creating a stunning floral arrangement on paper. Grab your drawing materials and let’s get started!
Materials Required
Before we begin, make sure you have the following materials ready:
- Paper – Use a high-quality drawing paper that is suitable for your chosen medium. A smooth surface will work best for this project.
- Pencils – You will need a range of graphite pencils in different hardness levels, such as HB, 2B, and 4B.
- Eraser – Choose a soft eraser that will allow you to make corrections without damaging the paper.
- Pencil Sharpener – Keep your pencils sharp for precise lines and details.
- Ruler – A straight edge ruler will help you create straight lines and maintain proportions in your drawing.
- Blending Tools – Consider using blending stumps or tortillons to achieve smooth shading and blending effects.
- Reference Image – Find a high-quality reference image of a vase of flowers to guide you throughout the drawing process.
Now that you have all the necessary materials, let’s begin creating your masterpiece!
Step 1: Sketch the Basic Shapes
Start by lightly sketching the basic shapes that make up the vase and the flowers. Use simple geometric shapes like circles and ovals to outline the general form of the objects. Pay attention to the size and proportion of the vase in relation to the flowers.
Step 2: Add Details to the Vase
Using your reference image as a guide, start adding more details to the vase. Pay close attention to the shape of the vase, its curves, and any decorative elements it may have. Take your time to accurately capture the intricacies of the vase.
Step 3: Outline the Flowers
Next, outline the shapes of the flowers, one at a time. Begin by drawing the larger flowers first, placing them strategically within the vase. Pay attention to the different shapes and sizes of each flower. Remember, flowers are organic shapes, so don’t worry about making them too perfect.
Step 4: Add Petals and Leaves
Now it’s time to add petals to the flowers and leaves to the stems. Observe the reference image closely to capture the intricate details of the petals and the varying shapes of the leaves. Take your time and be patient with this step, as it can be quite detailed.
Step 5: Refine the Sketch
Once you have finished outlining the flowers, petals, and leaves, refine your sketch. This means cleaning up any unnecessary lines and adjusting the proportions to ensure everything looks harmonious. Use your eraser to remove any unwanted lines and make any necessary adjustments.
Step 6: Start Shading
Now it’s time to add depth to your drawing by shading the different elements. Begin with the vase, using light pressure to create subtle gradients and shadows. Pay attention to the light source in the reference image and shade accordingly. Gradually build up the values by layering darker graphite as needed.
Step 7: Shade the Flowers and Leaves
Moving on to the flowers and leaves, carefully observe where the shadows fall and apply shading accordingly. Use a combination of light and dark values to create depth and give your drawing a three-dimensional look. Remember to blend your shading for a smooth and realistic appearance.
Step 8: Add Highlights and Details
Once you have shaded the main elements, it’s time to add highlights to give your drawing a polished look. Use a kneaded eraser to lift off some graphite in areas where the light hits the objects directly. This will create the illusion of reflection and add a touch of realism to your drawing.
Step 9: Final Touches
Take a step back and evaluate your drawing. Make any final adjustments or refinements as needed. Pay attention to the overall composition, making sure all the elements are balanced and visually appealing. Once you are satisfied with your work, you can consider signing your drawing to make it your own.
And voila! You have successfully drawn a beautiful vase of flowers. Remember, practice makes perfect, so don’t be discouraged if your first attempt doesn’t turn out exactly as you envisioned. Keep practicing and experimenting with different techniques, and soon you will be able to create stunning floral drawings with ease.
Conclusion
Drawing a vase of flowers can be a rewarding and enjoyable experience. By following these step-by-step instructions and using the right materials, you can create a vibrant and realistic floral arrangement on paper. Remember to take your time, observe the details, and have fun with your drawing.
So, grab your pencils and paper, and let your creativity bloom by drawing a vase of flowers today!


