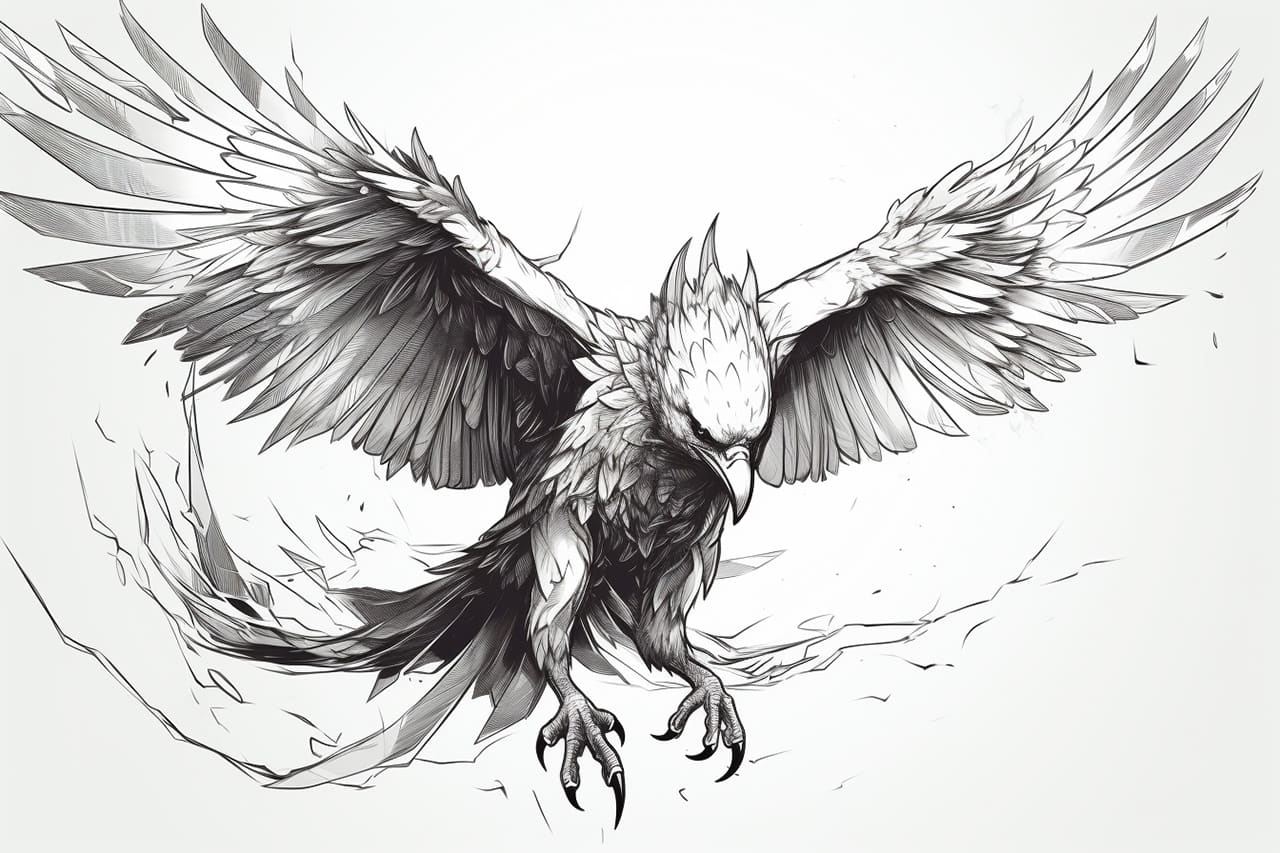
Welcome to this step-by-step tutorial on how to draw a harpy! Harpies are mythical creatures often depicted as half-bird, half-human beings with the body of a bird and the head and torso of a woman. They have mesmerizing wings, sharp talons, and fierce expressions. With a little practice and patience, you’ll be able to create your own captivating harpy artwork. So let’s get started!
Materials Required
Before we begin, gather the following materials:
- A pencil
- Paper
- Eraser
- Fine-tip black marker or pen
- Colored pencils or markers (optional)
Now that you have your materials ready, let’s dive into the step-by-step process of drawing a harpy.
Step 1: Basic Sketch
Start with a light pencil sketch to outline the basic shape of your harpy. Begin by drawing a vertical line in the center of your paper. This will serve as the guideline for the body. Then, draw a small circle at the top of the line for the head. Connect the circle to the guideline with a curved line on each side to form the neck and torso. Add a round shape at the bottom for the hips.
Step 2: Wings
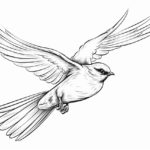
Extend two long, curved lines from the upper back of your harpy to represent the wings. These lines should curve downward and slightly overlap the body. Harpy wings are usually large and feathery, so make sure to capture that flowing look by adding some wavy lines inside the main wing structure.
Step 3: Facial Features
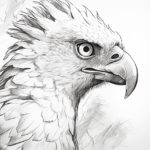
Now it’s time to add the facial features. Draw two almond-shaped eyes on the head, leaving space between them for the nose. Beneath the eyes, sketch a small curved line for the beak. Give your harpy a fierce expression by drawing a narrow, upside-down “V” shape for the eyebrows. Fill in the eyes with small circles for pupils and add some eyelashes to enhance the overall look.
Step 4: Upper Body Details
Refine the upper body of your harpy by adding more details. Draw two curved lines from the shoulders to create the arms, and then add hands with sharp talons at the end of each arm. Make the hands look more bird-like by adding some lightly sketched feathers. For the chest area, draw two curved lines that start from the base of the neck and gently curve outward to form the bust.
Step 5: Lower Body and Legs
Next, it’s time to draw the lower body and legs of your harpy. Continue the guideline down from the hips and sketch two lines to represent the thighs. Add another set of lines below to create the legs. Harpies generally have bird-like legs, so make sure to include sharp claws at the end. Add some simple feather details to the legs and thighs to enhance their appearance.
Step 6: Tail and Feathers
Give your harpy a majestic tail by drawing a long, flowing shape that extends from the hips. This could be similar to the tail of a bird or have a more elaborate design. Then, add some feather details to the tail to make it look more realistic. You can achieve this by drawing V-shaped lines along the tail’s edges.
Step 7: Finalize the Outline
Once you are satisfied with the overall shape and positioning of your harpy, go ahead and darken the outline using a fine-tip black marker or pen. This will make your harpy stand out more and create a clean and finished look. Erase any unnecessary pencil marks that are no longer needed.
Step 8: Adding Color (Optional)
If you’d like, you can bring your harpy to life with some vibrant colors. Use colored pencils or markers to carefully color in your drawing. Consider using earthy tones for the bird-like parts of the harpy, and perhaps a bold color for the hair or any clothing the harpy may be wearing. Be creative and experiment with different color combinations to make your harpy truly unique.
Conclusion
Congratulations! You have successfully learned how to draw a harpy. By following these step-by-step instructions and using your creativity, you have created a captivating piece of art. Remember, practice makes perfect, so don’t be afraid to try drawing harpies in different poses or styles. Have fun and keep exploring your artistic skills!