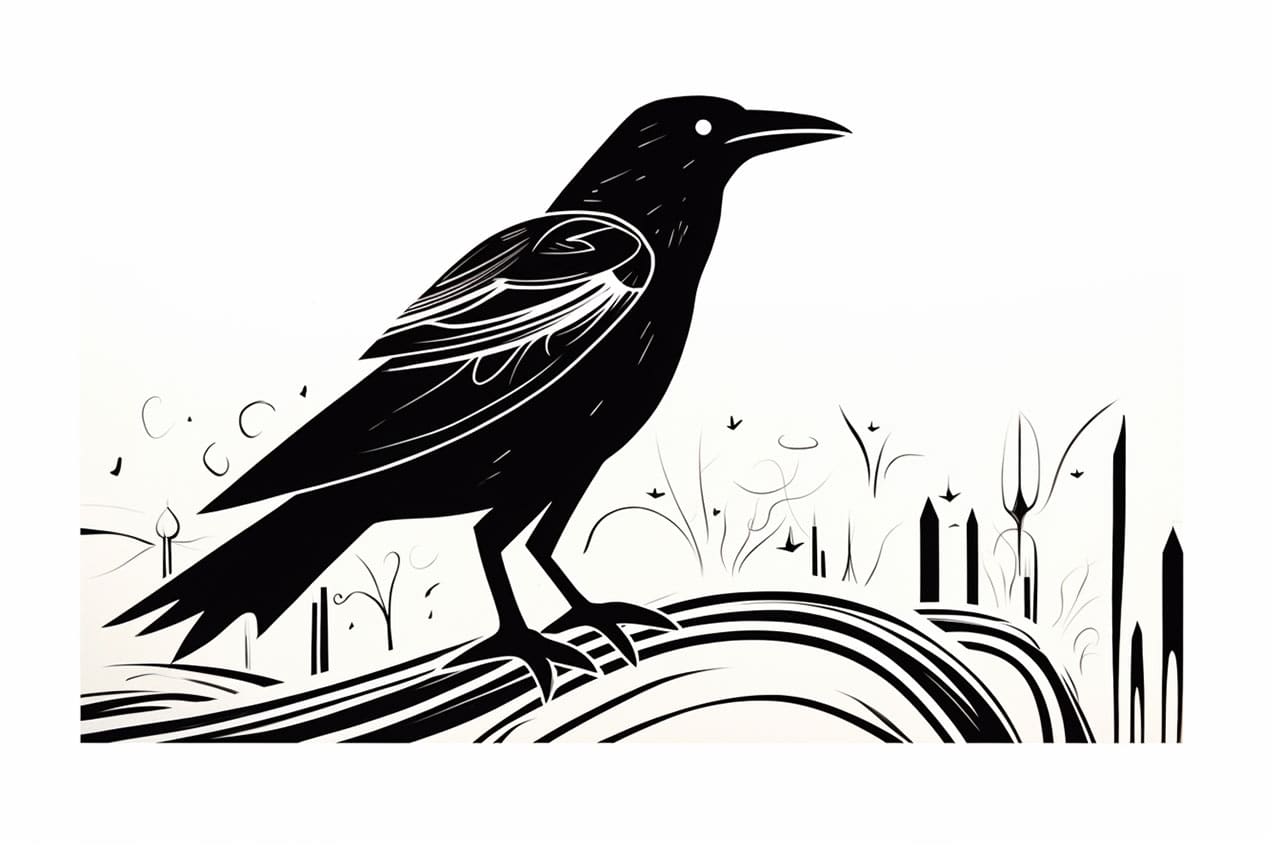
Welcome to this step-by-step guide on how to draw a crow. In this article, I will walk you through the process of creating a realistic and detailed crow drawing. Crows are fascinating birds known for their intelligence and unique appearance. By following these simple steps, you can learn to capture the essence of a crow on paper.
Materials Required
Before we begin, make sure you have the following materials:
- Pencil: A good quality graphite pencil will work best for sketching and shading.
- Eraser: Have a soft eraser handy to correct any mistakes or lighten your pencil lines.
- Paper: Use a clean and smooth sheet of paper to draw on. A heavier weight paper will help prevent smudging.
- References: Collect some images of crows to use as a visual reference. This will help you understand their anatomy and features better as you draw.
Now that you have gathered all the necessary materials, let’s dive into the drawing process.
Step 1: Basic Shape
Start by sketching a rough outline of the crow’s body. Begin with a circle for the head and add an oval shape below it for the body. Make light, loose strokes to establish the general form of the bird. Remember that this is just a basic guideline, so don’t worry about making it perfect.
Step 2: Wings and Tail
Next, draw the crow’s wings and tail. Crows have long, slender wings with a distinctive shape. Add a curved line extending from each side of the body to represent the wings. For the tail, sketch a series of feathers radiating outwards from the lower part of the bird’s body.
Step 3: Eyes and Beak
Now, let’s focus on the crow’s facial features. Draw two almond-shaped eyes in the middle of the head, leaving a small space between them. Crows have intense and piercing eyes, so try to capture that expression in your drawing. Below the eyes, sketch a sharp and slightly curved beak. Pay attention to the proportions and angles as you draw.
Step 4: Feathers and Details
With the basic structure in place, it’s time to add more details to your crow drawing. Start by adding feathers to the wings and tail. Crows have overlapping feathers that give them a textured look. Use short, curved strokes to create these feathered textures. You can also add some feathers to the neck area.
Step 5: Legs and Feet
Crows have long, thin legs with strong feet for perching and walking. Sketch the legs extending downwards from the body, and then add a few lines to represent the feet. Don’t forget to include the sharp claws at the end of each foot.
Step 6: Shading and Texture
To make your crow drawing more realistic, it’s important to add shading and texture. Observe your reference images to understand where the shadows fall on the bird’s body. Use your pencil to gradually build up layers of shading, paying attention to the different values and tones. Add darker shading around the eyes and beak to create contrast.
Step 7: Final Touches
Take a step back and evaluate your drawing. Are there any areas that need adjustments or refinements? Use your eraser to lighten any unnecessary lines and make sure your drawing looks clean and polished. You can also enhance the details by adding some highlights with a white pencil or a touch of white paint.
Conclusion
Congratulations on completing your crow drawing! By following these step-by-step instructions, you have learned how to capture the essence of a crow on paper. Remember, practice makes perfect, so feel free to experiment with different techniques and styles. Drawing crows can be a great way to improve your observational skills and artistic abilities. Now go ahead and create your own stunning crow artwork!