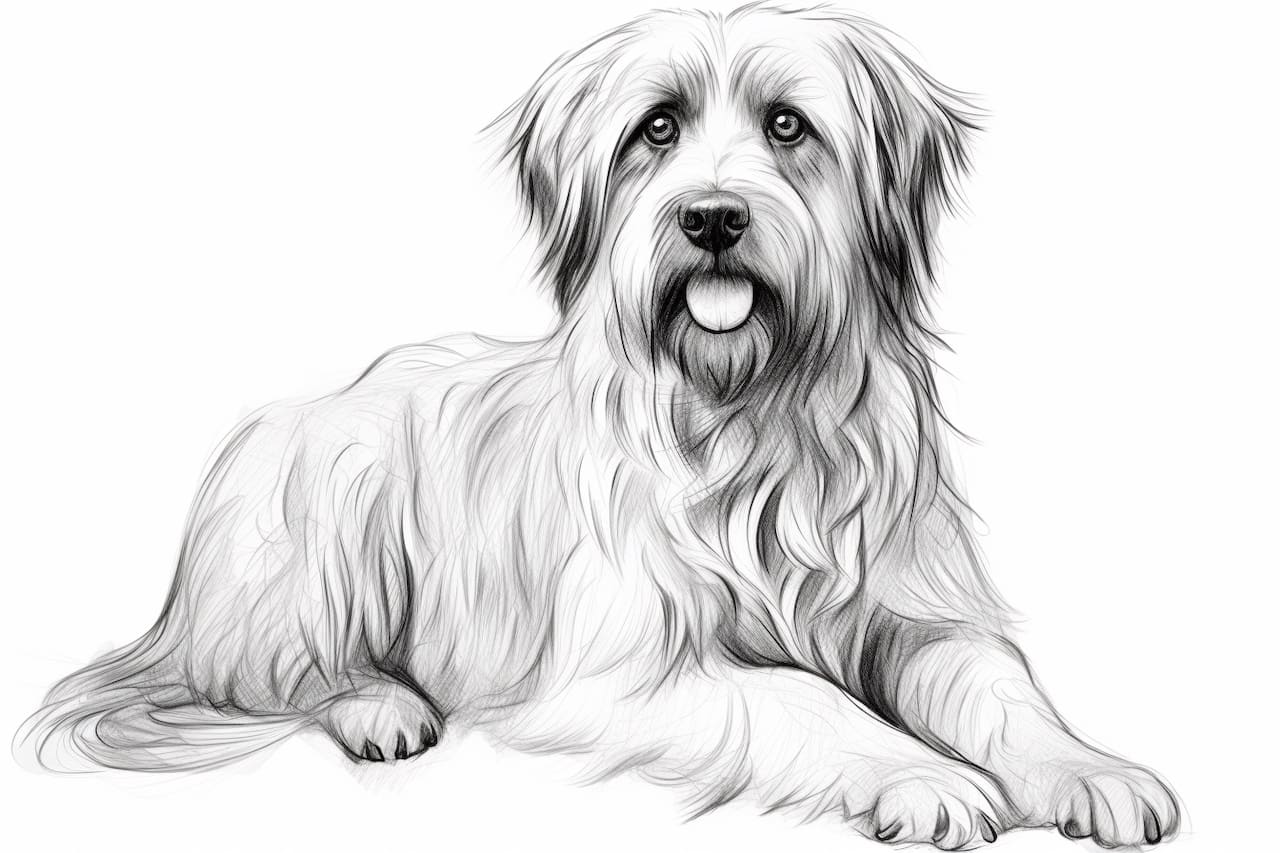
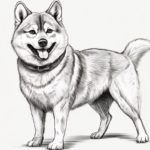
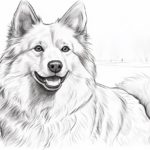
Welcome to this step-by-step guide on how to draw a beautiful Pyrenean Shepherd. Whether you are an experienced artist or a beginner, this tutorial will help you capture the essence of this delightful breed in your artwork. With clear and concise instructions, you’ll be able to create a charming representation of a Pyrenean Shepherd that will make any dog lover smile. So, let’s get started!
Materials Required
Before we begin, let’s gather all the materials you will need:
- Drawing paper or sketchbook
- Pencil (HB or 2B recommended)
- Eraser
- Fine-tip black pen or marker (optional for outlining)
- Colored pencils or any other coloring medium of your choice (optional)
Make sure you have these materials readily available, as they will greatly enhance your drawing experience.
Step 1: Start with Basic Shapes
To start, let’s use simple geometric shapes to establish the basic structure of our Pyrenean Shepherd. Begin by lightly sketching a large oval shape for the body. This oval should be slightly elongated horizontally. Then, add a smaller oval above the body shape for the head, ensuring it overlaps slightly with the body. This overlapping creates a more natural and realistic appearance.
Step 2: Outline the Head
Now, let’s focus on the head of our Pyrenean Shepherd. Using the basic oval shape as a guide, carefully sketch the outline of the head. Pay attention to the placement of the ears, which are triangular and sit on top of the head. Remember, it’s always better to start with light sketches and make adjustments as needed.
Step 3: Add Facial Features
Next, let’s add the facial features that give the Pyrenean Shepherd its unique and adorable expression. Sketch two almond-shaped eyes, placing them evenly apart and slightly above the center line of the head. Add a small triangular shape for the nose, and a curved line for the mouth. Don’t worry about details just yet; we’ll refine them later.
Step 4: Define the Ears and Neck
Now, let’s focus on the ears and neck of our Pyrenean Shepherd. Start by giving the triangular ears some texture and detail. Add some tufts of fur at the base of the ears to make them look more realistic. Then, carefully sketch the curve of the neck, ensuring it connects smoothly to the head and body.
Step 5: Outline the Body
With the head and neck in place, let’s move on to outline the body of our Pyrenean Shepherd. Start by sketching gentle curves that follow the shape of the initial oval. Pay attention to the contours and proportions, as they are essential to capturing the unique shape of this breed. Take your time with this step, making sure the lines flow seamlessly.
Step 6: Draw the Legs and Paws
Now, let’s add the legs and paws to our drawing. Begin by sketching the forelegs, making sure they are proportional to the body. Add some lines to indicate the joints and musculature of the legs. Then, carefully draw the paws, adding small ovals for the toes. Repeat this process for the hind legs, ensuring that they are properly positioned and balanced.
Step 7: Refine the Facial Features
Returning to the face, let’s refine the facial features of our Pyrenean Shepherd. Start by giving the eyes more definition. Add highlights to make them appear shiny and alive. Refine the shape of the nose, adding nostrils for a more realistic look. Finally, add some fur texture around the eyes and on the snout using short, fine lines.
Step 8: Add Fur Texture
Now, it’s time to add the signature fur of the Pyrenean Shepherd. Using short, quick strokes, create a layer of fur throughout the body. Start from the top and work your way down, following the contours of the dog’s body. Vary the length and direction of the strokes to achieve a natural and textured appearance.
Step 9: Finalize the Details
In this step, let’s focus on finalizing the details of our Pyrenean Shepherd drawing. Refine the shape of the body and legs, adding muscle definition if desired. Pay attention to the paws and add more detail to the toes. Darken and define the features of the face, such as the eyes, nose, and mouth. Take your time to ensure that every element is well-defined and accurate.
Step 10: Add Color (Optional)
If you’d like to add some color to your drawing, this is the perfect time to do so. Pyrenean Shepherds come in various coat colors, ranging from white to shades of gray and fawn. Use colored pencils or any coloring medium of your choice to bring your artwork to life. Remember to observe reference images to accurately capture the breed’s coat color patterns.
Conclusion
Congratulations! You have successfully drawn a Pyrenean Shepherd using these step-by-step instructions. By following the geometric shapes and gradually adding details, you have created a charming representation of this delightful breed. Whether you choose to leave it as a black and white sketch or add some color, your artwork is sure to capture the hearts of dog lovers everywhere.
Remember, practice makes perfect. Keep refining your skills, experimenting with different breeds and poses, and soon you’ll be able to create stunning dog portraits with ease. Enjoy the process, and let your creativity shine through in every drawing you create.

