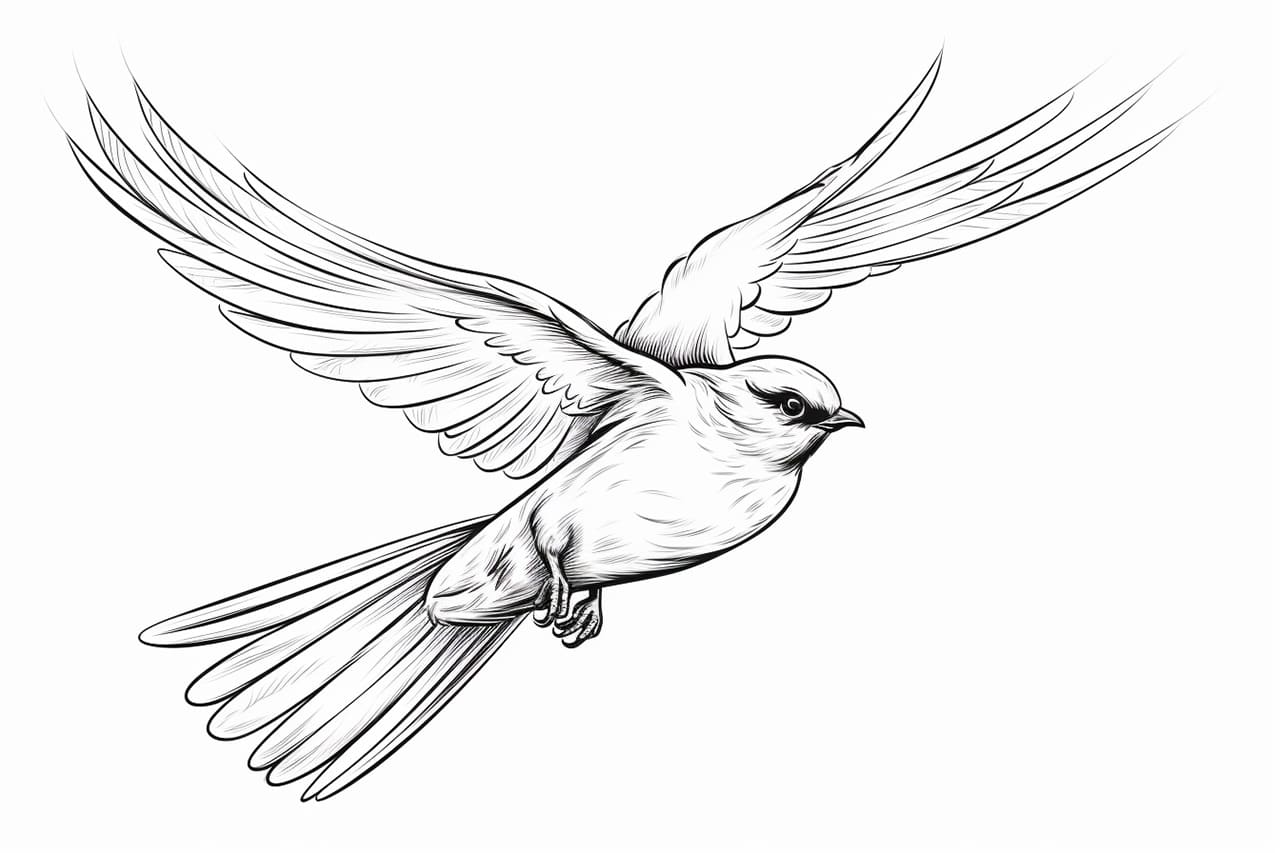
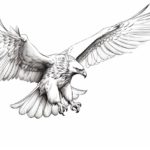
Drawing a bird in flight can be a challenging task, but it can also be rewarding and enjoyable. Capturing the grace and freedom of a bird soaring through the sky requires attention to detail and a good understanding of the bird’s anatomy and movement. In this step-by-step guide, you will learn how to draw a bird flying in a clear, clean, and concise style. So grab your pencils and let’s get started!
Materials Required
Before we begin, make sure you have the following materials at hand.
- Drawing paper: A good quality paper that is suitable for the medium you will be using, such as pencil or charcoal.
- Pencils: A range of pencils with different degrees of hardness. It is recommended to have at least an HB, 2B, and 4B pencil.
- Eraser: A kneaded eraser or a soft vinyl eraser will come in handy to correct mistakes and lighten areas.
- Sharpener: Keep your pencils sharp for precise lines and details.
- Reference image: Find a clear photo or picture of a bird in flight that you can reference for your drawing.
Step 1: Observe the Anatomy and Movement of Birds in Flight
Before you start drawing, take some time to observe how birds move in the air. Pay attention to the position of their wings, body, and tail, as well as the overall shape they create while flying. Understanding the basic anatomy and movement of birds will help you create a more realistic and dynamic drawing.
Step 2: Sketch the Basic Shape of the Bird
Using a light pencil, start by sketching the basic shape of the bird in flight. Begin with a simple oval or circle to represent the body, and then add lines for the wings and tail. Keep your lines loose and sketchy at this stage, as you will refine them later.
Step 3: Outline the Wings and Tail
Next, start outlining the wings and tail of the bird. Pay attention to the shape and position of each feather, as this will add depth and detail to your drawing. Use light, flowing lines to capture the fluidity and movement of the wings and tail.
Step 4: Add Details to the Head and Body
Now it’s time to add more details to the bird’s head and body. Start by sketching the beak, eyes, and any distinctive features of the bird’s face. Then, define the shape of the body and add some feather textures using short, curved lines. Don’t worry too much about perfection at this stage, as you can always make adjustments later.
Step 5: Refine the Wings and Tail Feathers
In this step, focus on refining the wings and tail feathers of the bird. Pay attention to the overlapping feathers and the way they fold and bend as the bird moves through the air. Use darker and more defined lines to give your drawing depth and dimension.
Step 6: Add Shadows and Highlights
To bring your drawing to life, add shadows and highlights. Observe the direction of the light source in your reference image and use shading techniques to create depth and volume. Darken areas that are in shadow and use lighter strokes or an eraser to indicate highlights on the bird’s feathers and body.
Step 7: Finalize the Details
In the final step, take a closer look at your drawing and make any necessary adjustments or refinements. Pay attention to the proportions, shapes, and details of the bird, and make sure everything is in harmony. Use an eraser to clean up any stray lines or smudges, and add any additional details that will enhance the overall look of your drawing.
Conclusion
Drawing a bird flying can be a challenging but rewarding experience. By observing the anatomy and movement of birds, sketching the basic shapes, and adding details, you can create a realistic and dynamic drawing. Remember to be patient and enjoy the process. With practice, you will improve your skills and be able to capture the beauty of birds in flight. So grab your pencils and start drawing your own magnificent bird in flight!

