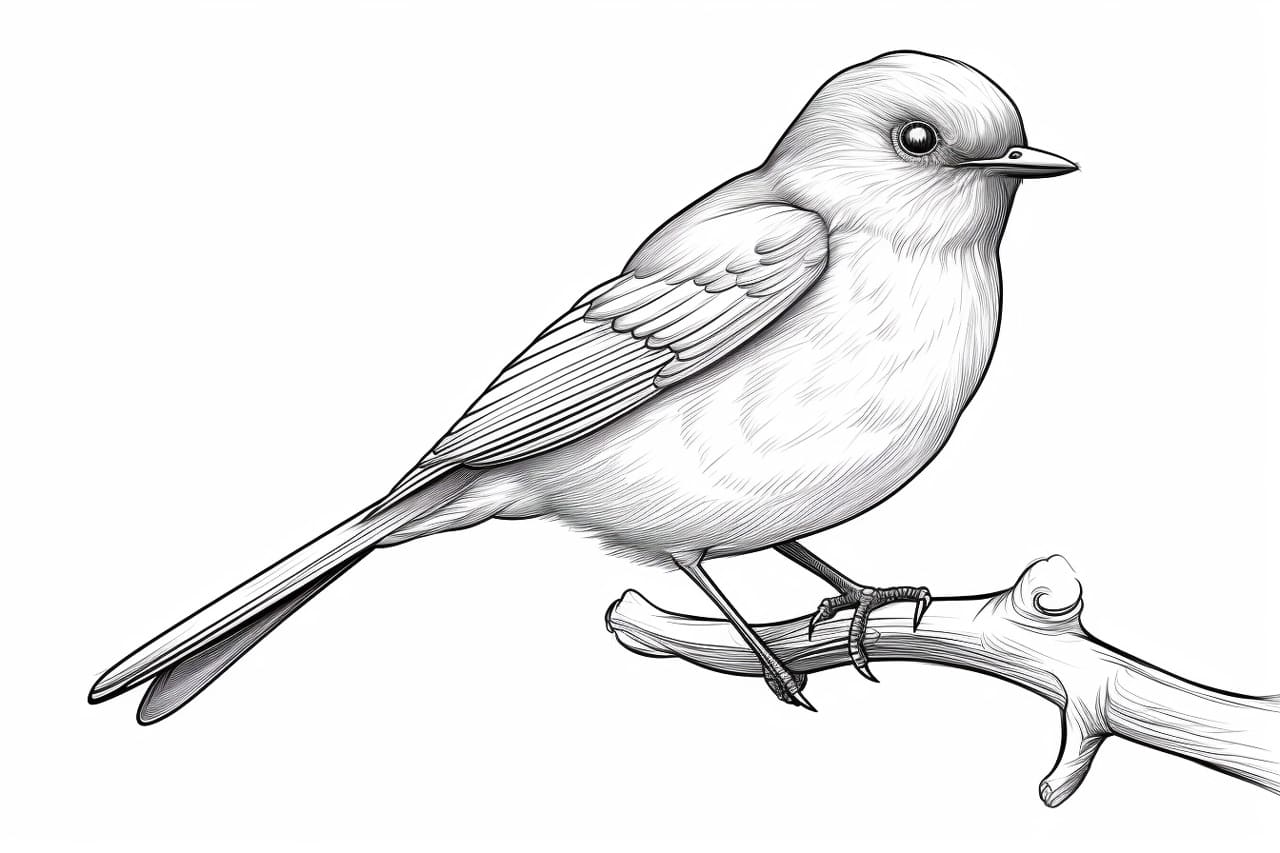
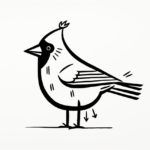
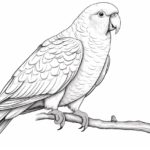
Welcome to this step-by-step tutorial on how to draw a bluebird. In this article, I will guide you through the process of creating a beautiful and realistic bluebird drawing. Whether you are a beginner or an experienced artist, this tutorial will help you capture the graceful beauty of this beloved bird.
Materials Required
Before we begin, let’s gather the materials you will need:
- Drawing paper or sketchbook
- Pencil set (preferably HB, 2B, 4B, and 6B)
- Eraser
- Fine-tip black marker or pen (optional)
- Colored pencils (blue, gray, white, and black)
- Blending stump (optional)
- Reference image of a bluebird
Now that we have our materials ready, let’s dive into the step-by-step process of drawing a bluebird.
Step 1: Basic Sketch
Start by lightly sketching the basic shapes of the bluebird. Begin with a circle for the head and a simple oval for the body. Position the head slightly tilted to one side to give the bird a natural and dynamic appearance.
Step 2: Outline the Body
Using a darker pencil (2B or 4B), outline the shape of the body, following the sketch guidelines. Pay attention to the proportions and curves of the bluebird. Remember, it’s always better to start with light lines and gradually darken them as you progress.
Step 3: Draw the Wings and Tail
Add the wings by drawing curved lines extending from the body. Bluebirds have long wings, so make sure to capture their graceful shape. Similarly, draw the tail with a series of small feathers overlapping each other. Take your time to make the feathers look realistic.
Step 4: Define the Head and Beak
Now, focus on the bird’s head. Sketch the eye as a small oval shape, leaving a highlight area for a realistic effect. Add a slightly curved beak beneath the eye, tapering it to a point. Pay close attention to the angle and position of the beak, as it varies among bird species.
Step 5: Add Feathers and Details
Start rendering the feathers of the bluebird by adding small curved lines along the body, wings, and tail. These lines represent the individual feathers and give texture to the drawing. Add more definition to the eye by darkening the outer edge and adding a small circle for the pupil.
Step 6: Shade the Bluebird’s Body
Using a light blue colored pencil, begin shading the body of the bluebird. Apply a light layer of color, following the direction of the feathers. Gradually build up the layers of color, using a darker shade of blue for the shadows and a lighter shade for the highlights.
Step 7: Create Dimension with Shadows
To add depth and dimension to your drawing, focus on the shadows. Observe the reference image to identify areas of darker shading, such as under the wing, the tail, and the bird’s body. Use a darker shade of blue or gray to carefully add these shadows, gradually blending them with the lighter areas.
Step 8: Refine the Details
Now that the basic structure and shading are complete, it’s time to refine the details. Use a fine-tip black marker or pen to outline the bird’s body, wings, and tail. This step will make your drawing stand out and look more polished. If you prefer a softer look, you can skip this step and use a darker shade of pencil instead.
Step 9: Final Touches
With the main body of the bluebird complete, it’s time to add the finishing touches. Use a white colored pencil to add highlights to the feathers, giving them a realistic shine. You can also use a blending stump or a cotton swab to smooth out any harsh lines or blend the colors together for a more natural appearance.
And there you have it – your very own bluebird drawing! I hope you enjoyed this tutorial and found it helpful in creating a beautiful representation of this marvelous bird.
Conclusion
Drawing a bluebird may seem daunting at first, but by following these step-by-step instructions, you can confidently create a stunning artwork. Remember to practice regularly and have patience with yourself. With time and dedication, you will improve your skills and be able to capture the beauty of nature through your drawings.
Now, gather your materials, find a comfortable spot, and let your creativity soar as you bring a bluebird to life on paper. Happy drawing!

