Drawing can be a rewarding and expressive way to unleash your creativity, and what better subject to start with than a goose? In this comprehensive guide, we’ll walk you through each step, breaking down the process of capturing the beauty and intricacy of these fascinating birds. Whether you’re just beginning your artistic journey or are an experienced artist aiming to enhance your skills, this tutorial is designed to guide you in creating a striking and lifelike goose illustration.
As you embark on this artistic adventure, remember that practice and patience are your best allies. Our step-by-step instructions will not only help you hone your techniques but also encourage you to develop your own unique style. So, gather your drawing tools and prepare to immerse yourself in the wonderful world of art. Let’s get started and transform a blank page into a captivating representation of one of nature’s elegant creatures!
Materials Required
Before diving into the drawing process, make sure you have the following materials at your disposal:
- Pencil: Opt for a medium to hard graphite pencil, which will allow you to achieve a variety of light and dark tones.
- Eraser: A quality eraser is essential for fixing mistakes and refining details.
- Paper: Choose a smooth and sturdy paper suitable for drawing, preferably with a weight of at least 90 lb.
- Reference Image: It is advisable to use a reference image of a goose to guide you throughout the drawing. You can find images online or use a printed photograph or book as a reference.
Now that we have gathered our materials, it’s time to begin our journey of drawing a goose!
Step 1: Sketching the Basic Shapes
Begin by lightly sketching the basic shapes that make up the body of the goose. Start with an oval shape for the body, followed by a smaller oval shape for the head. Connect the head and body with a curved line to create the neck. Don’t worry too much about precision at this stage; we will refine the shapes later.
Step 2: Outlining the Body and Head
Now, using your initial sketch as a guide, start outlining the body and head of the goose with more defined lines. Pay attention to the curvature and proportions of the body. The body should have a plump and rounded shape, while the head should have a slightly elongated oval shape. Add a gentle curve for the beak at the front of the head.
Step 3: Defining the Neck and Tail
Next, define the neck and tail of the goose. The neck should have a graceful curve, gradually thinning towards the head. The tail can be depicted as a small, rounded shape at the back of the body.
Step 4: Adding Details to the Head
Now let’s focus on adding details to the head of the goose. Draw a small eye on the side of the head, towards the front. Add a small dot for the pupil and a curved line above the eye to represent the eyebrow. Sketch a triangular beak, slightly open to give it a realistic appearance. Finally, draw a few curved lines to indicate the feathers around the eye and beak.
Step 5: Outlining the Wings and Feet
Moving on to the wings and feet, start by outlining the wings using curved lines. Geese have large wings that are rounded at the tips. Draw them symmetrically on both sides of the body. Then, sketch the feet at the bottom of the body using a series of curved lines. Geese have webbed feet, so make sure to depict the toes connected by small webs.
Step 6: Refining the Body
Now that we have outlined the main components of the goose, let’s refine the body by adding more detail. Pay close attention to the contour lines and add subtle curves to depict the shape and texture of the feathers. Geese have a distinct pattern of feathers on their bodies, so take your time to observe reference images and replicate the details as accurately as possible.
Step 7: Adding Feathers and Texture
To enhance the realism of your drawing, focus on adding more texture and details to the feathers. Start by lightly sketching curved lines throughout the body to represent the feather patterns. Geese have a combination of longer feathers on the back and wings, and smaller, denser feathers on the neck and chest. Take your time to layer the lines, varying their length and direction to create a sense of depth and volume.
Step 8: Final Details and Shading
Now it’s time to add the final touches to your drawing. Refine the details of the face, such as the shape of the eye, the curvature of the beak, and the texture of the feathers around the eye. Additionally, use shading techniques to add depth and dimension to your goose drawing. Pay attention to the light source in your reference image and shade accordingly. Use hatching, cross-hatching, or stippling techniques to create shadows and highlights.
Conclusion
Congratulations! You have successfully learned how to draw a goose step by step. By following these instructions and continuously practicing, you will improve your drawing skills and be able to capture the grace and beauty of these magnificent creatures. Remember, patience is key, and each drawing you create is an opportunity to grow as an artist. So keep sketching, exploring, and most importantly, enjoy the process!
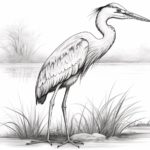
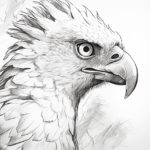
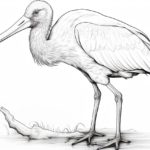
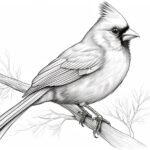
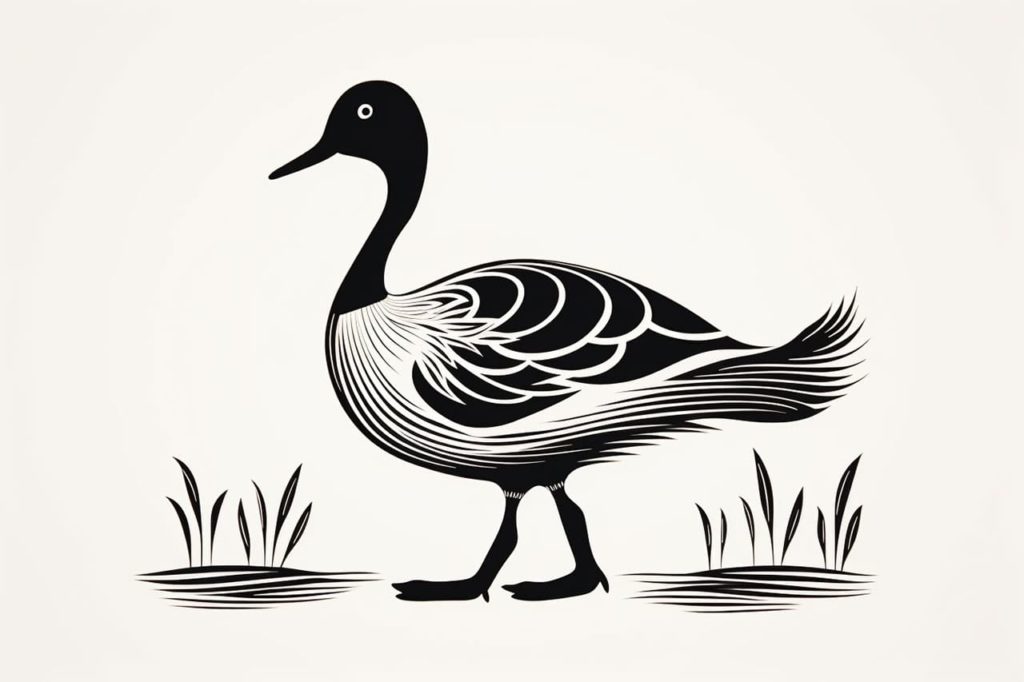
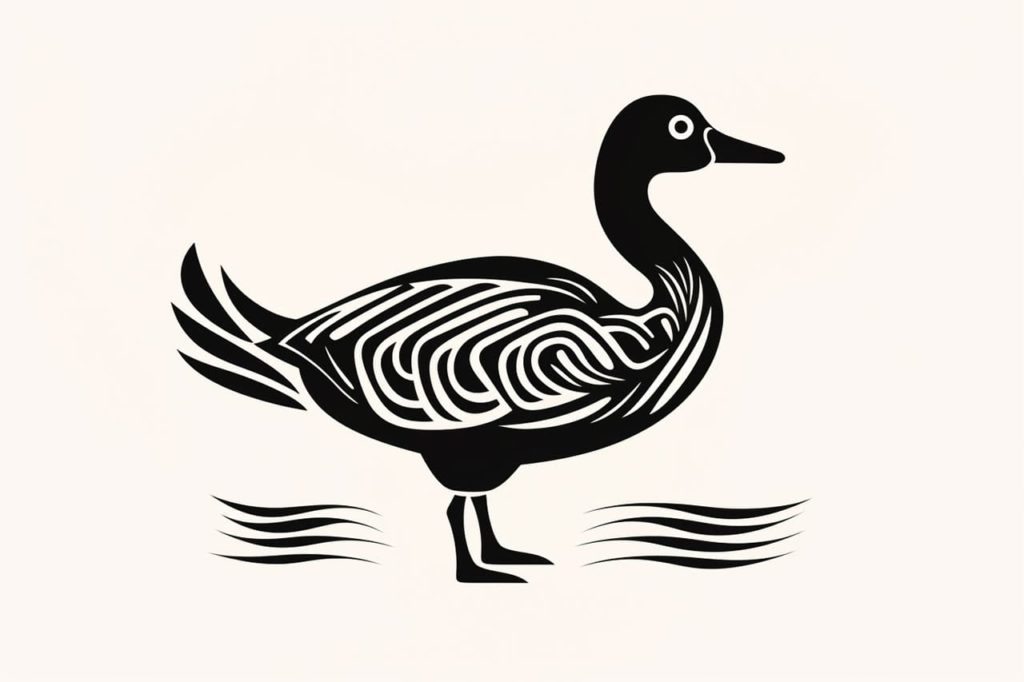
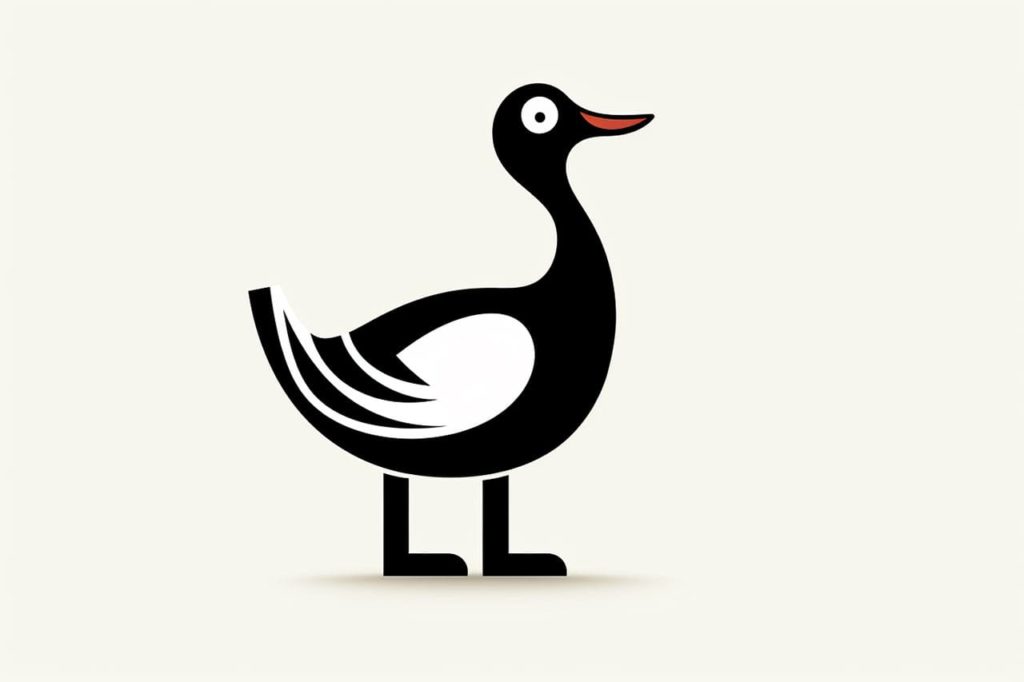
Gallery of Goose and Geese Drawings
Fun Facts About Geese
- Geese are known for their migratory patterns, often flying thousands of miles during migrations in distinct V-formations.
- The term “goose” generally refers to the female, while the male is called a “gander,” and a young one is a “gosling.”
- Geese have strong familial bonds and often mate for life, living in family flocks until the young are ready to venture on their own.
- In Roman times, geese were sacred to the goddess Juno and were used as sacrificial animals.
- Wild geese are known for their aggressive nature when protecting their nests and young.
- Geese can live up to 20 years in the wild, with even longer lifespans in captivity.
- Certain species of geese are known to develop complex social structures and communicate through various honking sounds.
- The Canada goose is one of the most common and widespread species across North America.
- In ancient Egypt, geese were viewed as symbols of wisdom and fertility.
- There are over 30 species of geese, each adapted to different climates and regions around the world.
Suggestions for Scenes and Settings for Goose Drawings
- Peaceful Pond: Illustrate a serene scene with geese gliding gracefully across a pond, surrounded by reeds and lily pads.
- Flying V-Formation: Capture the majestic flight of geese in a V-formation against a colorful sunset sky.
- City Park Gathering: Show a bustling city park with geese mingling with picnickers, offering bread crumbs.
- Winter Migration: Depict a chilly scene of geese flying south, with snow-dusted landscapes below them.
- Springtime Goslings: Create a heartwarming image of a mother goose with a trail of fluffy goslings following behind her.
- Farm Life: Draw a pastoral setting with geese waddling around a barnyard, complete with other farm animals.
- Moonlit Lake: Imagine a nighttime scene where geese peacefully float under the glow of a full moon reflected on a lake.
- Autumn Meadow: Show geese foraging for food amidst a meadow of fall foliage and golden light.
- Storybook Village: Design a whimsical village scene where geese act as post-carriers delivering mail to charming cottages.
- Mythical Land: Illustrate a fantastical world where enchanted geese guard a mystical lake surrounded by ancient ruins.