When it comes to creating artwork or displaying a photograph, a well-drawn frame can add a touch of elegance and professionalism to your masterpiece. Whether you are a beginner or an experienced artist, learning how to draw a frame can be a valuable skill to have in your artistic toolbox. In this article, we will guide you through the steps of creating a frame, from start to finish.
Materials Required
Before we get started, gather the following materials:
- Paper – Choose a high-quality paper that is suitable for your medium (such as drawing paper for graphite or charcoal, watercolor paper for watercolors, or canvas for acrylics or oils).
- Pencil – A good-quality pencil that allows for shading and detail work.
- Ruler – A straight ruler to ensure straight lines and precise measurements.
- Eraser – A soft eraser to correct any mistakes or unwanted lines.
- Compass (optional) – If you prefer to draw perfect circles, a compass can be useful.
Now that you have gathered your materials, let’s dive into the step-by-step process of drawing a frame.
Step 1: Determine the Size and Shape of Your Frame
Begin by deciding on the size and shape of your frame. Will it be rectangular, square, or perhaps oval? Consider the dimensions and ratio that will best suit your artwork or photograph.
Step 2: Draw the Outer Border
Using your ruler, draw the outer border of your frame on the paper. Ensure that the lines are straight and parallel. Keep in mind the overall size and shape you determined in the previous step.
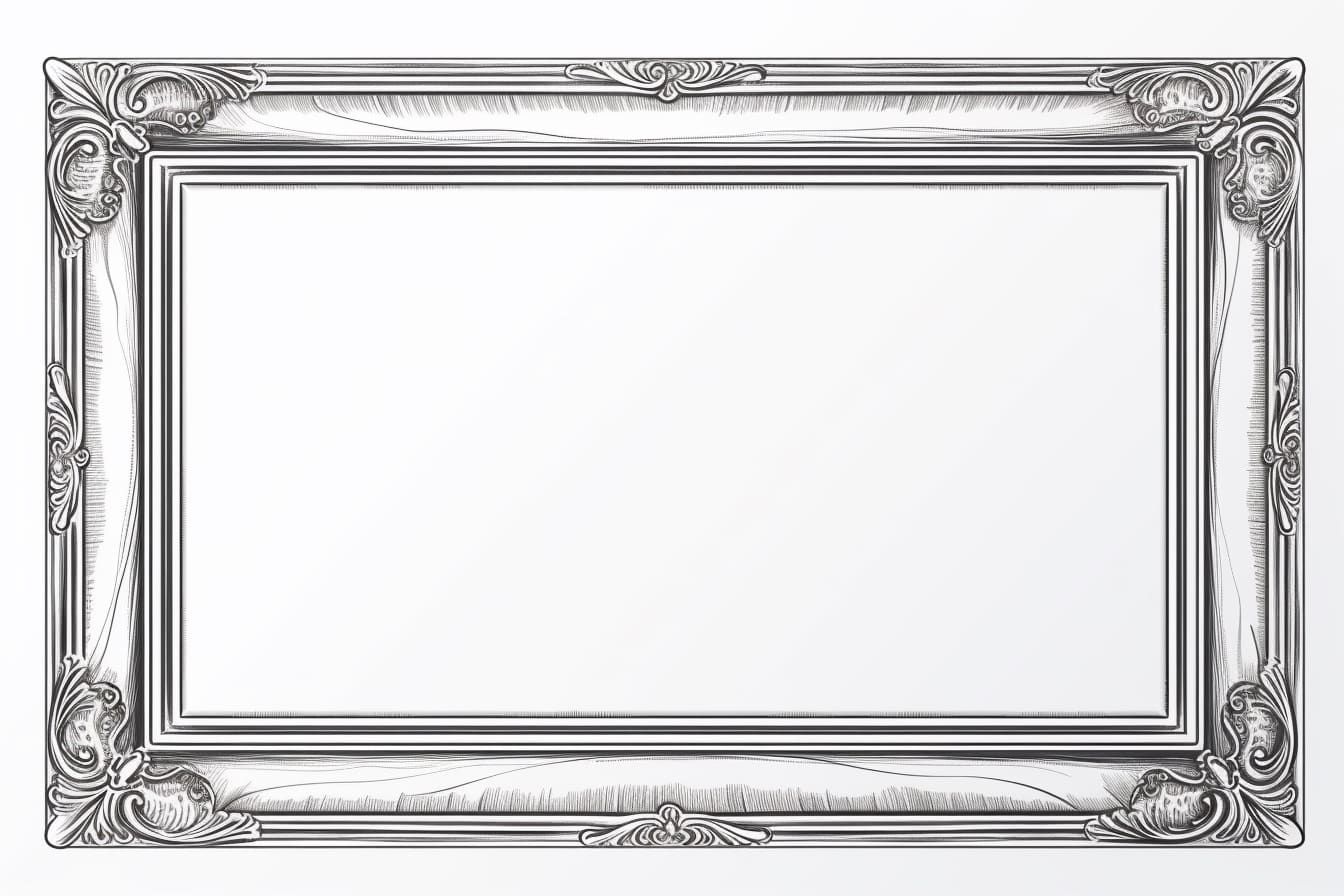
Step 3: Add Decorative Corners (Optional)
For added visual interest, you can include decorative corners on your frame. Choose a design that complements your artwork or photograph. Draw the decorative corners at each corner of the outer border, making sure they are symmetrical.
Step 4: Create the Inner Border
Inside the outer border, draw a parallel line to create an inner border. The width of this inner border will depend on your personal preference. Make sure the inner border is evenly spaced within the outer border.
Step 5: Add Detailing
To enhance the appearance of your frame, add some detailing. This can include patterns, motifs, or textures. Be creative and choose a style that complements the overall theme of your artwork.
Step 6: Add Depth and Shadows
To give your frame a three-dimensional effect, add depth and shadows. Use shading techniques to create highlights and lowlights, giving the illusion that the frame is popping out or receding into the background. Pay attention to the light source and add shadows accordingly.
Step 7: Erase Unwanted Lines
Now that you have completed the frame, use your eraser to carefully remove any unwanted pencil lines or smudges. Clean up the edges, making sure the frame looks crisp and well-defined.
Conclusion
Congratulations! You have successfully learned how to draw a frame. Whether you are framing your artwork or enhancing a photograph, a well-drawn frame can elevate the visual impact of your piece. By following the step-by-step instructions provided in this article, you can create frames of various shapes, sizes, and styles to suit your artistic needs. So grab your materials and start framing your masterpieces today!