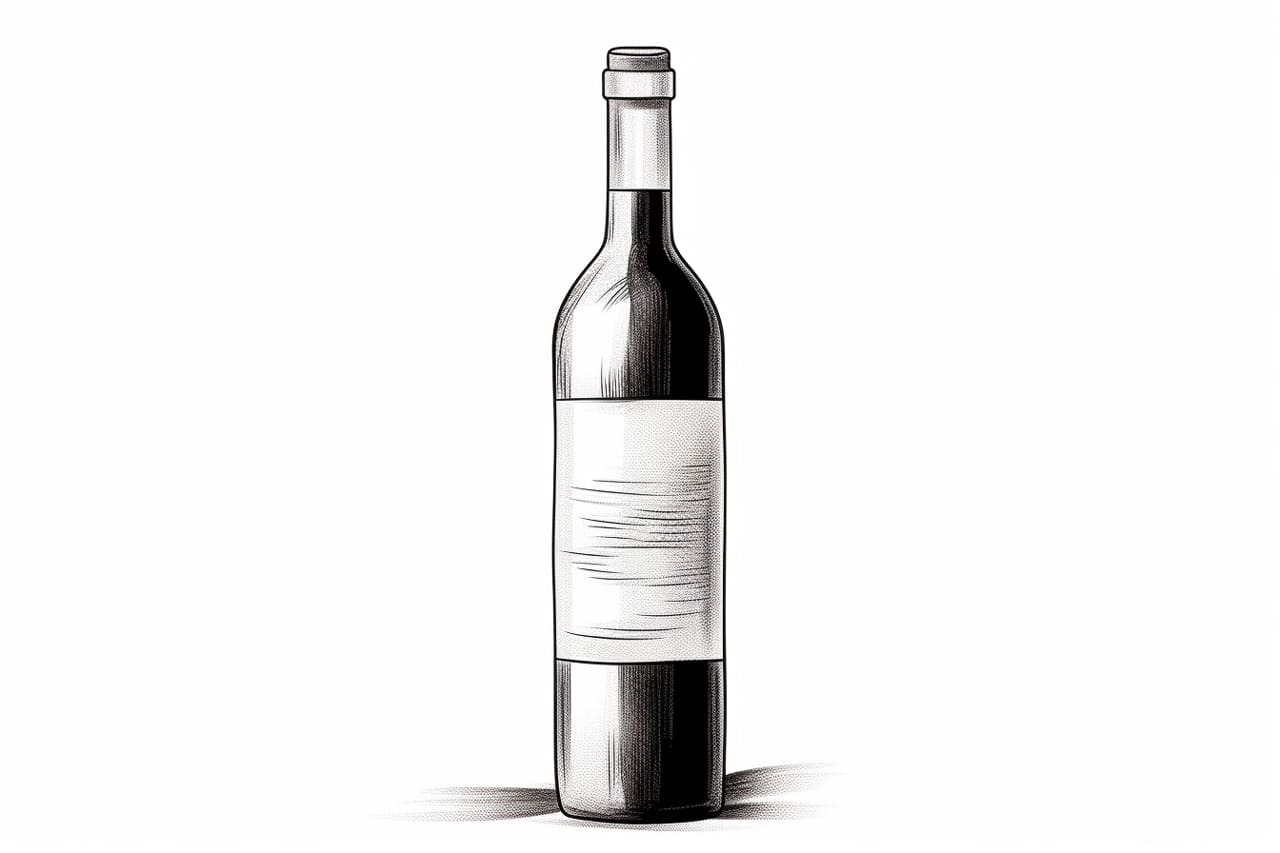
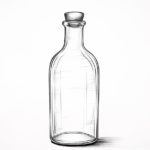
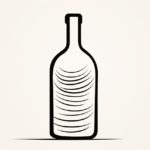
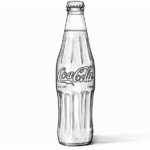
Welcome to this step-by-step tutorial on how to draw a wine bottle. Whether you are a beginner or an experienced artist, this guide will help you create a realistic and detailed drawing of a wine bottle. With clear and concise instructions, you will learn the techniques and skills needed to capture the elegance and shape of this iconic beverage container. So let’s raise our art supplies and get started!
Materials Required
Before we begin, let’s gather the materials you will need to complete this drawing:
- Drawing paper or sketchbook
- Pencil (preferably a HB or 2B)
- Eraser (kneaded erasers work best)
- Ruler
- Fine-tip black pen or marker (optional, for outlining)
- Colored pencils or markers (optional, for adding color)
Make sure you have all these materials ready, as they will help you create a fantastic wine bottle drawing.
Step 1: Basic Shape
Start by lightly sketching a vertical line as the center line of the wine bottle. This line will serve as a guide to help you maintain symmetry throughout the drawing.
Next, draw an oval shape at the top of the vertical line to represent the bottle’s neck. The size and proportions of the oval will depend on the angle and perspective you want to achieve.
Step 2: Neck and Shoulder
Continuing from the oval shape, sketch the neck by drawing two parallel lines slightly curving outward. The length of the neck will also vary depending on the desired proportions of your wine bottle.
Once the neck is defined, draw the shoulder of the bottle by extending two lines in a slight curve from the end of the neck. The shoulder is the broader part of the bottle near the top.
Step 3: Body
Now, it’s time to draw the main body of the wine bottle. From the lower end of the shoulder, draw two straight lines that converge slightly toward the bottom. These lines will determine the width and shape of the bottle’s body.
At the bottom of the straight lines, connect them with a slightly curved horizontal line to complete the base of the wine bottle.
Step 4: Curves and Details
To make the wine bottle look more realistic, add curves and details. Start by softening the corners and edges of the bottle. Use your pencil to create subtle curves along the edges, making them appear smoother.
Next, it’s time to draw the wine bottle’s label. Add a horizontal line across the body of the bottle, approximately one-third of the way down from the shoulder. This line will act as a guide for placing the label.
Step 5: Shading and Highlights
To add depth and dimension to your drawing, it’s important to shade the wine bottle properly. Observe the source of light in your scene and imagine where the shadows would fall.
Begin by lightly shading the areas opposite the light source, such as the backside of the bottle and the neck. Use a light touch and gradually build up the shading by layering your pencil strokes.
Next, identify areas where the light would hit the bottle and create highlights. Leave those areas white or blend them gently with your eraser for a subtle effect.
Step 6: Outlining the Drawing (Optional)
If you want to emphasize your wine bottle drawing, you can outline it with a fine-tip black pen or marker. This will make the lines more defined and give your artwork a polished look. Be careful not to overdo it and keep the lines clean and smooth.
Step 7: Adding Color (Optional)
To bring your wine bottle drawing to life, consider adding color. If you choose to use colored pencils or markers, start by lightly layering the base color of the wine bottle. Observe the color and transparency of wine bottles to match the shade accurately.
Then, gradually build up the colors and shadows, adding highlights and reflections as needed. Remember to blend and layer your colors to achieve a realistic and vibrant result.
Conclusion
Congratulations! You have successfully learned how to draw a wine bottle from start to finish. By following these step-by-step instructions, you have created a detailed and realistic representation of this iconic beverage container. Keep practicing and experimenting with different angles and perspectives to enhance your drawing skills further. Cheers to your artistic journey!

