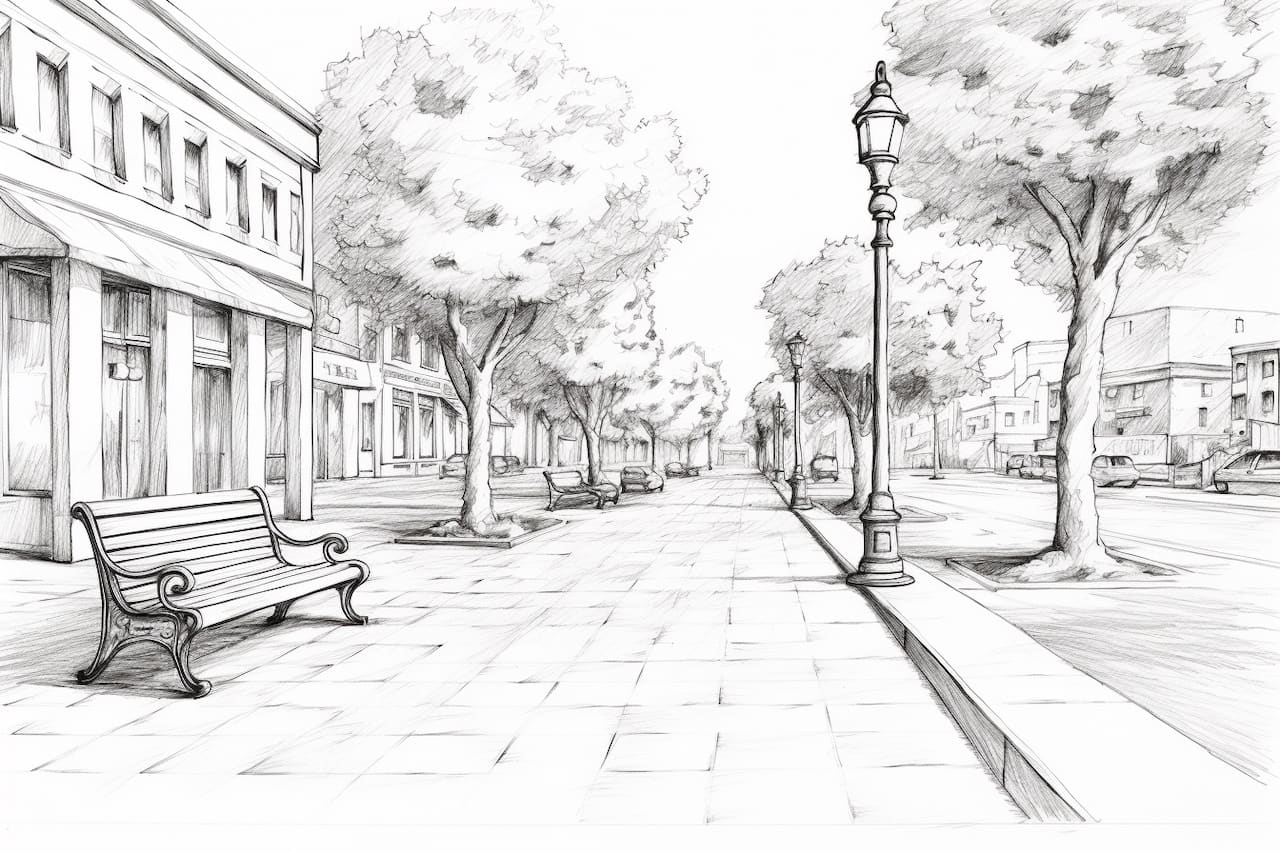
Welcome to this step-by-step guide on how to draw a sidewalk! Whether you’re a beginner or an experienced artist, this tutorial will help you create a realistic and detailed sidewalk in your drawings. Get ready to unleash your creativity and let’s get started!
Materials Required
Before we begin, make sure you have the following materials:
- A pencil (HB or 2B)
- Drawing paper or sketchbook
- Eraser
- Ruler
- Black pen or fine liner (optional)
- Colored pencils or markers (optional)
Now that you have your materials ready, let’s move on to the steps involved in drawing a sidewalk.
Step 1: Setting the Horizon Line
Start by setting the horizon line, which represents the eye level of the observer. Use your ruler to draw a straight horizontal line near the upper portion of your paper. This line will act as a guide for placing your sidewalk accurately.
Step 2: Drawing the Sidewalk Shape
Using your ruler, draw two diagonal lines from the bottom corners of your paper. These lines should converge towards a vanishing point located near the center of your horizon line. This will create the illusion of depth and perspective. Now, draw another pair of diagonal lines from the top corners of your paper, intersecting with the previous lines to form a rectangle. This will be the basic shape of your sidewalk.
Step 3: Adding Details to the Sidewalk
Next, we will add some details to make the sidewalk more realistic. Draw parallel lines across the width of the sidewalk to represent the individual slabs or tiles. Make sure the lines are straight and evenly spaced. You can also add cracks or irregularities to give the sidewalk a worn-out appearance. Don’t worry about making them perfect – imperfections add character!
Step 4: Shading the Sidewalk
To create a three-dimensional effect and give the sidewalk volume, we need to add shading. First, determine the direction of the light source. This will help you decide where to add shadows and highlights. Using light pencil strokes, shade one side of each slab, leaving the opposite side lighter or even white to indicate light reflecting on it. Blend the shading gently using your finger or a blending stump for a smoother look.
Step 5: Adding Texture
Sidewalks often have a rough texture, which adds to their realism. To recreate this texture, use your pencil to lightly add small dots or specks throughout the surface of the sidewalk. Vary the intensity of these marks to create a natural and random effect. This step is optional, but it can greatly enhance the overall appearance of your drawing.
Step 6: Finalizing the Drawing
Now that you have completed the main structure and texture of the sidewalk, it’s time to refine and finalize your drawing. Use your eraser to remove any unwanted pencil marks or smudges. You can also go over the outline of the sidewalk with a black pen or fine liner to make it more defined and crisp. This step will give your drawing a finished look.
Conclusion
Congratulations! You have successfully learned how to draw a sidewalk. By following these step-by-step instructions, you now have the skills to create realistic and detailed sidewalks in your drawings. Remember to practice and experiment with different techniques to further improve your drawings. Happy drawing!


