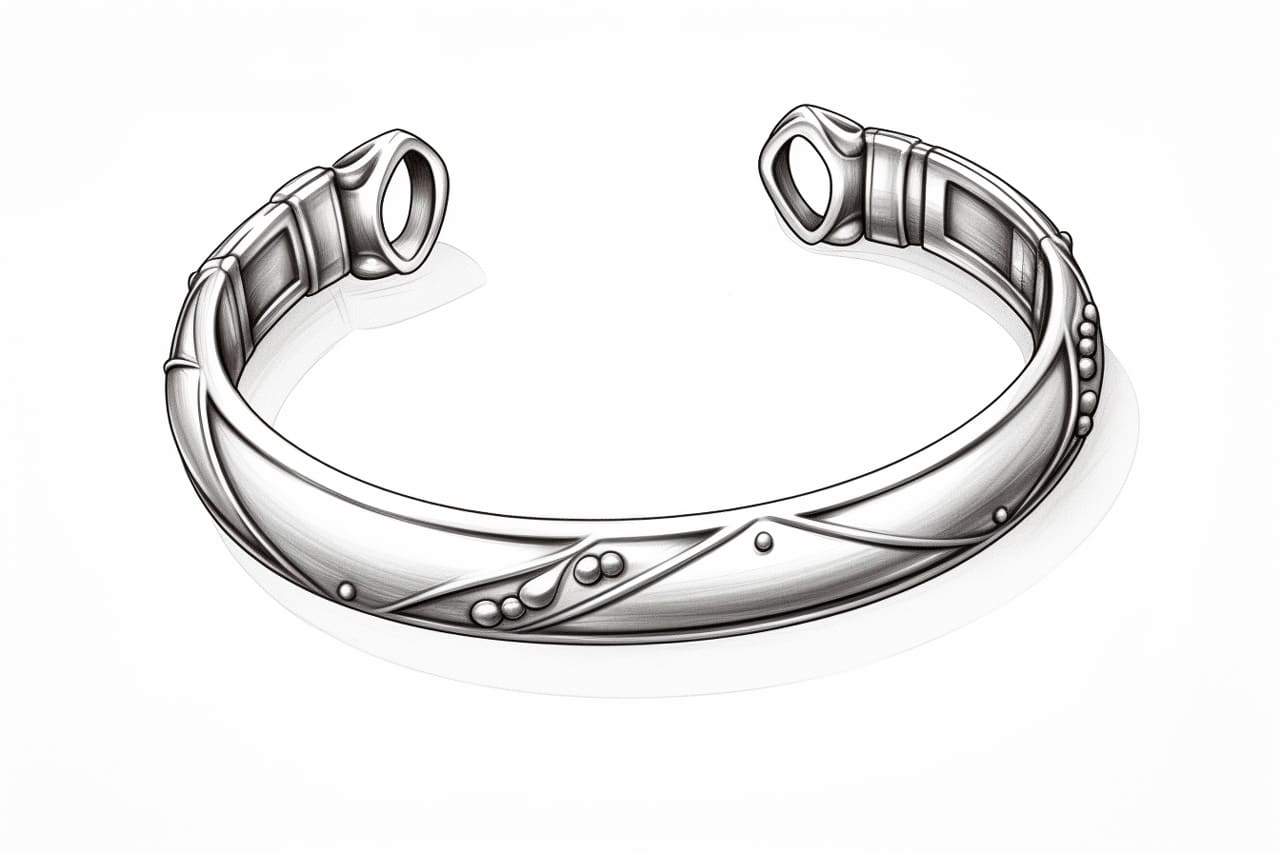
Welcome to this step-by-step tutorial on how to draw a beautiful bracelet. Whether you’re an experienced artist or a beginner, this guide will walk you through the process in a clear and concise manner. By following these instructions, you’ll be able to create a stunning bracelet drawing that you can be proud of. So let’s get started!
Materials Required
Before we begin, let’s gather the materials you’ll need for this drawing tutorial:
- Pencil – Use a good quality pencil with a sharp tip for precise lines.
- Eraser – Have a soft eraser on hand to correct any mistakes.
- Paper – Choose a smooth, white paper that is suitable for drawing.
Now that we have all the materials ready, let’s dive into the steps to draw a bracelet.
Step 1: Draw the Outline
Start by drawing a horizontal line across the page. This line will serve as the foundation for your bracelet. Next, draw two vertical lines that intersect the horizontal line at the center. This will create a cross-like shape.
Step 2: Add Curved Lines
From the intersection point of the cross, add two curved lines that extend outward on both sides. These lines will form the basic shape of the bracelet. Make sure they are symmetrical and have a pleasing curve.
Step 3: Define the Bracelet Shape
Using the curved lines as a guide, start adding more details to define the shape of the bracelet. Add a thicker outer edge and a thinner inner edge to give it a three-dimensional look. Remember to keep the lines smooth and clean.
Step 4: Add Decorative Elements
Now it’s time to add some decorative elements to the bracelet. You can choose to draw gems, pearls, or any other design you prefer. Ensure that the elements are evenly spaced and balanced along the bracelet’s shape. Take your time and be patient as you add these details.
Step 5: Refine the Details
Once you have added the decorative elements, take a moment to refine the details. Pay attention to the proportions and symmetry of the bracelet. Make any necessary adjustments to ensure a harmonious overall look.
Step 6: Shade and Texture
To give your bracelet drawing a realistic touch, add shading and texture. Identify the light source in your drawing and shade accordingly. Use light, controlled strokes to create the illusion of depth and dimension. You can also add subtle textures to various parts of the bracelet to make it more interesting.
Step 7: Erase Unnecessary Lines
As you finish shading and adding texture, carefully erase any unnecessary construction lines. The clean and crisp lines will enhance the overall appearance of the bracelet drawing.
Conclusion
Congratulations! You have successfully learned how to draw a beautiful bracelet. By following these step-by-step instructions, you have created a stunning artwork that showcases your artistic skills. Take your time and practice this drawing technique to further refine your skills. Remember, the more you practice, the better you’ll become. Enjoy the process and let your creativity shine!


