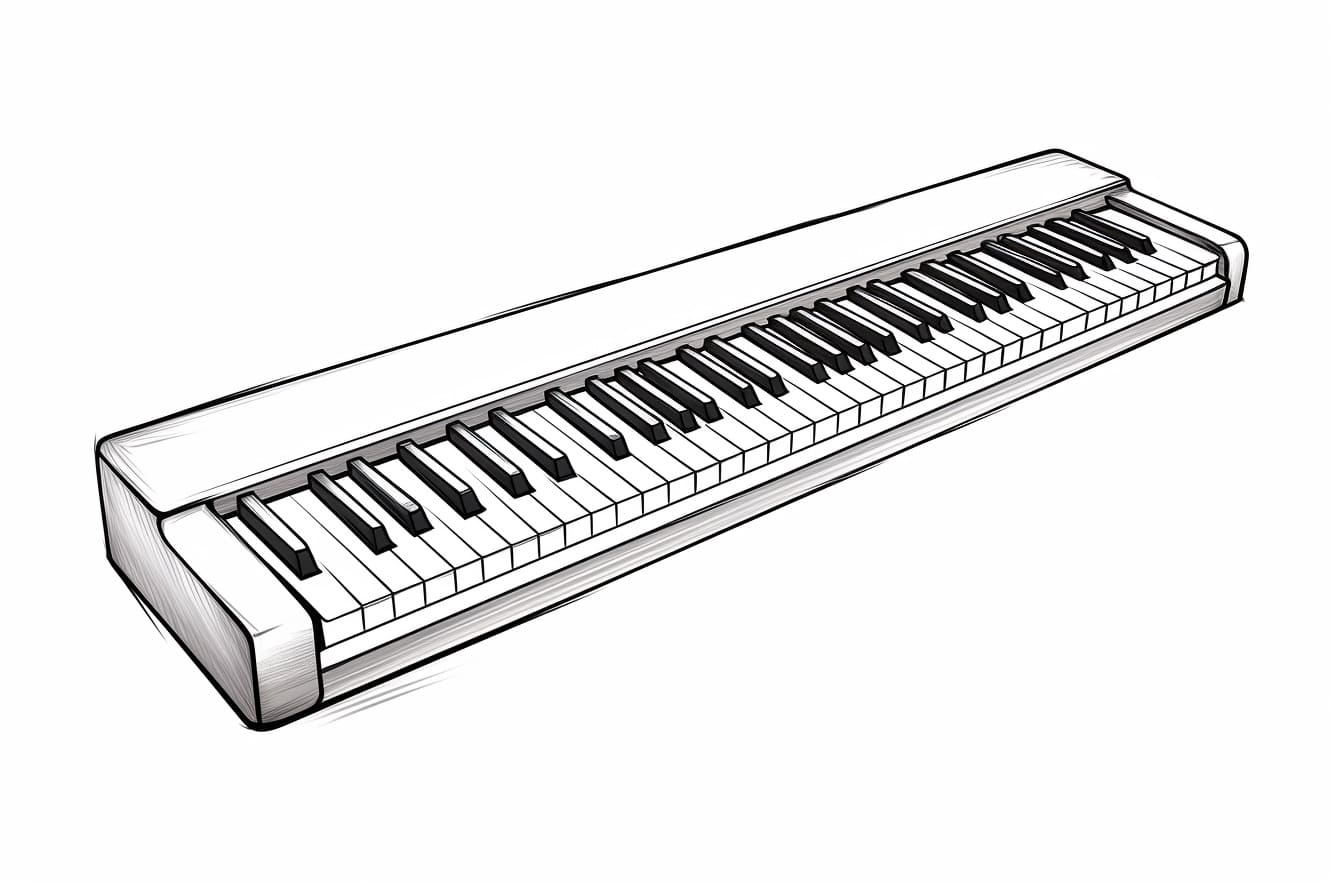
Are you interested in drawing a piano keyboard but don’t know where to begin? Look no further! In this step-by-step guide, we will walk you through the process of how to draw a piano keyboard. Whether you’re an experienced artist or just starting out, you’ll find these instructions easy to follow. So grab your pencils, and let’s get started!
Materials Required
Before we begin, make sure you have the following materials:
- Drawing paper
- Pencils (preferably various grades)
- Eraser
- Ruler
- Black pen or marker (optional)
- Reference image of a piano keyboard (if needed)
Now that you have everything you need, let’s dive into the steps!
Step 1: Outline the Keyboard Frame
Start by drawing a rectangular shape that will serve as the frame of the keyboard. Use your ruler to ensure straight lines and try to make the rectangle proportional to the size you want for your drawing. Remember, a typical piano keyboard is longer horizontally than vertically.
Step 2: Divide the Keyboard into Sections
Using a ruler, draw evenly spaced vertical lines inside the rectangular frame to divide it into sections. These sections represent the black and white keys of the piano. The black keys are arranged in groups of two and three, alternating throughout the keyboard.
Step 3: Add the White Keys
Next, within each section, draw rectangles that represent the white keys of the piano. Leave even spaces between each rectangle to give the keys a consistent width. Keep in mind that the white keys are longer than the black keys.
Step 4: Draw the Black Keys
Now it’s time to draw the black keys of the piano. The black keys are narrower and shorter than the white keys. They are usually placed between two adjacent white keys. Draw rectangles for each black key, making sure they are evenly spaced.
Step 5: Add Details to the Keys
To make the keys look more realistic, add some details to them. Shade the black keys to emphasize their depth, and add lines on the white keys to represent the separation between each key. Take your time with this step to achieve the desired level of detail.
Step 6: Create Shadows and Highlights
To give your drawing more depth and dimension, add shadows and highlights to the keyboard. Use a darker shade to create shadows on the sides of the keys and a lighter shade to add highlights on the tops of the keys. Blend the shades smoothly to create a realistic effect.
Step 7: Refine the Drawing
Once you have completed the main structure and shading, take a step back and evaluate your drawing. Look for any areas that need refinement or adjustment. Use your eraser to correct any mistakes or smudges, and make any necessary improvements to the overall composition.
Step 8: Ink (Optional)
If you want to make your drawing more bold and defined, you can use a black pen or marker to ink over the pencil lines. This step is optional and depends on your personal preference and style. Take your time and be careful not to ink over any unwanted pencil marks.
Step 9: Final Touches
Lastly, add any final touches or details to your drawing. This could include adding shading to the background, highlighting certain areas, or adding any other elements that you think would enhance the overall composition. Feel free to let your creativity shine!
And there you have it – a beautifully drawn piano keyboard! With a little practice and attention to detail, you will be able to create impressive drawings of pianos and other musical instruments. Remember, drawing is a skill that develops over time, so don’t be discouraged if your first attempts don’t turn out exactly as you imagined. Keep practicing, and soon enough, you’ll be able to create masterpieces!
Conclusion
Drawing a piano keyboard may initially seem challenging, but with the right guidance, anyone can achieve great results. In this step-by-step guide, we have covered the essential steps to draw a realistic piano keyboard. By following these instructions and using the required materials, you’ll be well on your way to creating a visually stunning piece of art.
So, gather your artistic tools and unleash your creativity! Start by outlining the keyboard frame and then proceed to divide it into sections. Add the white keys and then draw the black keys in their designated spots. Remember to add details, shadows, and highlights to bring your drawing to life. Refine the drawing, ink if desired, and add those final touches that make your artwork unique.
Now that you have learned how to draw a piano keyboard, get ready to showcase your newfound skills. Remember, practice makes perfect, so keep drawing and exploring new techniques. The possibilities are endless!


