Welcome to this step-by-step guide on how to draw a fingerprint! In this article, I will provide you with clear and concise instructions that will help you create a lifelike representation of a fingerprint. Whether you are an aspiring artist or just looking for a fun drawing project, this tutorial is for you. So, let’s get started!
Materials Required
Before we begin, gather the following materials:
- Pencil
- Drawing paper
- Eraser
- Fine-tipped black pen or marker
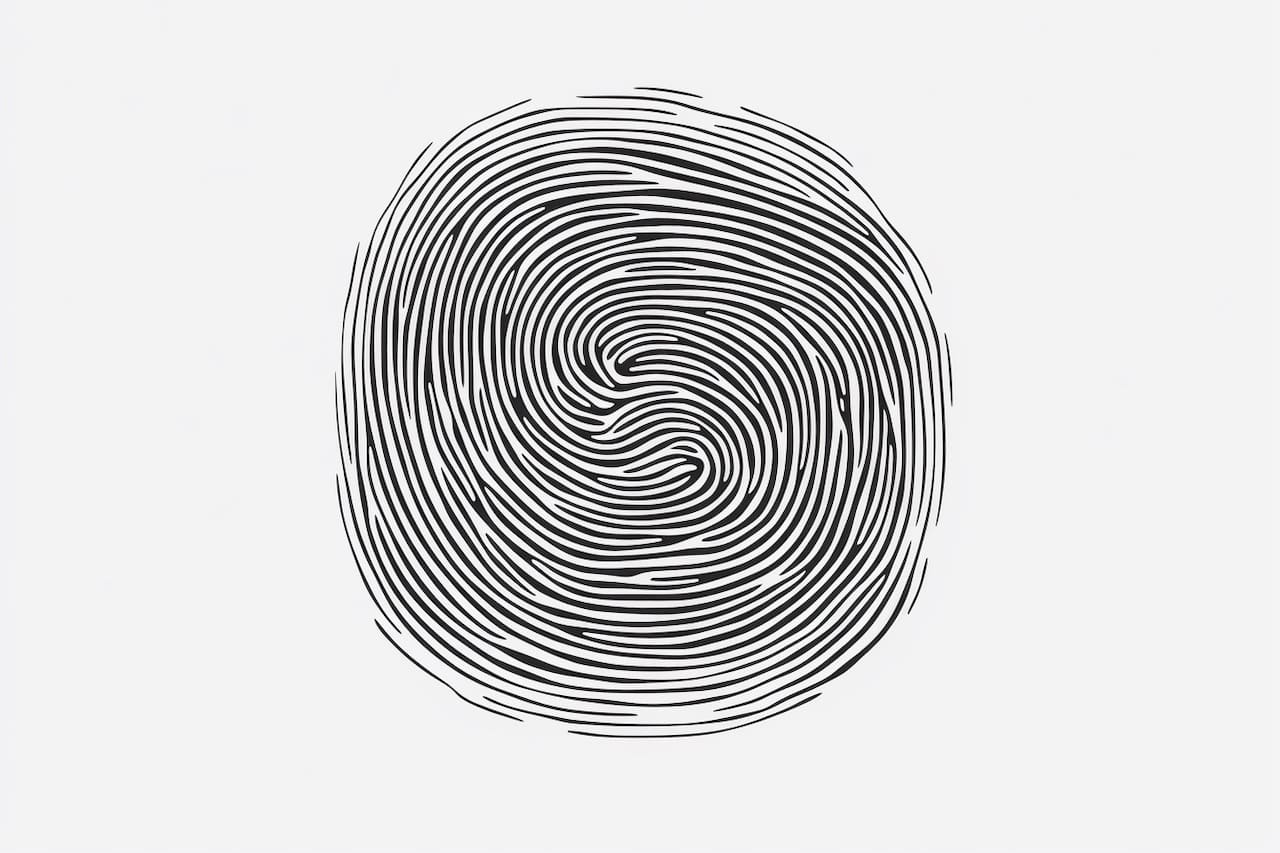
- Reference image of a fingerprint (optional)
Now that you have all the necessary materials, let’s dive into the steps of drawing a fingerprint.
Step 1: Start with Basic Shapes
Begin by lightly sketching an oval shape on your drawing paper. This oval will serve as the base of your fingerprint. Keep the lines loose and don’t worry about any imperfections at this stage. Remember, we can always refine and adjust as we progress.
Step 2: Add Curved Lines
Inside the oval, start adding curved lines that mimic the ridges found in a fingerprint. These lines should be irregular and intersect at various points. Keep in mind that fingerprints have a unique pattern, so feel free to get creative and experiment with different shapes and curves.
Step 3: Define the Ridge Pattern
Using the fine-tipped black pen or marker, carefully trace over the curved lines to make them more defined. This will help create the distinct ridge pattern that is characteristic of fingerprints. Pay attention to the direction of the lines and keep them consistent throughout the drawing.
Step 4: Darken the Shadows
Identify areas of the fingerprint where shadows would naturally occur. These areas are usually found between the ridges. Using the black pen or marker, darken these sections to add depth and dimension to your drawing. This step will make your fingerprint appear more three-dimensional.
Step 5: Refine and Add Details
Take a step back and assess your work so far. Look for any areas that may need refinement or additional details. Add more curved lines, adjust the shapes, and make any necessary changes to ensure your fingerprint looks as realistic as possible. Don’t be afraid to experiment and be creative – after all, no two fingerprints are exactly alike!
Step 6: Erase Unwanted Lines
Carefully erase any unwanted lines or stray marks that may still be visible. This step is crucial for achieving a clean and polished final result. Be patient and gentle while erasing to avoid damaging the paper.
Step 7: Final Touches
Take a moment to examine your drawing and make any final adjustments. Add any necessary finishing touches to enhance the overall appearance of the fingerprint. You can also darken the lines further or add shading to create a more realistic effect. Once you are satisfied with the outcome, your fingerprint drawing is complete!
Conclusion
Congratulations on successfully drawing a realistic fingerprint! By following these step-by-step instructions, you have learned how to create a lifelike representation of this unique pattern. Remember to practice and experiment with different techniques to further develop your artistic skills. Enjoy the process and create your own variations of fingerprints. Happy drawing!