Welcome to this tutorial on how to draw a topographic map! Topographic maps are valuable tools for hikers, geologists, and anyone who needs to understand the surface features of a particular area. In this step-by-step guide, we will walk you through the process of creating a topographic map from scratch. So, grab your pencils and let’s get started!
Materials Required
To draw a topographic map, you will need the following materials:
- Graph paper or a blank sheet of paper
- Pencils (preferably with different lead hardnesses)
- Eraser
- Ruler
- Compass
- Protractor
- Contour lines reference guide (optional)
Now that you have gathered your materials, let’s dive into the step-by-step instructions!
Step 1: Define the Scale
The first step in drawing a topographic map is to determine the scale you want to use. The scale represents the ratio between the distance on the map and the corresponding distance on the ground. For example, a scale of 1:10,000 means that one unit of measurement on the map represents 10,000 units on the ground. Choose a scale that suits the level of detail you want to portray.
Step 2: Identify Key Features
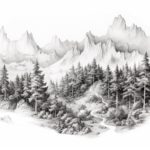
Take a close look at the area you want to map and identify the key features you want to include. These may include rivers, mountains, valleys, lakes, and any other significant landmarks. Consider how these features relate to each other and how they should be represented on the map.
Step 3: Start with the Base
Begin by drawing the base of your map. Use a ruler to draw the main horizontal and vertical lines that will serve as the reference points. Make sure to match the size of your paper to the scale you have chosen.
Step 4: Indicate Elevation
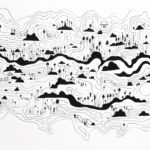
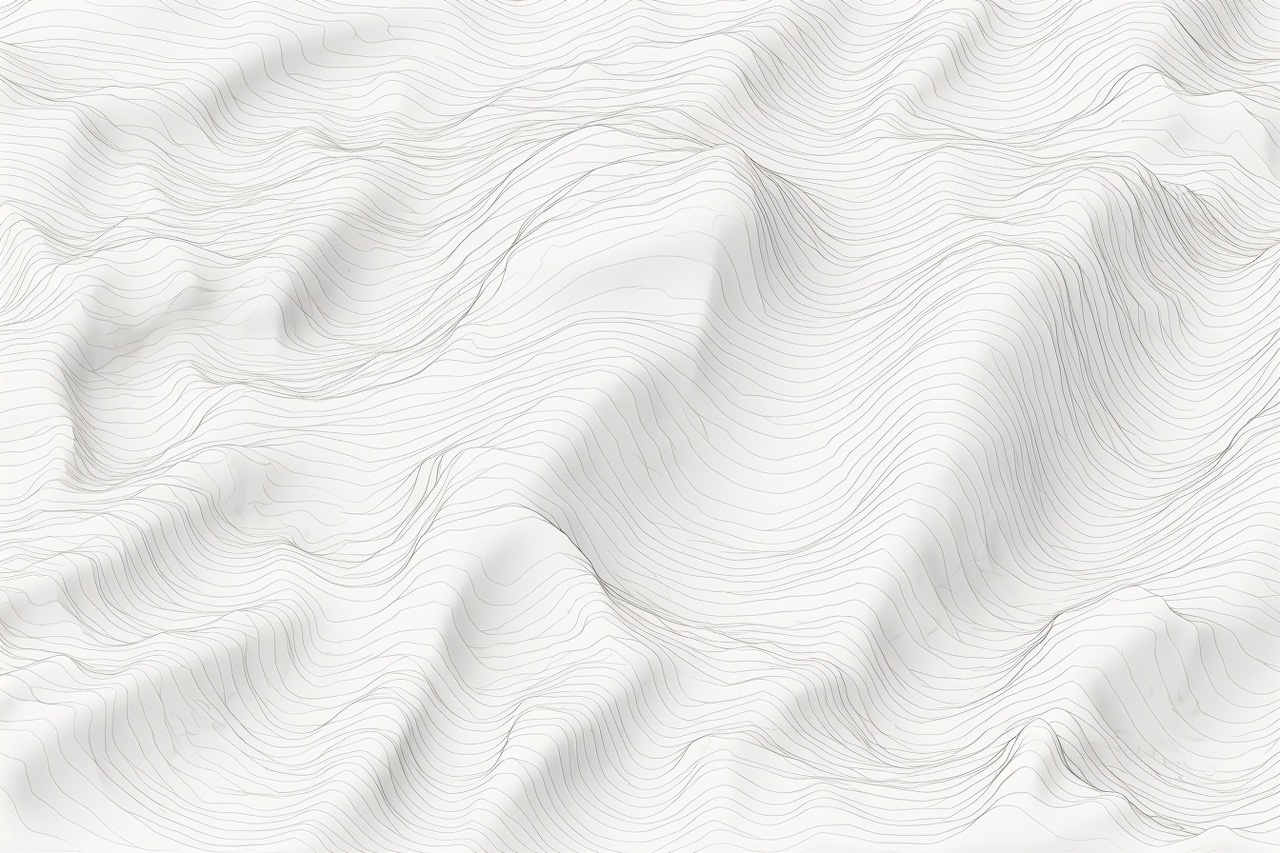
Next, you will add contour lines to indicate the elevation of the land. Contour lines connect points of equal elevation and form patterns across the map. Start by choosing an interval that represents a specific difference in elevation (e.g., 10 meters). Then, draw contour lines at regular intervals, keeping in mind that closer lines indicate steeper slopes.
Step 5: Shade the Features
Once you have drawn the contour lines, it’s time to shade the different features on the map. Use different shades or patterns to represent areas such as forests, bodies of water, and slopes. This will help to distinguish between different landforms and make your map more visually appealing.
Step 6: Add Symbols and Labels
Now that the main features of your topographic map are in place, it’s time to add symbols and labels. Symbols can represent man-made structures like buildings and roads, while labels provide names for various geographic elements. Be sure to use a legible font and place the symbols and labels in appropriate locations.
Step 7: Add a Compass Rose
To ensure that your map is oriented correctly, add a compass rose. Use a protractor to draw a circle and then divide it into directional quadrants. Label each quadrant with the appropriate cardinal or ordinal direction (N, NE, E, SE, etc.). This will help users of your map understand which way is north.
Step 8: Review and Refine
Once you have completed your topographic map, take a step back and review it for accuracy and clarity. Make any necessary refinements to ensure that your map is easy to read and understand. Pay attention to the scale, contour lines, symbols, and labels to ensure they accurately represent the terrain.
Conclusion
Congratulations! You have successfully learned how to draw a topographic map from scratch. By following these step-by-step instructions and using the right materials, you can create detailed and informative maps to aid in your outdoor adventures or professional work. So, grab your pencils and start mapping!