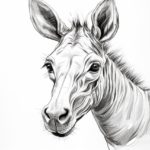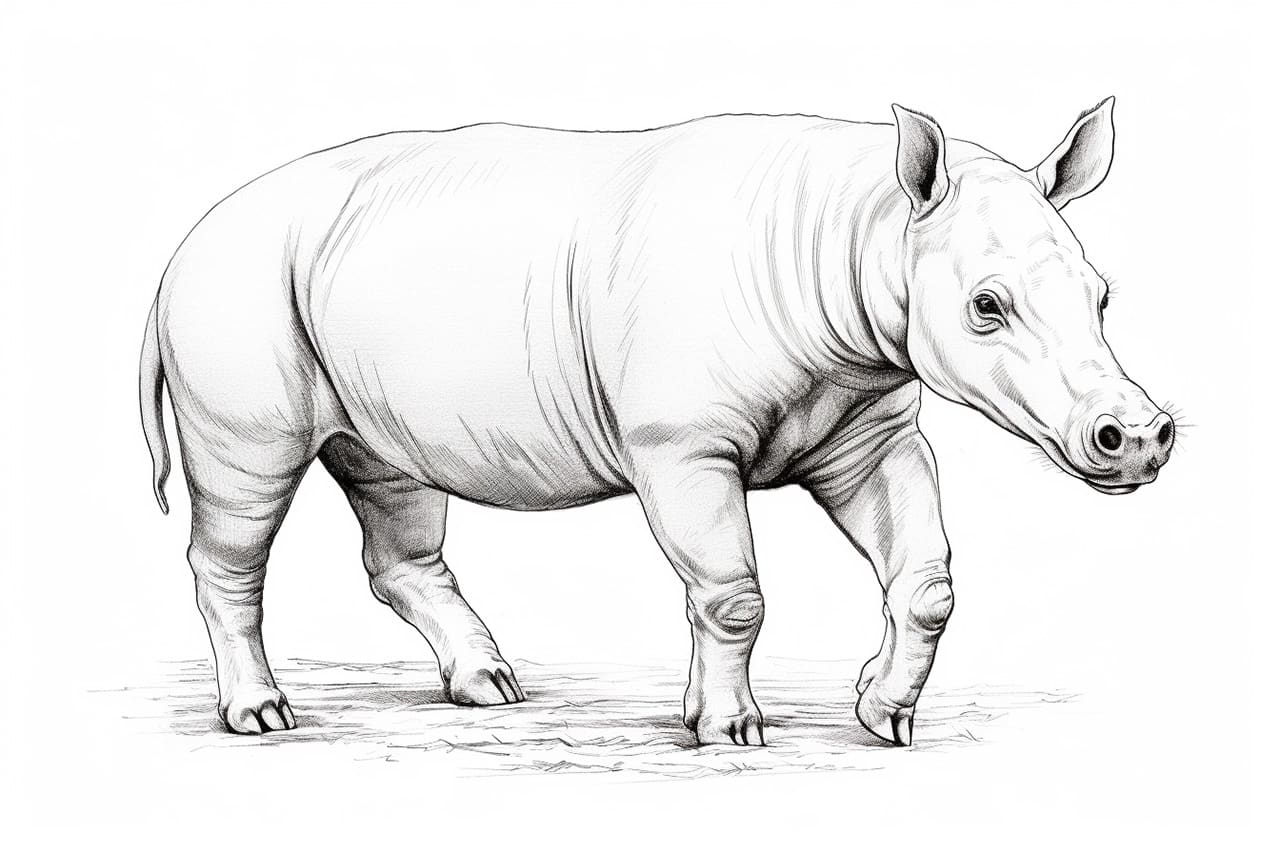
Tapirs are fascinating creatures known for their unique appearance, with their long, flexible snouts and sturdy bodies. This article will guide you through the process of how to draw a tapir step-by-step, so grab your drawing materials and let’s get started!
Materials Required
Before we begin, make sure you have the following materials on hand:
- Drawing paper or sketchbook
- Pencil
- Eraser
- Fine-tip black pen or marker
- Colored pencils or markers
Now that you have everything you need, let’s dive into the steps of drawing a tapir.
Step 1: Outline the Tapir’s Body
Start by lightly sketching the basic shape of the tapir’s body using your pencil. Tapirs have a large, oval-shaped body with a smaller head and short legs. Remember to keep your lines loose and don’t worry about getting everything perfect at this stage. Focus on capturing the overall proportions and shape of the tapir.
Step 2: Add the Head and Facial Features
Using your initial outline as a guide, add the tapir’s head above the body sketch. Pay attention to the placement and size of the head in relation to the body. Tapirs have small, round ears and prominent snouts. Sketch the ears on either side of the head and the snout in the center, extending it out from the face.
Step 3: Refine the Body and Limbs
Now it’s time to refine the tapir’s body and limbs. Use your pencil to add more details and define the shape. Tapirs have a thick, muscular body, so make sure to emphasize the curves and volume. Add the legs, making them short and sturdy. Don’t forget to sketch the hooves at the end of each leg.
Step 4: Draw the Facial Details
Focus on the tapir’s face and add more details to bring it to life. Sketch the eyes, which are small and round, and place them on either side of the snout. Next, draw the tapir’s nostrils at the tip of the snout. Take your time to carefully observe the reference image or picture of a tapir to capture the unique features accurately.
Step 5: Outline the Tapir’s Coat
Tapirs have a distinctive coat pattern that consists of light-colored markings on a dark-colored body. Use your pencil to lightly outline the coat pattern. Start by drawing curved lines along the tapir’s back, emphasizing the rounded shape of the body. Then, add irregular shapes and lines to represent the light-colored patches on the tapir’s face, haunches, and underbelly.
Step 6: Finalize the Details
At this point, your tapir sketch is nearly complete. Take a moment to review your drawing and refine any areas that need adjustment. Add more details to the tapir’s face, such as the mouth and any wrinkles or fur markings. You can also darken the coat pattern lines to make them more prominent.
Step 7: Ink or Trace Your Drawing
Once you are satisfied with your pencil sketch, it’s time to ink or trace over the lines with a fine-tip black pen or marker. This will give your drawing a clean and polished look. Take it slow and pay attention to the details as you go. Allow the ink to dry before erasing any remaining pencil lines.
Step 8: Color Your Tapir
Now comes the fun part – adding color to your tapir drawing! Use colored pencils or markers to bring your tapir to life. Tapirs usually have a dark brown or black body color, so start by filling in the main body with these darker shades. Then, choose a lighter shade to color the accent patches on the face and body. Experiment with different color combinations to make your tapir truly unique.
Conclusion
Congratulations on completing your tapir drawing! By following these step-by-step instructions, you’ve learned how to capture the distinct features and markings of this remarkable animal. Remember to practice regularly to improve your drawing skills and explore different art techniques. Keep up the great work, and have fun drawing more fascinating creatures like the tapir!