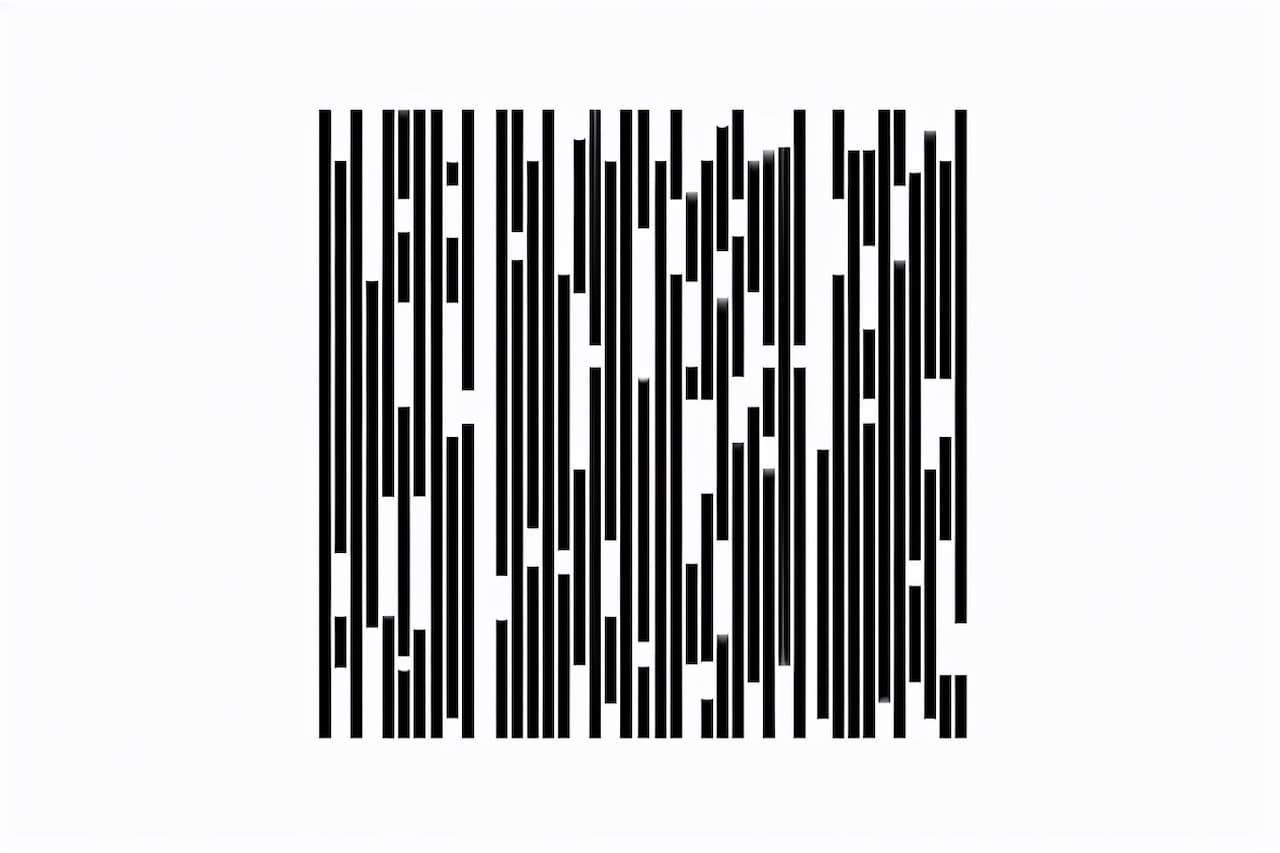
Barcodes are a common sight in our daily lives, appearing on products, tickets, and even ID cards. They serve as a unique identifier for items using a series of black and white lines. Have you ever wondered how to draw a barcode? In this step-by-step guide, we will explore the process of drawing a barcode, from understanding the structure to creating one yourself.
Materials Required
Before we begin, let’s gather the materials required to draw a barcode:
- Blank paper – A clean sheet of paper will serve as our canvas.
- Ruler – We will use a ruler to measure and draw straight lines.
- Pencil – A pencil will allow us to make adjustments and erase any mistakes.
- Black marker – A black marker will help us achieve the distinct black lines of the barcode.
Now that we have our materials ready, let’s dive into the process of drawing a barcode.
Step 1: Understand the Barcode Structure
Barcodes follow a specific structure known as the Universal Product Code (UPC). A typical barcode consists of three main components: the start code, the data code, and the stop code. The start code and stop code indicate the beginning and end of the barcode, while the data code contains the information that the barcode represents.
Step 2: Draw the Start Code
Let’s start by drawing the start code. The start code is represented by a unique pattern of two thin lines followed by two thick lines, followed by another two thin lines. Use your ruler to measure and draw these lines horizontally on your paper.
Step 3: Draw the Data Code
The data code is the heart of the barcode, representing the actual information. Each digit or character is represented by a unique pattern of lines. To draw the data code, divide your paper into several equal-sized sections using your ruler. Each section will contain a set of lines representing a digit or character.
Begin by drawing the lines for the first digit. Consult a barcode reference guide or use an online barcode generator to determine the pattern of lines for each digit. Repeat this process for each remaining digit, ensuring equal spacing between each section.
Step 4: Draw the Stop Code
Lastly, we need to draw the stop code to complete our barcode. Similar to the start code, the stop code is represented by a unique pattern of two thin lines followed by two thick lines, followed by another two thin lines. Draw this pattern horizontally at the end of your barcode, indicating the conclusion of the barcode.
Conclusion
Drawing a barcode may seem daunting at first, but with the right materials and a clear understanding of the structure, it can be a straightforward process. By following the step-by-step instructions provided in this guide, you can create your own barcode. Remember to pay attention to the size, spacing, and thickness of the lines to create an accurate representation.
In this article, we have explored the process of drawing a barcode, from understanding the structure to creating one from scratch. By following the steps outlined, you can confidently draw a barcode and add a unique touch to your artwork or projects. So grab your materials, start practicing, and enjoy the art of barcode creation!