Welcome to this step-by-step guide on how to draw a Dr. Seuss character! Dr. Seuss, also known as Theodor Seuss Geisel, is famous for his whimsical and imaginative illustrations that have captivated readers of all ages. In this tutorial, we will break down the process of creating your own Dr. Seuss character into easy-to-follow steps. So grab your pencils, paper, and let’s get started!
Materials Required
Before we begin, gather the following materials:
- Pencils (HB, 2B, and 4B)
- Eraser
- Sharpener
- Paper (preferably drawing paper)
- Colored pencils or markers (optional)
Step 1: Decide on Your Character
Dr. Seuss characters come in all shapes and sizes, with exaggerated features and vibrant colors. To start, think about what type of character you want to create. Is it a person? An animal? A fantastical creature? Once you have a clear idea in mind, move on to the next step.
Step 2: Sketch Basic Shapes
Begin by lightly sketching the basic outline of your character using simple shapes. For example, if you’re drawing a person, you could start with a circle for the head, an oval for the body, and lines for the limbs. Don’t worry about details at this stage—focus on proportion and overall composition.
Step 3: Refine the Outline
Now that you have the basic shapes in place, refine the outline of your character. Use your pencil to make the lines more defined and confident. You can also start adding more specific details, such as facial features, ears, or tail depending on the character you’re creating. Remember to keep your lines light so that you can easily erase any mistakes.
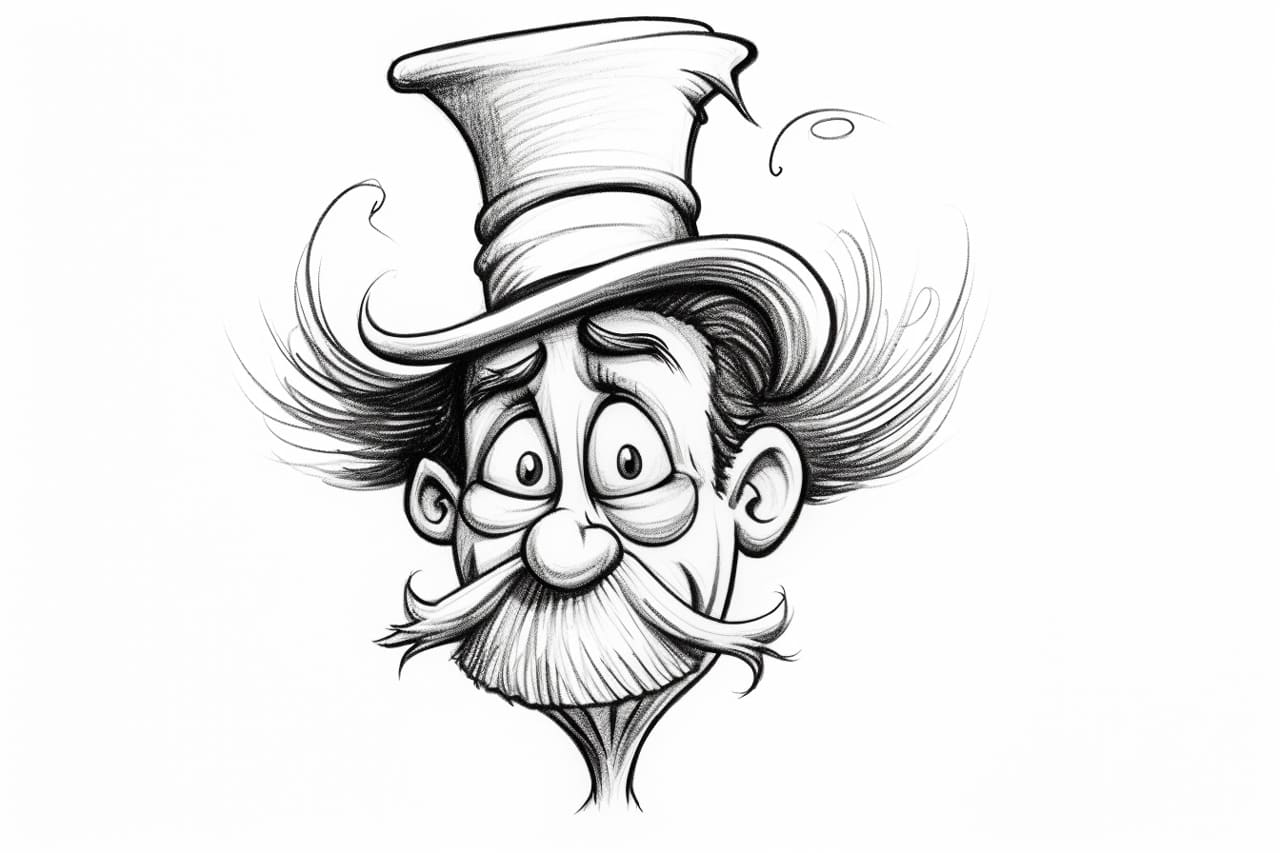
Step 4: Add Facial Expressions
Dr. Seuss characters are known for their expressive faces. Experiment with different eye shapes, eyebrows, mouths, and noses to give your character personality and emotion. Don’t be afraid to get creative and exaggerate the features—this is where the charm of Dr. Seuss illustrations lies!
Step 5: Outline the Body
Once you are satisfied with the face, move on to outlining the body of your character. Consider the pose and stance you want your character to have. Is it standing tall? Sitting down? Dancing? Use flowing lines to capture the movement and energy of your character.
Step 6: Add Details and Accessories
Now it’s time to add some unique details to your character. Dr. Seuss characters often wear interesting outfits and accessories, so let your imagination run wild! Draw intricate patterns, hats, scarves, or any other accessories that enhance your character’s personality. Remember, the more whimsical and imaginative, the better!
Step 7: Clean Up Your Lines
Take a moment to evaluate your drawing and clean up any messy or unnecessary lines. Use an eraser to gently remove any construction lines or mistakes. This will help make your character look polished and ready for coloring, if desired.
Step 8: Color Your Character (Optional)
If you want to bring your character to life, grab your colored pencils or markers and start coloring! Dr. Seuss illustrations are known for their vibrant and playful colors, so don’t hold back. Use bold and contrasting shades to make your character pop off the page.
Conclusion
Drawing a Dr. Seuss character may seem daunting at first, but with a little practice and creativity, you can create your very own whimsical and imaginative character. Remember to start with basic shapes, exaggerate features, and have fun along the way. So go ahead, embrace the spirit of Dr. Seuss and let your imagination soar!