Welcome to this step-by-step guide on how to draw a black hole! Black holes have always fascinated artists and scientists alike. They are mysterious and powerful entities in the vastness of space that capture our imagination. In this article, I will guide you through the process of creating a visually striking representation of a black hole. So, let’s get started!
Materials Required
Before we begin, let’s gather the materials you will need to create your black hole drawing:
- Drawing paper or sketchbook
- Pencil
- Eraser
- Black ink pen or fine liner
- Charcoal or graphite pencils (optional)
- White gel pen or white charcoal (optional)
- Blending stump or cotton swabs (optional)
Now that we have everything we need, let’s dive into the steps of drawing a black hole.
Step 1: Sketch the Outline
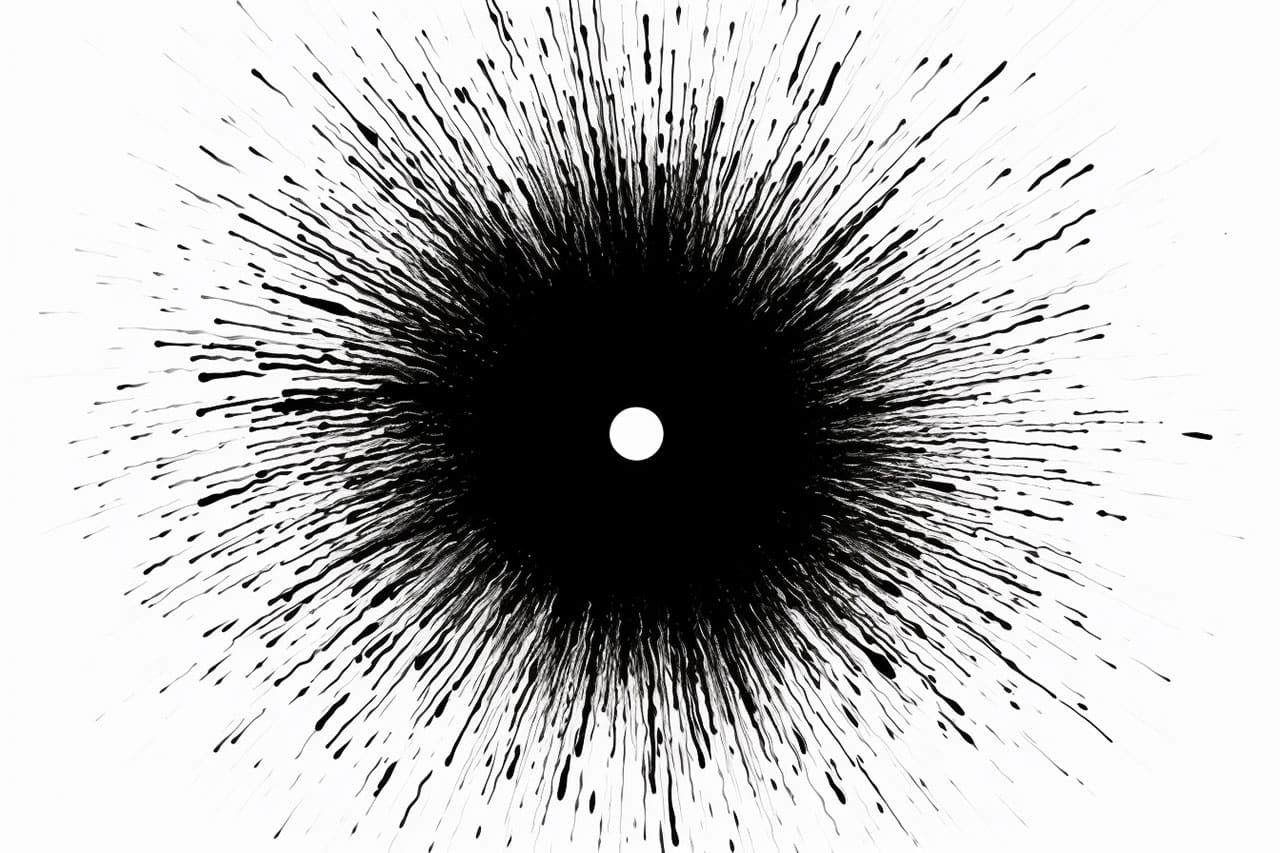
Start by lightly sketching the outline of your black hole on your drawing paper. The shape of a black hole can vary, but a common representation is a circular or oval shape with a dark center. Keep the sketch loose and don’t worry about perfection at this stage.
Step 2: Add Dimension
To create the illusion of depth, add shading to your black hole sketch. Begin by focusing on the outer edges of the black hole and gradually darken the tones as you move towards the center. Use your pencil or charcoal to create soft gradients and shadows. Experiment with different techniques to achieve the desired effect.
Step 3: Enhance the Center
To make the center of the black hole appear even darker and more intense, use your pencil or charcoal to darken the tones further. Apply more pressure to create a solid black center. This will create a strong contrast between the outer edges and the center, adding to the dramatic effect of the black hole.
Step 4: Refine the Outline
Now that you have established the basic shape and shading of your black hole, it’s time to refine the outline. Use your pencil or fine liner to carefully trace over the initial sketch, making the lines more defined and precise. Pay attention to the curves and contours of the black hole, ensuring that it looks visually appealing.
Step 5: Add Details
To make your black hole drawing more visually interesting, you can add some unique details. These details can include swirling lines or spirals around the black hole’s edges, which represent the powerful gravitational forces at work. Use your ink pen or fine liner to add these intricate patterns, ensuring that they flow naturally and complement the overall composition.
Step 6: Create Highlights
To add a touch of realism to your black hole drawing, create highlights on the surface. Using a white gel pen or white charcoal, carefully apply small dots or lines of white along the edges and contours of the black hole. This will enhance the three-dimensional quality of the drawing and make it more captivating.
Conclusion
Congratulations! You have successfully learned how to draw a black hole. By following these step-by-step instructions, you have created a visually striking representation of one of the most mysterious phenomena in the universe. Remember to experiment with different techniques and add your personal touch to make your black hole drawing unique. Enjoy the process and let your imagination soar!