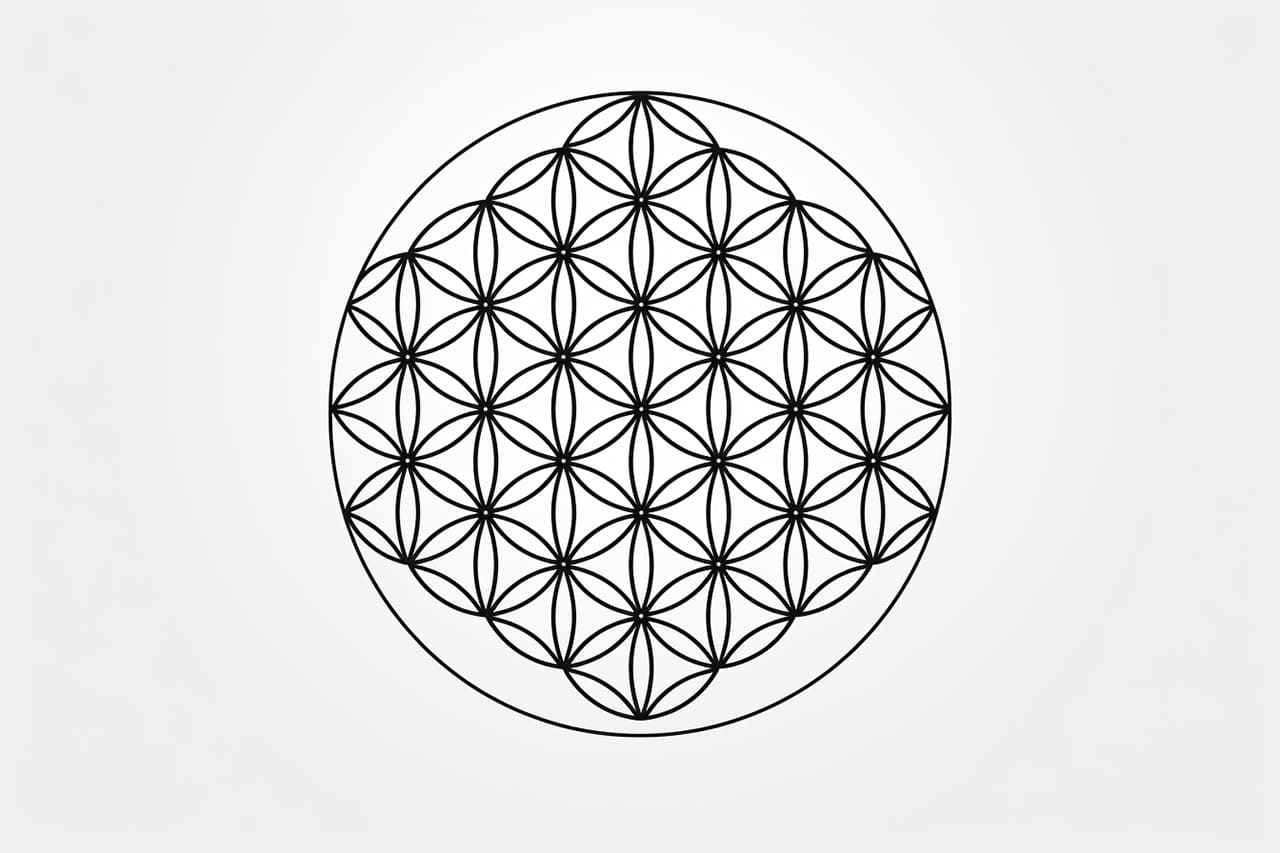
The Flower of Life is a sacred geometric pattern that has been used for centuries in various cultures around the world. It is composed of overlapping circles, creating a beautiful and intricate design. If you’re interested in learning how to draw this fascinating symbol, you’ve come to the right place! In this article, we will guide you through the step-by-step process of how to draw a Flower of Life. So grab your drawing materials and let’s get started!
Materials Required
Before we begin, make sure you have the following materials ready:
- A piece of paper or a sketchbook
- Pencil
- Ruler or compass
- Eraser
Now that we have our materials ready, let’s jump into the steps of drawing the Flower of Life.
Step 1: Start with a Circle
Begin by drawing a large circle in the center of your paper. This will be the foundation of your Flower of Life. Use your compass or a circular object as a guide to create a perfect circle. Take your time to ensure it is as round and symmetrical as possible.
Step 2: Create Six Additional Circles
Using the same radius as your large circle, draw six smaller circles around the central circle, evenly spaced. These circles should intersect with the central circle, creating a flower-like shape. Again, try to make them as symmetrical as possible.
Step 3: Add More Circles
Next, draw three more circles within each of the six smaller circles. The new circles should be the same size as the smallest circles you drew in the previous step. Make sure these circles are evenly spaced within their respective larger circles and intersect with the neighboring circles.
Step 4: Complete the Flower of Life
To complete the Flower of Life, continue adding more circles within each of the existing circles. Repeat this process until you have a total of 19 circles in the pattern. Each circle should be the same size and evenly spaced within its neighboring circles. As you add more circles, the pattern will become more intricate and detailed.
Step 5: Refine the Drawing
Once you have drawn the basic structure of the Flower of Life, take a moment to refine and clean up your drawing. Use your ruler to ensure that all the lines are straight and the circles are perfectly round. Make any necessary adjustments or corrections using your eraser.
Step 6: Add Shading (Optional)
If you want to add some depth and dimension to your drawing, you can experiment with shading. Choose a light source and shade the areas where the circles overlap, creating a sense of depth. You can use hatching or cross-hatching techniques to achieve this effect. Don’t be afraid to experiment and find a shading style that you like.
Conclusion
Drawing the Flower of Life may seem complex at first, but with patience and practice, you can master this beautiful geometric pattern. By following the step-by-step instructions outlined in this article, you’ll be able to create your own Flower of Life artwork. Remember to take your time, be precise, and have fun with the process. The more you practice, the better you’ll become.
So grab your materials and start drawing your very own Flower of Life today!