Welcome to this step-by-step guide on how to draw a bandana! Whether you want to add a fashionable accessory to your artwork or create a unique design, drawing a bandana is a fun and easy way to enhance your artistic skills. In this tutorial, I will walk you through the process of drawing a bandana, providing clear instructions along the way. So grab your drawing materials and let’s get started!
Materials Required
To successfully draw a bandana, you will need the following materials:
- Drawing paper or sketchbook
- Pencil
- Eraser
- Fine-tip black pen or marker
- Colored pencils or markers (optional)
Now that we have our materials ready, let’s dive into the step-by-step process of drawing a bandana.
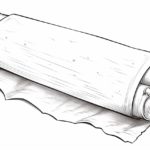
Step 1: Planning the Bandana Design
Before we start drawing, it’s helpful to think about the design you want for your bandana. Bandanas often have various patterns such as paisley, floral, or geometric designs. Decide on the shape, pattern, and colors you want to incorporate into your bandana.
Step 2: Drawing the Outline
Start by lightly sketching the outline of your bandana. The shape of a bandana is typically a large triangle, with one corner pointing downwards. Adjust the size and shape to your preference. Use light and smooth strokes, as this will help with erasing any mistakes later on.
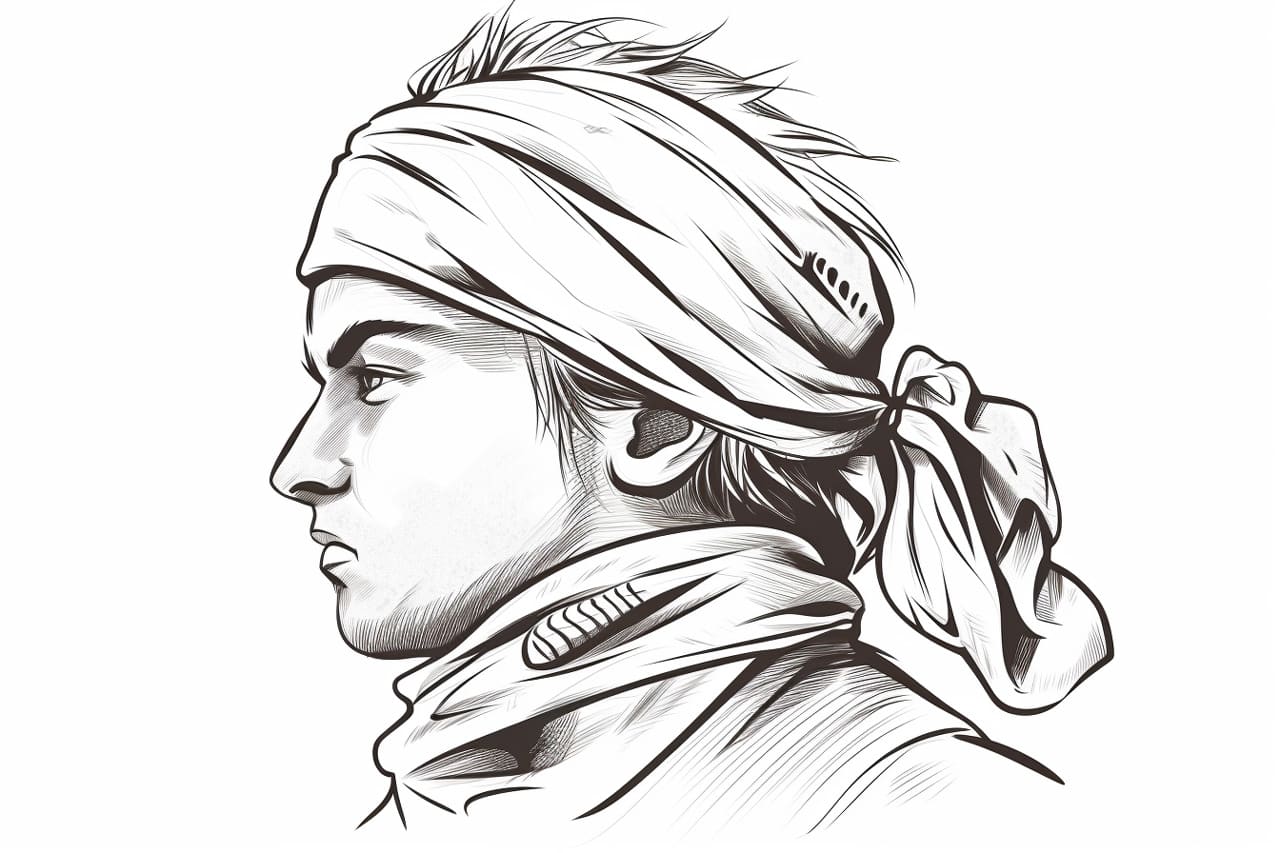
Step 3: Adding the Pattern
Now it’s time to add the pattern to your bandana. This step will depend on the design you chose in the planning stage. For example, if you’re going for a paisley pattern, start by drawing a small paisley shape near the bottom corner of the bandana. Repeat this shape, gradually increasing the size and spacing as you move upward. Continue until the entire bandana is covered with your chosen pattern.
Step 4: Adding Details
To make your bandana design more realistic and visually appealing, add some details. You can include small lines and shapes within the pattern, or add shading to create dimension. Experiment with different techniques to achieve the desired effect.
Step 5: Inking the Design
Once you’re satisfied with your sketch, use a fine-tip black pen or marker to ink the final design. Start by outlining the bandana shape, then work your way through the pattern, adding clean and crisp lines. Take your time and be patient during this step to ensure a professional-looking finished result.
Step 6: Erasing Guidelines
After the ink has dried, carefully erase any remaining pencil guidelines. Use a gentle touch to avoid smudging the ink or damaging the paper. Take your time and erase slowly to ensure a clean and neat final drawing.
Step 7: Adding Color (Optional)
If you want to add color to your bandana, now is the time to do so. Use colored pencils or markers to bring your design to life. Experiment with different color combinations and shading techniques to make your bandana visually stunning.
Step 8: Adding Shadows and Highlights (Optional)
To add depth and dimension to your bandana, consider adding shadows and highlights. Shadows can be added by lightly shading areas that would be darker or obscured, while highlights can be added by leaving certain areas white or using a white colored pencil or marker. This step is optional but can greatly enhance the overall appearance of your drawing.
Conclusion
Congratulations! You have successfully learned how to draw a bandana. By following these step-by-step instructions, you can create unique and eye-catching bandana designs. Whether you’re an experienced artist or just starting, drawing a bandana is an excellent way to develop your skills and showcase your creativity. So grab your drawing materials, let your imagination run wild, and have fun creating your own personalized bandanas.