Welcome to this step-by-step guide on how to draw a windmill. Windmills have a unique charm and have been a popular subject for artists for centuries. Whether you’re a beginner or an experienced artist, this tutorial will help you create a beautiful windmill drawing. So let’s get started!
Materials Required
Before we begin, make sure you have the following materials handy:
- Drawing paper
- Pencil
- Eraser
- Ruler
- Compass
- Fine-tip black pen
- Colored pencils or markers (optional)
Now that you have everything you need, let’s dive into the steps to draw a windmill.
Step 1: Start with the Base
Begin by drawing a rectangle to create the base of the windmill. Use your ruler to ensure straight lines. This rectangle will serve as the foundation for the rest of the drawing.
Step 2: Add the Blades
Next, draw four long rectangles extending from the top corners of the base rectangle. These will form the blades of the windmill. Make sure they are evenly spaced and of equal length. You can use your ruler to maintain symmetry.
Step 3: Connect the Blades
Now, draw diagonal lines from the bottom corners of each blade to the opposite corner of the base rectangle. This will create triangular shapes between the blades. Ensure that these lines are parallel to each other.
Step 4: Draw the Tower
In this step, we’ll draw the tower of the windmill. Starting from the top of the base rectangle, draw two vertical lines to represent the sides of the tower. Make the lines slightly taller than the blades. Then, connect the top of these lines with a horizontal line, forming the upper part of the tower.
Step 5: Add Details to the Tower
To make the windmill more visually interesting, let’s add some windows and a door to the tower. Draw two small rectangles for the windows on the upper part of the tower. Then, add a larger rectangle near the bottom of the tower for the door. You can also add a small handle to the door using a curved line.
Step 6: Create the Roof
Now, it’s time to draw the roof of the windmill. Start by drawing two diagonal lines from the top corners of the tower to the outer corners of the blades. These lines will form the triangular shape of the roof. Ensure that the lines are parallel to each other and evenly spaced.
Step 7: Add Details to the Roof
To give the roof more depth and texture, let’s add some lines to represent the individual roof tiles. Draw short, diagonal lines within each triangular section of the roof. These lines should be evenly spaced and parallel to each other. This will create a shingled effect.
Step 8: Draw the Tail
In this step, we’ll draw the tail of the windmill. Begin by drawing a rectangle slightly taller than the tower. From the bottom corners of this rectangle, draw two diagonal lines that converge at a point below the tower. This will create the tail shape.
Step 9: Add Details to the Tail
To complete the tail, draw a curved line that starts from the top of the tower and extends to the top of the tail. Then, add a smaller rectangle near the bottom of the tail with a curved line connecting it to the tower. These details will give the windmill a more realistic look.
Step 10: Final Touches
Now that the main structure of the windmill is complete, you can add some final touches to enhance the drawing. Use a fine-tip black pen to outline the entire windmill, emphasizing the edges and details. You can also use colored pencils or markers to add color to your drawing, making the windmill come to life.
And there you have it! You’ve successfully drawn a beautiful windmill. Take a moment to admire your artwork and make any necessary adjustments to ensure you’re happy with the final result.
Conclusion
In this tutorial, you’ve learned how to draw a windmill from start to finish. By following the step-by-step instructions and using the recommended materials, you can create a stunning windmill drawing that captures the essence of this iconic structure. Have fun experimenting with colors and adding your own unique touches to make the drawing truly your own.
Remember, practice is key to improving your drawing skills. So don’t be discouraged if your first attempt doesn’t turn out perfectly. Keep practicing, and soon you’ll be creating windmill drawings that will impress others.
Happy drawing!
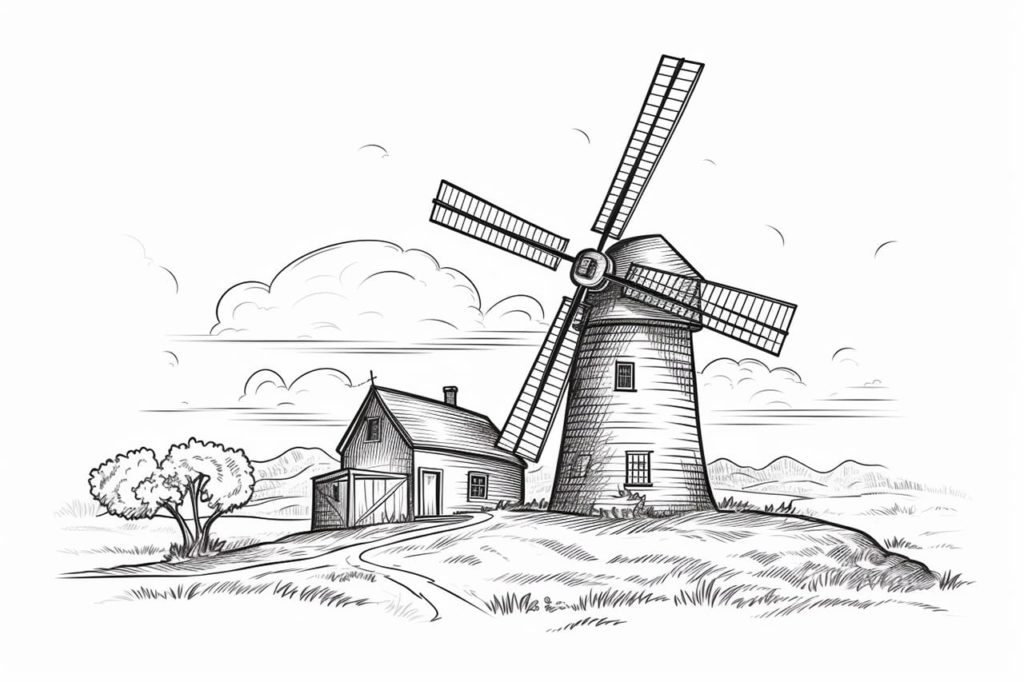
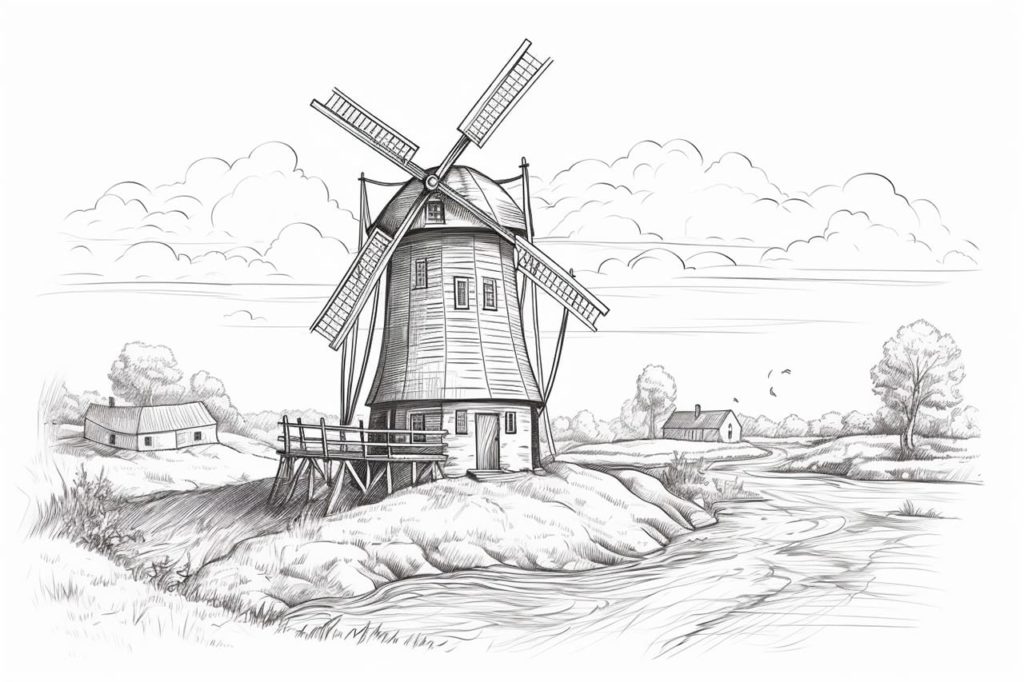
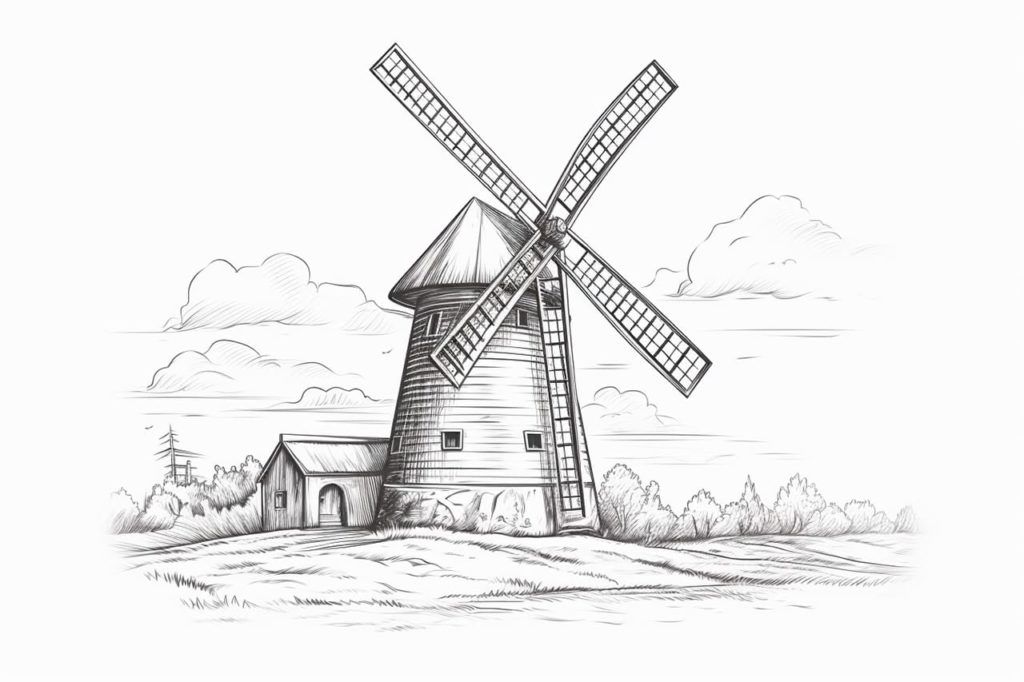
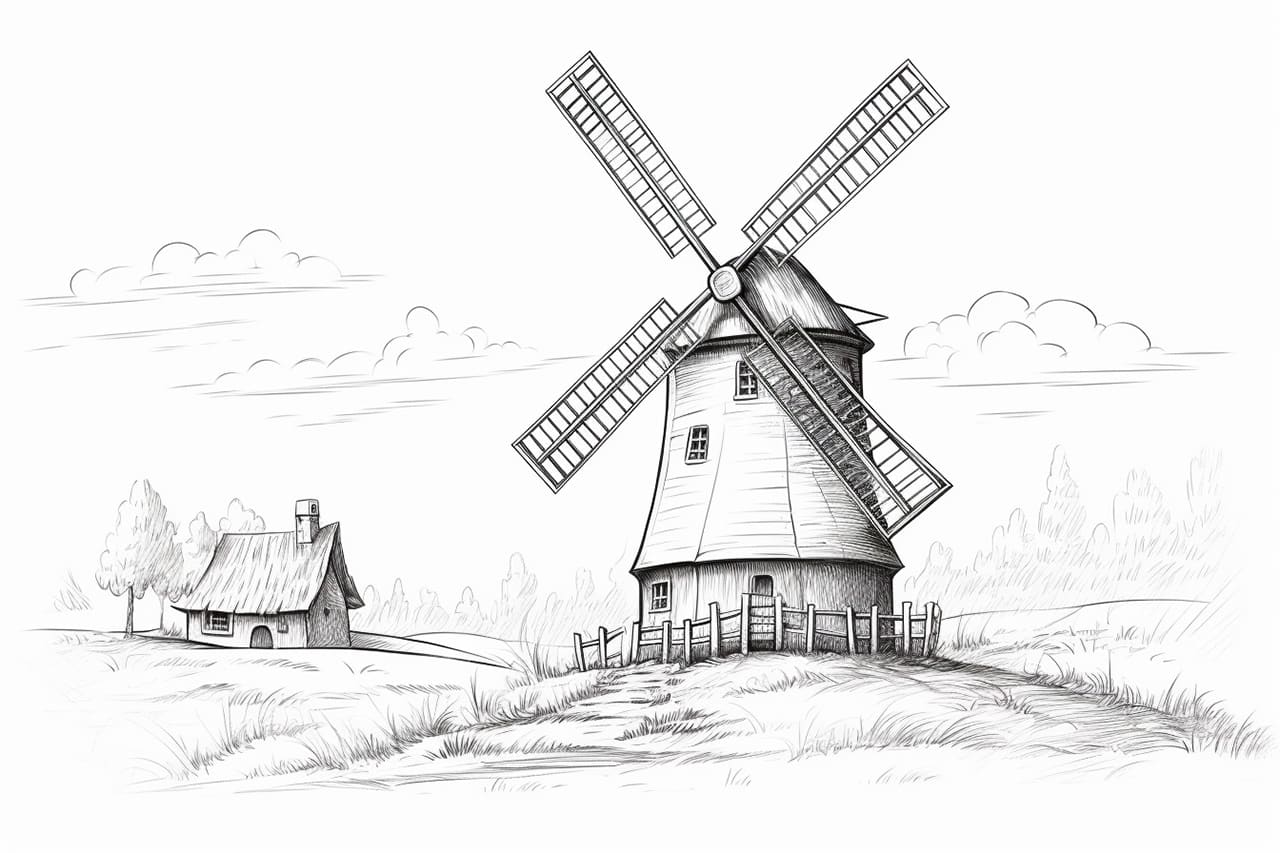
Gallery of Wind Mill Drawings