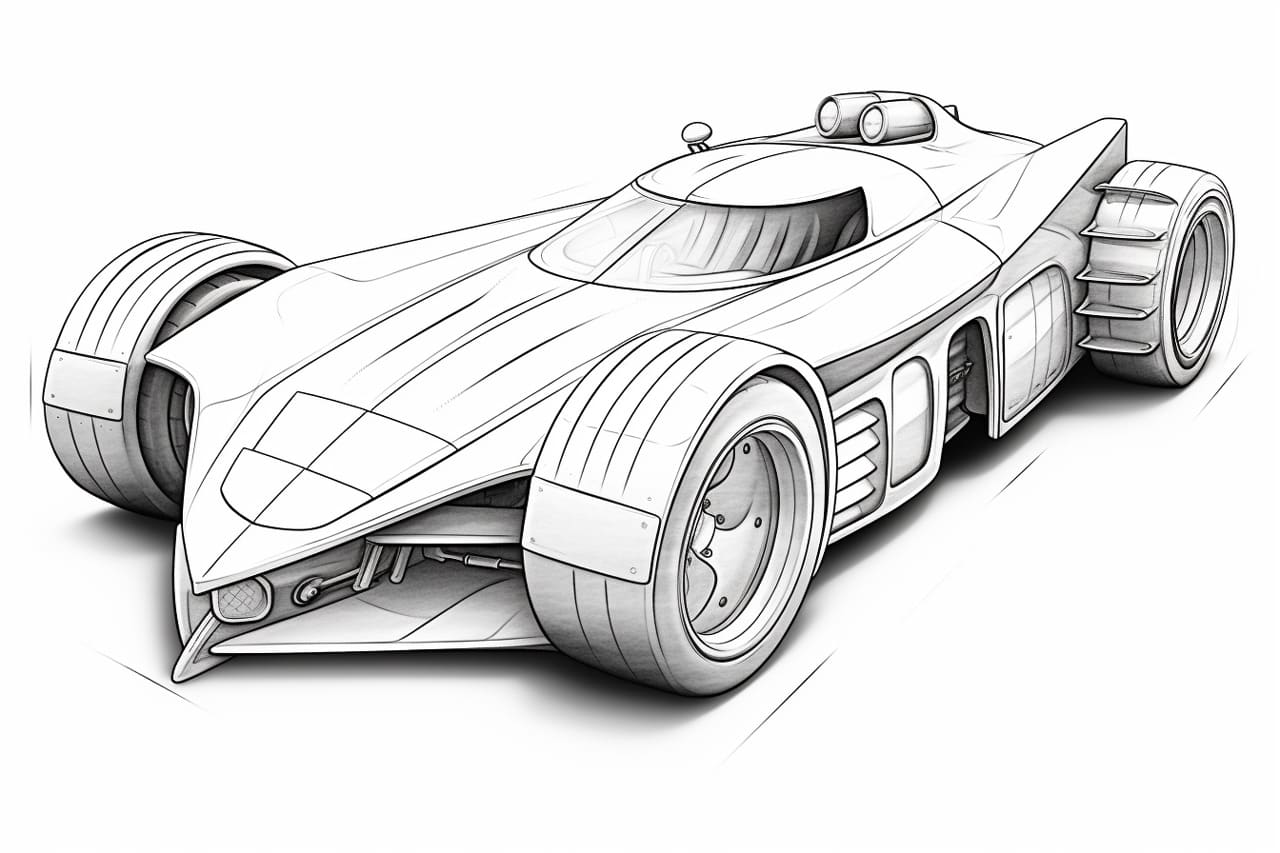
Welcome to this tutorial on how to draw a Batmobile! Whether you’re a fan of Batman or just love drawing cars, this step-by-step guide will show you how to create your own version of the iconic Batmobile. Get ready to unleash your inner artist and bring this legendary vehicle to life on paper.
Materials Required
Before we begin, let’s make sure you have all the necessary materials handy. Here’s what you’ll need:
- Paper: Choose a sketchbook or any type of paper suitable for drawing. A larger size, such as A3 or 11×14 inches, will allow for more detail, but feel free to use any size you prefer.
- Pencil: Have a range of pencils available, from light (HB or 2H) to dark (2B or 4B). This will help you achieve different levels of shading and detailing.
- Eraser: Have a kneaded eraser or a regular eraser handy to correct any mistakes or lighten areas as needed.
- Ruler: A straight ruler will come in handy for drawing straight lines and maintaining proportions.
- Fine-tip black pen: This is optional but can be useful for outlining and adding final details to your drawing.
Now that you have all the materials ready, let’s dive into the step-by-step process of drawing a Batmobile!
Step 1: Start with Basic Shapes
Begin by drawing a large rectangle in the center of your paper. This rectangle will serve as the main body of the Batmobile. Next, draw a smaller rectangle on top of the larger one to represent the cockpit area. These shapes will serve as a foundation to build upon as we refine the drawing further.
Step 2: Outline the Wheels
At the bottom corners of the larger rectangle, draw two smaller rectangles to represent the wheels. Make sure they have the same height and width for a balanced appearance. To add more depth, draw a smaller circle inside each rectangle to create the tires. This will give your Batmobile a sleek and dynamic look.
Step 3: Add Detail to the Body
Next, it’s time to add some details to the main body of the Batmobile. Start by drawing a curved line on each side of the rectangle to create the fenders. Then, draw a smaller rectangle near the back of the larger rectangle to create the engine exhaust. Don’t forget to add some vents and panels to the sides of the Batmobile to make it look more futuristic and aerodynamic.
Step 4: Define the Cockpit
Now, let’s focus on the cockpit area. Draw a windshield using curved lines that connect the top and bottom rectangles. Add two more curved lines to create the side windows. Remember to maintain the overall shape and proportions of the Batmobile as you add these details.
Step 5: Sketch the Front and Rear
To give the Batmobile its iconic look, draw a pointed shape at the front of the main body to represent the nose. This will make the Batmobile appear more aggressive and dynamic. Next, draw two tailfins at the back of the Batmobile. These tailfins will enhance the overall design and make it more visually appealing.
Step 6: Refine and Add Details
Now that you have the basic structure of the Batmobile, it’s time to refine the overall shape and add more intricate details. Use your pencil to darken the lines that define the shape of the car, making it more prominent. Add additional lines and details to represent doors, headlights, and other features you’d like to include. This is where your creativity can shine, so feel free to add any additional elements that will make your Batmobile unique.
Step 7: Finalize Your Drawing
Once you are satisfied with the overall look of your Batmobile, go over the lines using a fine-tip black pen to make them more refined and polished. This will also help differentiate the outline from the rest of the drawing. After outlining, let the ink dry completely before erasing any remaining pencil marks. Finally, you can add shading and texture to your drawing using different pencil techniques like cross-hatching or stippling.
Congratulations, you have successfully drawn a Batmobile! Remember, practice makes perfect, so don’t be discouraged if your first attempt doesn’t turn out exactly as you imagined. Drawing takes time and patience, so enjoy the process and have fun exploring your artistic skills!
Conclusion
In this tutorial, we explored the step-by-step process of drawing a Batmobile. By following these instructions and adding your own creativity, you can create a stunning rendition of this iconic vehicle. Remember to start with basic shapes, refine the details, and add your own unique touches to make your drawing stand out. Happy drawing, and embrace your inner superhero!


