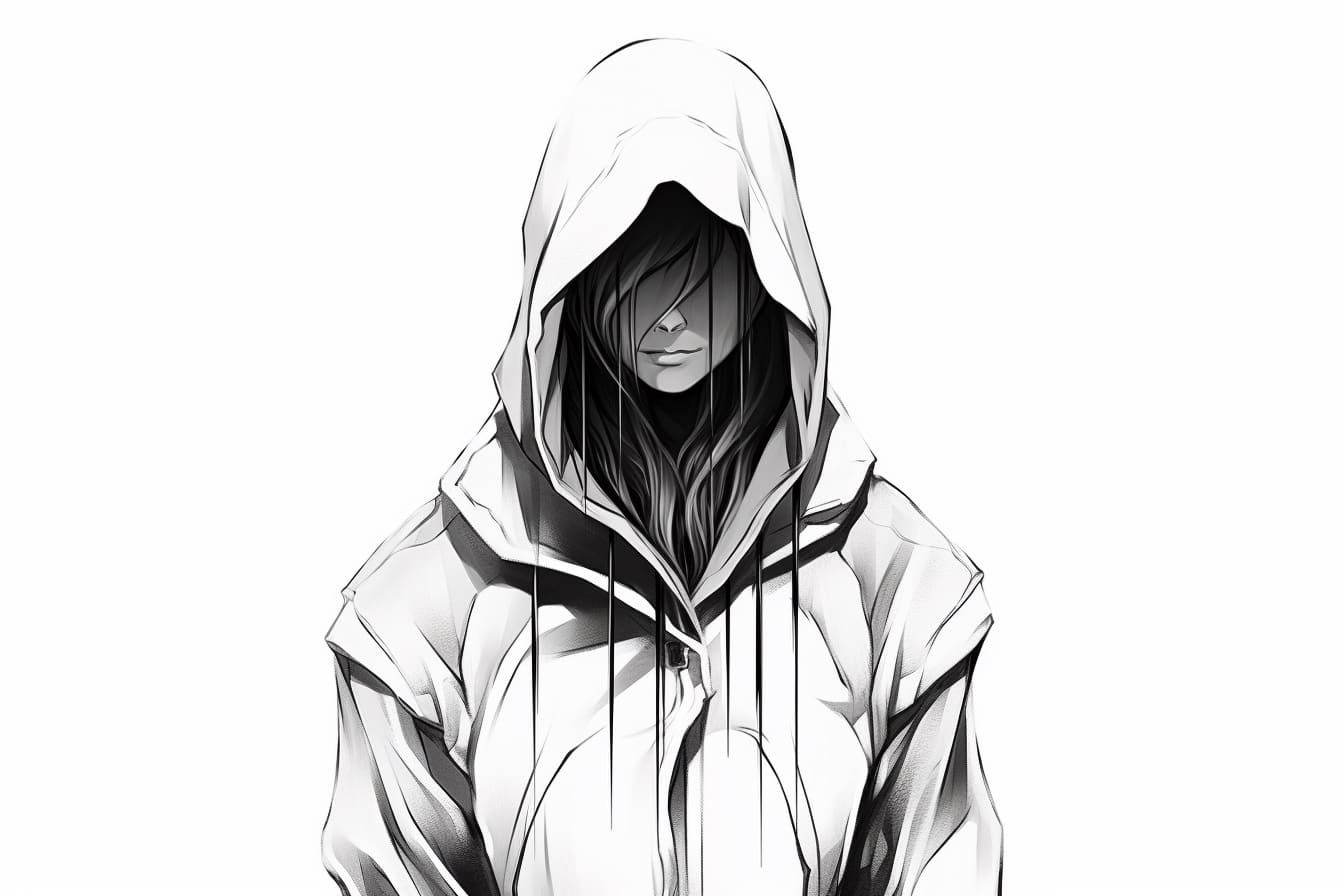
As an artist, being able to draw various clothing styles is crucial for creating dynamic and diverse characters. In this tutorial, we will focus on drawing a hooded figure. Hooded figures have a sense of mystery and can add intrigue to your artwork. By following these step-by-step instructions, you will be able to draw a realistic and captivating hooded figure.
Materials Required
Before we start, let’s gather the materials you will need for this drawing:
- Drawing paper or sketchbook
- Pencil (preferably HB or 2B)
- Eraser
- Fine-tipped pen or marker (optional)
Now that we have our materials ready, let’s dive into the tutorial!
Step 1: Basic Head Shape
Start by drawing a simple circle to represent the head of your hooded figure. This circle will serve as the foundation for the rest of the drawing. Don’t worry about adding any details at this stage – we will refine the shape later.
Step 2: Outline of the Hood
Extend two curved lines from the sides of the head circle to create the outline of the hood. Make sure the lines are symmetrical and connect smoothly at the top. The bottom of the hood should hang slightly over the sides of the head.
Step 3: Facial Features
Now, let’s add some basic facial features to our hooded figure. Draw two horizontal lines to mark the position of the eyes. Then, add a smaller curved line between the eyes to represent the nose. Finally, draw a horizontal line slightly below the nose line to indicate the mouth.
Step 4: Refine the Hood
To make the hood appear more realistic, add some folds and creases. Draw curved lines within the outline of the hood to suggest the fabric gathering and draping over the head. Pay attention to the direction of the folds – they should follow the shape of the head and hood.
Step 5: Hair and Ears
If you want your hooded figure to have visible hair or ears, now is the time to add them. Draw the hair flowing out from underneath the hood or peeking through its sides. For the ears, draw curved shapes partially hidden by the hood.
Step 6: Face Details
Refine the facial features by adding more details. Draw the eyes by adding iris and pupils. Add eyebrows, eyelashes, and any other desired facial features. You can also indicate the shape of the mouth with additional lines.
Step 7: Neck and Clothing
Extend a straight line down from the bottom of the head to create the neck. Then, draw the clothing beneath the hood. You can choose to depict a cloak, jacket, or any other garment that suits your vision. Add folds and wrinkles to give the clothing a sense of volume and movement.
Step 8: Shadows and Shading
Now it’s time to add depth to your drawing by incorporating shadows and shading. Identify the light source in your composition and imagine where the shadows would fall. Use hatching or cross-hatching techniques to darken the appropriate areas, such as the underside of the hood and clothing folds.
Step 9: Final Details
Take a moment to observe your drawing and assess if any final touches are needed. Add small details like highlights in the eyes, texture to the fabric, or any other elements that would enhance the overall appearance of your hooded figure.
Conclusion
Drawing a hooded figure may seem daunting at first, but by following these step-by-step instructions, you can create a captivating and mysterious character. Remember to practice and experiment with different poses and clothing styles to expand your artistic repertoire. With time and dedication, you will become more confident in your ability to draw hooded figures.
So grab your materials and let your creativity flow! Drawing a hooded figure is a great way to challenge yourself and add depth to your artworks. Have fun exploring the possibilities and unleash your artistic potential!