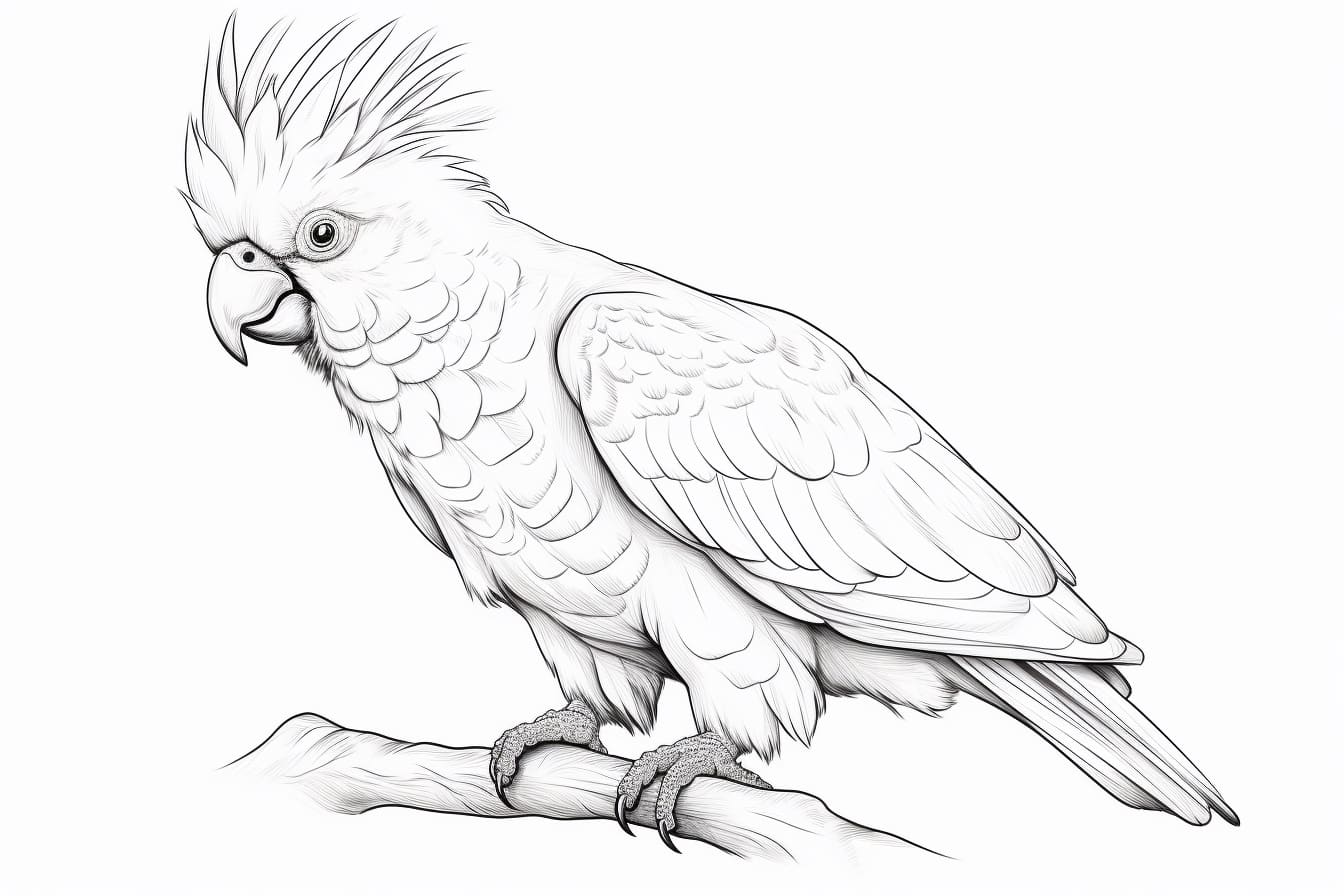
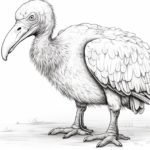
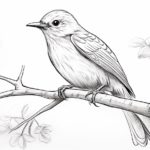
Welcome to this step-by-step tutorial on how to draw a cockatoo. In this guide, we will break down the process into easy-to-follow steps, allowing both beginners and experienced artists to create a beautiful, lifelike representation of this magnificent bird. So let’s grab our materials and get started!
Materials Required
Before we begin, make sure you have the following materials ready:
- Paper: Choose a smooth and sturdy paper that can withstand pencil and eraser use.
- Pencils: It’s best to use a range of graphite pencils, such as 2B, 4B, and 6B, to achieve varying shades.
- Erasers: Have a kneaded eraser for lightening areas and a regular eraser for removing graphite.
- Blending tools: A blending stump or tortillon will help you achieve smooth and seamless shading.
- Reference image: Find a clear and detailed reference image of a cockatoo to guide your drawing.
Now that we have everything we need, let’s dive into the steps!
Step 1: Basic Shapes
Start by lightly sketching the basic shapes that make up the body of the cockatoo. Begin with an oval for the head, followed by a larger oval for the body. Add a smaller oval at the bottom for the tail. These shapes will serve as the framework for the bird’s proportions.
Step 2: Head and Beak
Refine the oval shape to form the bird’s head. Pay attention to the reference image to accurately capture the cockatoo’s unique features. Draw a long, slender triangle extending from the head for the beak. Use light, loose strokes to establish the shape.
Step 3: Eyes and Facial Details
Add two small circles within the head to represent the eyes. Within each eye, draw a smaller circle for the iris and a tiny circle for the pupil. Leave a small highlight in each eye to add a touch of realism. Sketch the cockatoo’s facial details, such as the feathers around the eyes and the crest on top of the head.
Step 4: Body and Wings
Now, let’s move on to the body. Refine the oval shape by adding curved lines to define the bird’s sides and belly. Extend curved lines from the body to create the outline of the wings. Remember to keep the proportions accurate by referring to your reference image.
Step 5: Tail and Feet
Add more detail to the tail by drawing a series of curved lines, following the shape of the smaller oval you sketched earlier. Next, sketch in the feet using simple lines and shapes. Pay attention to the positioning and proportions of the bird’s legs.
Step 6: Feathers
This step is where we bring our drawing to life by adding the intricate feather details. Start by lightly sketching the individual feathers on the head, followed by the body and wings. Vary the sizes and directions of the strokes to create a realistic texture. Be patient and take your time with this step, as it can be more time-consuming than the others.
Step 7: Shading and Tonal Values
Now that we have established the basic form and structure of the cockatoo, it’s time to add depth and dimension through shading. Determine the light source in your reference image and imagine how it falls on the bird’s body. Use your range of graphite pencils to create smooth gradations from light to dark, paying attention to the tonal values.
Step 8: Blending and Texture
To achieve a realistic look, use a blending stump or tortillon to blend the graphite together. This will create a smooth transition between the different values and give your drawing a polished appearance. Leave some areas unblended to simulate the texture of the feathers.
Step 9: Final Touches
Take a step back and evaluate your drawing. Make any necessary adjustments or refinements to ensure accuracy and capture the essence of a cockatoo. Add any additional details you may have missed, such as small highlights or tiny feathers.
Congratulations, you have successfully drawn a beautiful cockatoo! With practice and patience, your drawing skills will continue to improve. Remember to have fun and embrace the creative process.
Conclusion
Drawing a cockatoo can be a rewarding and enjoyable experience for artists of all skill levels. By following these step-by-step instructions and paying attention to detail, you can create a stunning representation of this majestic bird. So grab your pencils, refer to your reference image, and let your creativity soar as you bring your cockatoo to life on paper.

