How to Draw a Flock of Birds Flying
Learn how to draw with this step-by-step tutorial.
Materials You'll Need
- Drawing paper
- Pencil (HB or 2B)
- Eraser
- Blending stump
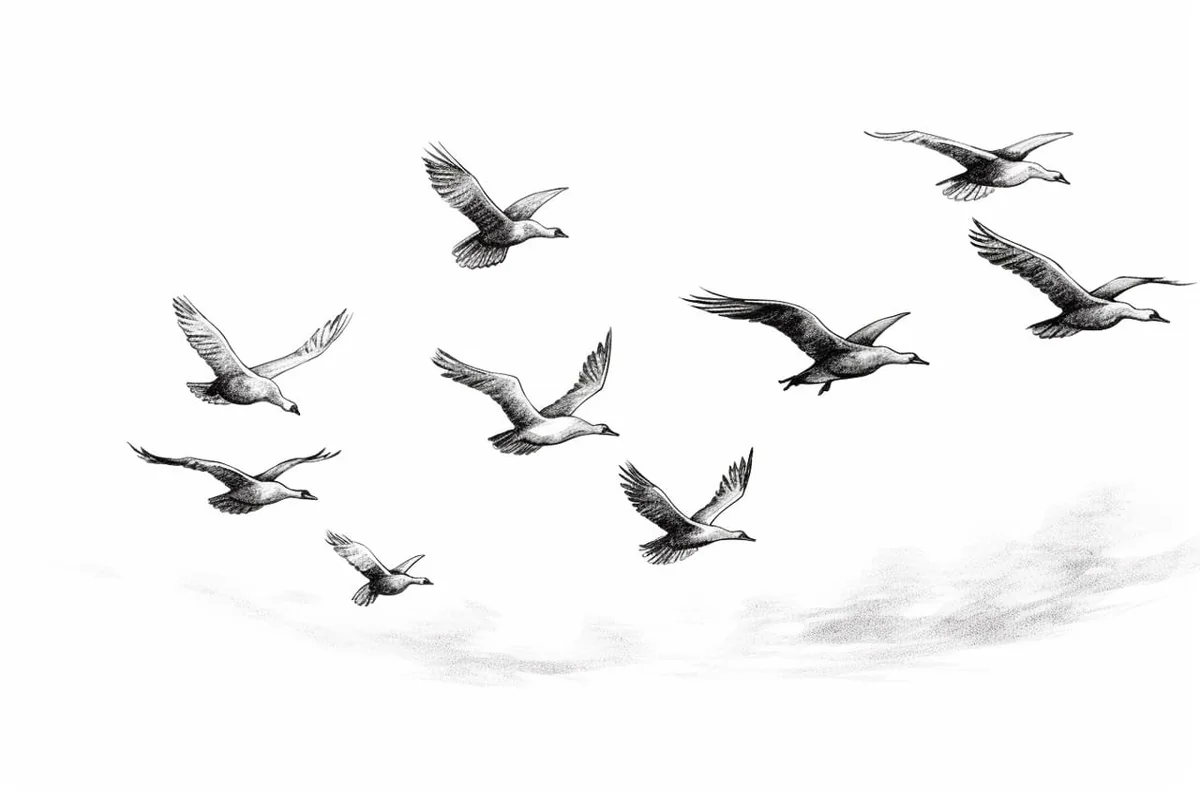
Have you ever been mesmerized by the sight of a flock of birds gracefully soaring through the sky, their wings fluttering in unison as they navigate the air currents? Capturing such a dynamic and lively scene on paper is both a rewarding and imaginative artistic endeavor. Drawing a flock of birds not only allows you to explore the beauty of nature but also challenges you to depict motion, perspective, and spatial relationships between multiple subjects. In this tutorial, we will guide you step-by-step through how to draw a flock of birds, helping you bring this captivating moment to life with your own unique style.
Whether you are a beginner eager to develop your drawing skills or an intermediate artist looking to refine your technique, this tutorial offers valuable insights into sketching birds in various poses and arrangements. You will learn how to simplify complex shapes, use lines to convey motion, and arrange your composition to create a sense of depth and rhythm. Understanding the anatomy of birds and how their wings move during flight will enhance the realism and energy of your artwork. By mastering how to draw a flock of birds, you'll gain confidence in handling multiple subjects within a single scene and improve your ability to portray natural movement.
So grab your pencils and paper, and get ready to embark on an artistic journey that captures the freedom and elegance of birds in flight. Remember, practice is key, and every sketch brings you closer to creating stunning, expressive drawings. With patience and attention to detail, you'll soon be able to depict the captivating dance of a flock of birds with ease and creativity. Let's take flight together and discover the joy of drawing nature's aerial performers!
Materials Required
Before we dive into the drawing process, let's gather the materials you will need:
-
Drawing pencils (preferably a set ranging from HB to 6B)
-
Sketching paper or a sketchbook
-
Eraser (preferably a kneaded eraser)
-
Blending stump or cotton swabs
-
Reference images of birds in flight (optional, but highly recommended)
Now that we have our materials ready, let's begin the drawing process.
Step 1: Observing Birds in Flight
To draw a flock of birds flying, it is essential to observe their natural behavior and movement. Take some time to study reference images or even better, observe birds in the wild. Pay attention to their wing positions, body postures, and the overall shape of their bodies. This observation will help you understand the essence of their flight, which will be crucial in your drawing.
Step 2: Basic Guidelines
Start by lightly sketching the basic guidelines that will serve as a framework for your flock of birds. Begin with a horizontal line representing the horizon, which will provide a point of reference. Then, sketch one or two simple, slightly curved lines above the horizon to indicate the height at which the birds will be flying. These lines will serve as a reference for the birds' positions.
Step 3: Individual Bird Shapes
Now, let's focus on drawing the individual shapes of the birds within the flock. Start with a basic oval shape for each bird's body. Remember to keep the ovals varied in size and direction to create a natural-looking flock. Use light, loose strokes for this initial sketch, as it will be refined later.
Step 4: Adding Wings
Next, add the wings to each bird's body. Birds in flight often have their wings extended, so be sure to draw elongated and slightly curved shapes. Pay attention to the wing position of each bird in relation to their body. Experiment with different wing positions to give your flock a dynamic and realistic appearance.
Step 5: Detailing the Birds
Now it's time to add more details to each bird. Start by defining the head and beak of each bird using simple shapes. Then, sketch the tail feathers, taking into account their shape and length. Remember to vary the shapes and angles of the tails to add interest and variety to your flock.
Step 6: Refining the Shapes
In this step, refine the shapes of the birds by adding more definition and detail. Use darker pencil grades, such as 2B or 4B, to darken the outlines and emphasize the desired features of each bird. Pay attention to the contour of their bodies, wings, and tails, ensuring that they appear three-dimensional and realistic. Take your time with this step to achieve the desired level of refinement.
Step 7: Adding Textures
To add depth and texture to your drawing, focus on creating realistic feather textures. Start by lightly shading the bodies of the birds, using smooth, curved strokes that follow the contour of their bodies. For the wings, use a combination of hatching (parallel lines) and cross-hatching (intersecting lines) to suggest the appearance of feathers. Experiment with different shading techniques to achieve the desired effect.
Step 8: Enhancing Realism with Shadows and Highlights
To make your flock of birds appear even more realistic, add shadows and highlights. Study the lighting in your reference images or imagine a consistent light source. Use darker tones to create shadows in areas where the birds overlap or where the wings cast shadows on the bodies. Then, use a kneaded eraser or a blending stump to gently lighten areas that would catch the light, such as the tops of the wings or the heads of the birds. This contrast will enhance the three-dimensional effect of your drawing.
Step 9: Final Details and Finishing Touches
In this final step, review your drawing and make any necessary adjustments or additions to refine its overall appearance. Pay attention to any minor details you may have missed, such as individual feathers or the positioning of the birds in relation to each other. Use your eraser to fix any mistakes or smudges, and ensure that your drawing is clean and polished.
Conclusion
Drawing a flock of birds flying can be a rewarding and enjoyable artistic exercise. By observing their natural behavior, understanding their form and movement, and utilizing basic drawing techniques, you can create a stunning representation of these majestic creatures in flight. Remember to be patient with the process and enjoy the journey of bringing your drawing to life. So grab your pencils and sketchbook, and let your creativity take flight!
Fun Facts About Flock of Birds Flying
-
Flocks of birds often fly in a V-formation to conserve energy by reducing wind resistance.
-
Birds in a flock communicate through visual and vocal signals to coordinate their movements.
-
The synchronized flight of a flock is an example of emergent behavior, where simple rules followed by individuals create complex group dynamics.
-
Some species, like starlings, create mesmerizing murmurations involving thousands of birds moving as one.
-
Flying in flocks helps birds avoid predators by confusing them with rapid, unpredictable movements; more info at National Wildlife Federation.
-
Birds adjust their wingbeat frequency and spacing to maintain optimal aerodynamic efficiency within a flock.
-
Flocking behavior can improve navigation during long migrations by sharing information among individuals.
Suggestions for Scenes and Settings for Flock of Birds Flying Drawings
-
A flock of birds soaring over a serene lake at sunrise, with reflections shimmering on the water.
-
Birds flying in a dynamic V-formation against a dramatic stormy sky, capturing tension and movement.
-
A group of birds gliding above a dense forest canopy, with glimpses of treetops below.
-
Flock of birds migrating over rolling hills dotted with wildflowers during golden hour.
-
Silhouetted birds flying across a full moon in a twilight sky, creating a mysterious atmosphere.
-
A scattering of birds startled into flight by a sudden gust of wind near a coastal cliff.
-
Birds swooping and diving playfully around a lighthouse overlooking the ocean at dusk.
-
A flock of small birds weaving through an urban skyline, juxtaposing nature and city life.
-
Birds flying through misty mountains with layered peaks fading into the background.
-
A whimsical scene of birds carrying tiny lanterns as they fly through a starry night sky.