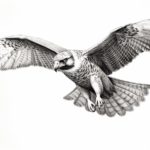
Welcome to this step-by-step tutorial on how to draw a golden eagle. In this guide, I will walk you through the process of creating a realistic and detailed illustration of this majestic bird. Whether you are an experienced artist or just starting out, this tutorial will help you capture the essence of the golden eagle in your drawing. So grab your pencils and let’s get started!
Materials Required
Before we begin, let’s gather the materials you will need for this drawing:
- Drawing paper: Choose a sturdy paper that can handle different types of pencils and erasers.
- Pencils: Use a range of graphite pencils, such as HB, 2B, 4B, and 6B, to create different values and textures in your drawing.
- Erasers: Have a kneaded eraser and a vinyl eraser on hand for correcting mistakes and adding highlights.
- Blending tools: You can use a blending stump or a tortillon to smooth out textures and create a more polished look.
- Reference image: Find a clear and detailed photograph of a golden eagle that you can use as a reference for your drawing.
Now that you have all your materials ready, let’s dive into the step-by-step process of drawing a golden eagle.
Step 1: Sketch the Basic Shapes
Start by lightly sketching the basic shapes of the eagle using a HB pencil. Begin with an oval shape for the head, followed by a large oval for the body. Add a smaller oval for the tail and another for each wing. Pay attention to the proportions and positioning of each shape.
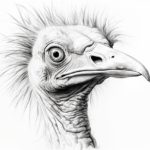
Step 2: Add Details to the Head
Refine the shape of the head by adding the beak, eyes, and facial features of the golden eagle. Take your time to capture the unique characteristics of this bird. Use a 2B pencil to add darker lines and shading to create volume and depth.
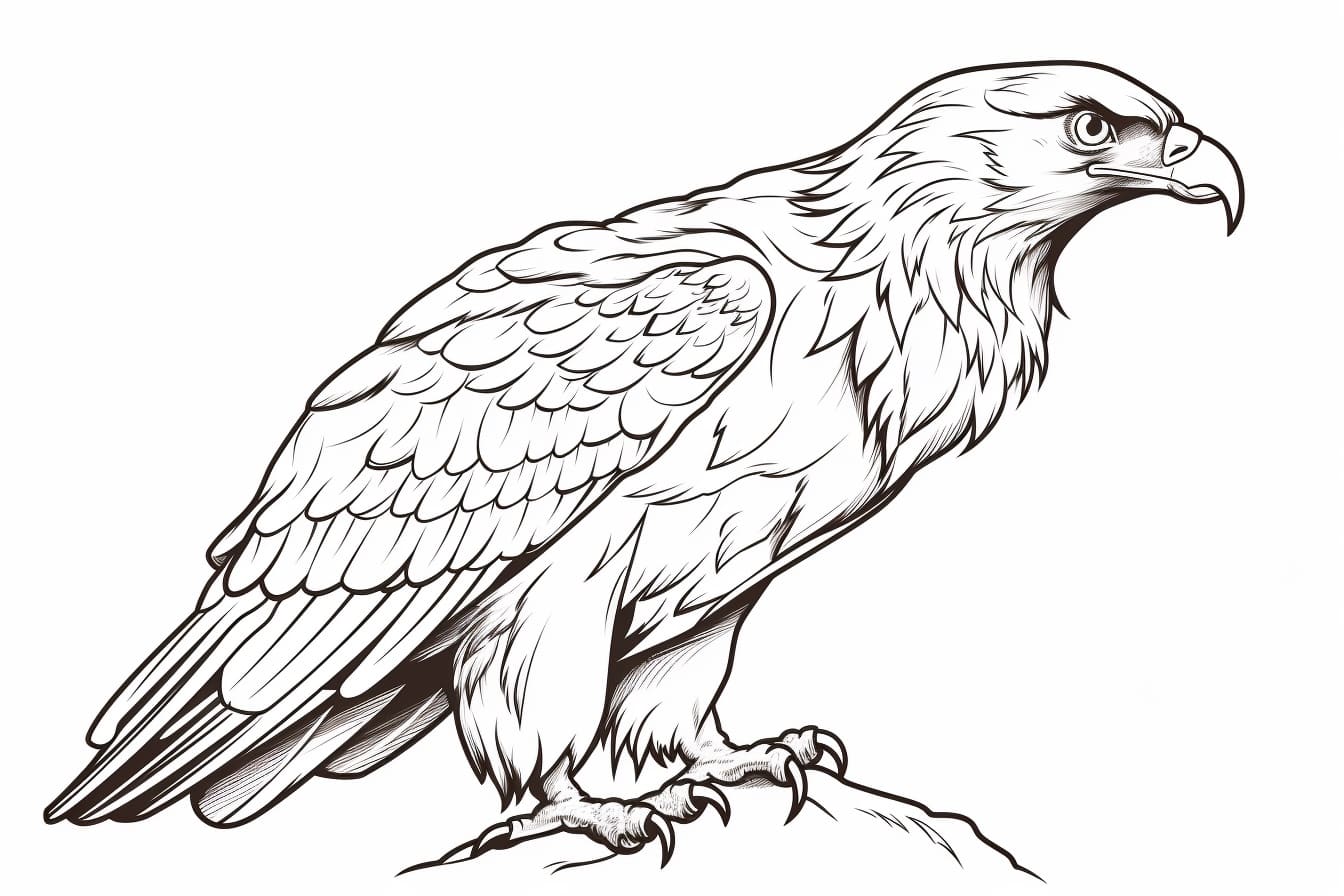
Step 3: Outline the Body and Wings
Using a 4B pencil, outline the body and wings of the golden eagle. Pay attention to the intricate feather patterns, curves, and contours of the bird. Remember to keep your lines light and fluid, as we will refine them later on.
Step 4: Add Feathers and Textures
Now it’s time to add details to the feathers of the golden eagle. Start by lightly sketching the feather patterns using a 2B pencil. Observe the reference image carefully and follow the direction of the feathers. Gradually add darker lines and shading to create depth and texture.
Step 5: Refine the Drawing
Take a step back and assess your drawing so far. Use an eraser to correct any mistakes or make adjustments to the proportions or shapes. Refine the lines and contours of the eagle’s body, wings, and feathers. Add more details to the face, beak, and eyes to bring the drawing to life.
Step 6: Enhance the Shading and Values
To create a more three-dimensional look, focus on enhancing the shading and values of your drawing. Use a combination of 4B and 6B pencils to add darker shadows and emphasize the highlights. Pay close attention to the areas where light hits the bird, such as the top of the head and the tips of the feathers.
Step 7: Blend and Smooth Out Textures
Take a blending stump or a tortillon and gently blend the graphite to create a smoother and more polished look. Use circular motions to blend the shading and textures together. Be careful not to overblend, as you still want to maintain some texture and definition in your drawing.
Step 8: Add Final Details and Highlights
Now it’s time to add the finishing touches to your golden eagle drawing. Use a kneaded eraser to lift off some graphite and create highlights on the feathers, eyes, and beak. Add any final details, such as the talons, and refine any areas that need more attention.
Conclusion
Congratulations on completing your golden eagle drawing! By following these step-by-step instructions, you have learned how to capture the beauty and majesty of this remarkable bird. Remember, practice makes perfect, so keep drawing and experimenting with different techniques. With time and dedication, you will continue to improve your skills and create stunning artworks. Happy drawing!