Welcome to this comprehensive guide on how to draw a beautiful swan. In this article, we will break down the process into easy-to-follow steps, helping you create an intricate and elegant representation of this graceful bird. So grab your drawing materials and let’s get started!
Materials Required
Before we begin, let’s make sure you have all the necessary materials on hand. Here’s what you’ll need:
- Drawing paper
- Pencils (preferably a range of graphite pencils such as HB, 2B, 4B, and 6B)
- Eraser (either a kneaded eraser or a soft white eraser)
- Sharpeners (a regular pencil sharpener and a utility knife)
- Blending tools (such as tissue paper or blending stumps)
- Reference photo or image of a swan (optional but recommended)
Having these materials ready will help you achieve the best results as you follow along with the steps provided.
Step 1: Basic Shape and Outline
Start by lightly sketching a large oval in the center of your drawing paper. This oval will serve as the swan’s body. Next, add a smaller oval at one end of the larger oval for the head. Connect the two ovals with a gently curving neck line.
Step 2: Wings and Tail
Extend a curved line from the back of the body oval to create the upper wing. Repeat the same process on the other side, ensuring that the wings’ sizes are roughly proportionate. Next, add a long, elegant curve extending from the lower part of the body oval to represent the swan’s tail.
Step 3: Neck and Head Details
Refine the shape of the neck by making it slightly thicker towards the base and tapering it towards the head. Add a small, triangular beak at the end of the head oval, pointing slightly downwards. Then, draw a gentle curve for the top of the head and two small circles for the eyes.
Step 4: Feathers and Body Contours
Now it’s time to add the swan’s feathers. Start by sketching a few curved lines from the base of the neck to the tail, representing the contours of the feathers. Then, add more curved lines on the head and neck to indicate the texture and patterns of the feathers.
Step 5: Refining and Shading
Carefully refine the outline of your swan drawing, erasing any unnecessary guidelines or sketchy lines. Pay close attention to the proportions and shape of the body, neck, and head. Once you are satisfied with the overall form, you can begin shading your drawing.
To create depth and volume, observe the reference photo or image you have chosen for guidance. Identify areas of shadow and light on the swan’s body, wings, and neck. Use a combination of hatching and shading techniques to add depth and dimension to your drawing. Remember to start with lighter strokes and gradually build up the darkness as needed.
Step 6: Blending and Final Touches
After shading, use blending tools such as tissue paper or blending stumps to soften and blend the pencil strokes, creating a smoother and more realistic texture. Be careful not to over-blend, as you still want to maintain some texture and definition in the feathers.
Once you are satisfied with the shading and blending, take a step back and evaluate your drawing as a whole. Make any necessary adjustments or refinements.
Conclusion
Congratulations on completing your swan drawing! By following these step-by-step instructions, you have learned how to create a stunning representation of this elegant bird. Remember to practice regularly to improve your skills and develop your own unique artistic style.
We hope you have enjoyed this guide on how to draw a swan. Now, go grab your pencils and start creating your own beautiful artwork!
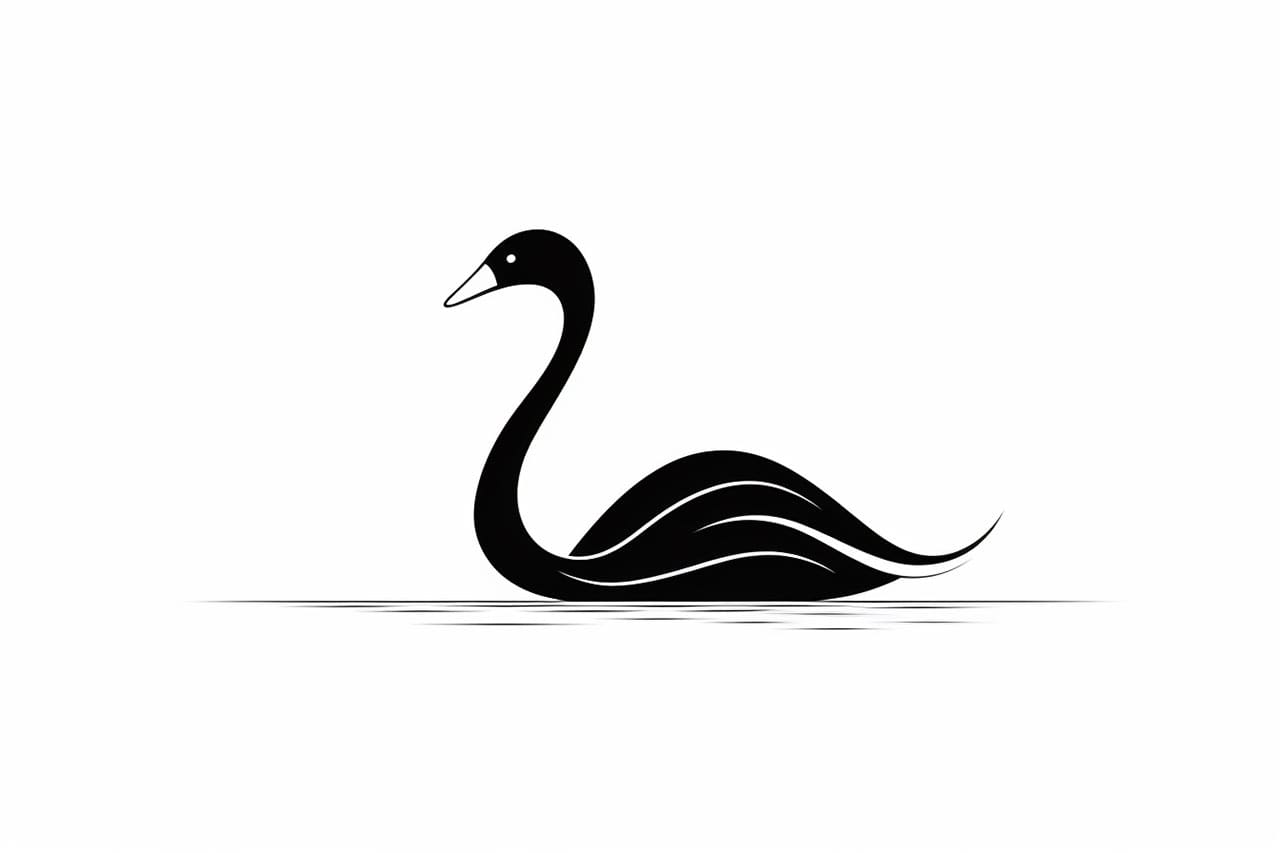
Gallery of Swan Drawings