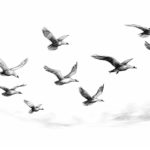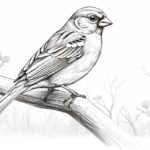
Birds are fascinating creatures that inspire many artists. Their graceful movements and vibrant colors make them a popular subject for artwork. If you’ve always wanted to capture the beauty of birds in your drawings, this step-by-step guide will help you learn how to draw a bird on a branch. So grab your drawing materials and let’s get started!
Materials Required:
- Drawing paper
- Pencil
- Eraser
- Fine-tip pen or marker
- Colored pencils or watercolors (optional)
Step 1: Start with Basic Shapes
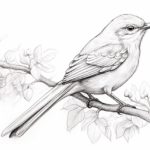
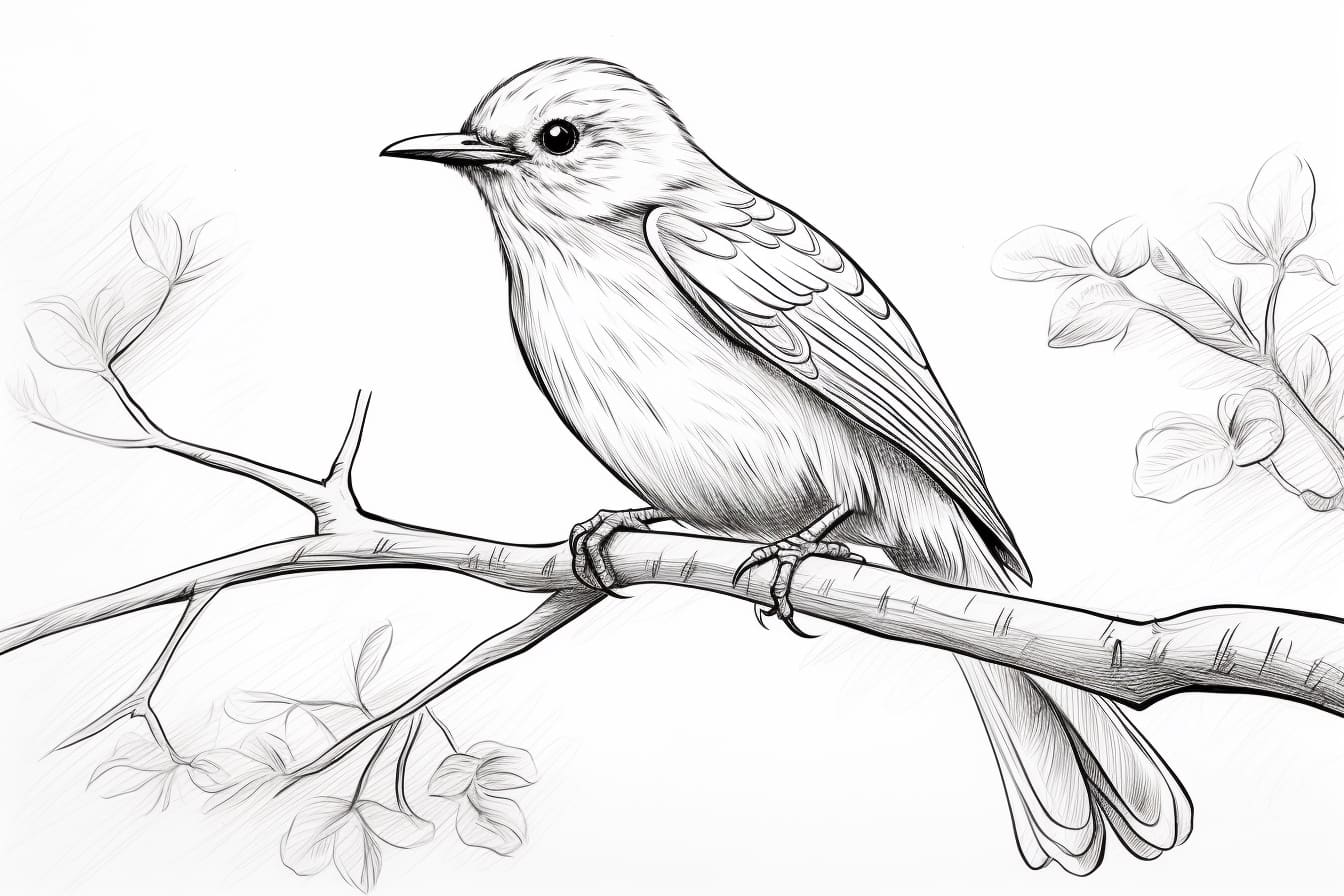
Begin by lightly sketching the basic shapes that make up the bird’s body. Start with an oval for the body and add a smaller oval for the head. Connect these two shapes with a curved line to represent the neck. Next, draw a slightly tilted oval for the branch.
Step 2: Outline the Bird’s Features
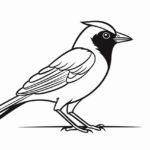
Using the basic shapes as a guide, start outlining the bird’s body and head with more defined lines. Pay attention to the proportions of the bird’s body, making sure the head is about one-third the size of the body. Add a small triangle at the lower end of the oval to represent the bird’s tail.
Step 3: Add the Beak and Eyes
Draw the beak by adding a curved triangle shape at the tip of the bird’s head. Add a small dot on each side of the head to represent the eyes. Birds usually have round, dark eyes, so keep this in mind when drawing them.
Step 4: Define the Wings and Feet
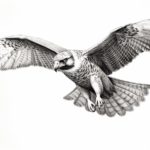
Sketch the wings of the bird by drawing curved lines extending from the sides of the body. The wings should follow the natural shape of the body and taper towards the tips. To draw the bird’s feet, add two small curved lines at the bottom of the body, just below the branch.
Step 5: Refine the Bird’s Shape
Next, take a closer look at the bird’s body and make any necessary adjustments to its shape. Add contours and details to make it appear more three-dimensional. Pay attention to the curves and proportions, ensuring that the body and features look natural.
Step 6: Add Feathers and Texture
Birds have feathers, so it’s important to add texture to your drawing to make it more realistic. Use short, curved lines to represent the feathers on the bird’s body and wings. Pay attention to the direction of the feathers, as they tend to follow the contours of the body. Take your time with this step, as adding texture can greatly enhance the overall appearance of your drawing.
Step 7: Details and Shadows
To bring your drawing to life, add more details to the bird’s features. Add a small curved line to define the beak, and draw a thin line around the eyes to give them more depth. Add small dots or lines for the bird’s small feathers or markings. You can also add shading and shadows to create a sense of dimension. Pay attention to the light source and imagine where the shadows would fall on the bird and the branch.
Step 8: Finalize the Branch
Now it’s time to complete the branch. Add texture to the branch by drawing small lines and curves to represent the bark. You can also add leaves or other elements to make the branch more interesting. Take your time with this step and experiment with different textures and details.
Step 9: Erase Unnecessary Lines
Review your drawing and erase any unnecessary guidelines or construction lines. This will help clean up your drawing and make it appear more polished. Be cautious while erasing, as you only want to remove the faint guidelines and not the important features of the bird.
Step 10: Add Color (Optional)
If you want to take your drawing to the next level, consider adding some color. You can use colored pencils or watercolors to add depth and vibrancy to your artwork. Take your time and experiment with different shading and blending techniques to achieve the desired effect.
Conclusion
Drawing a bird perched on a branch may seem challenging, but with patience and practice, you can create a stunning piece of artwork. Remember to start with basic shapes, gradually add details, and pay attention to proportions and textures. Don’t be afraid to make mistakes, as they can be valuable learning experiences. So grab your drawing materials and let your creativity take flight!