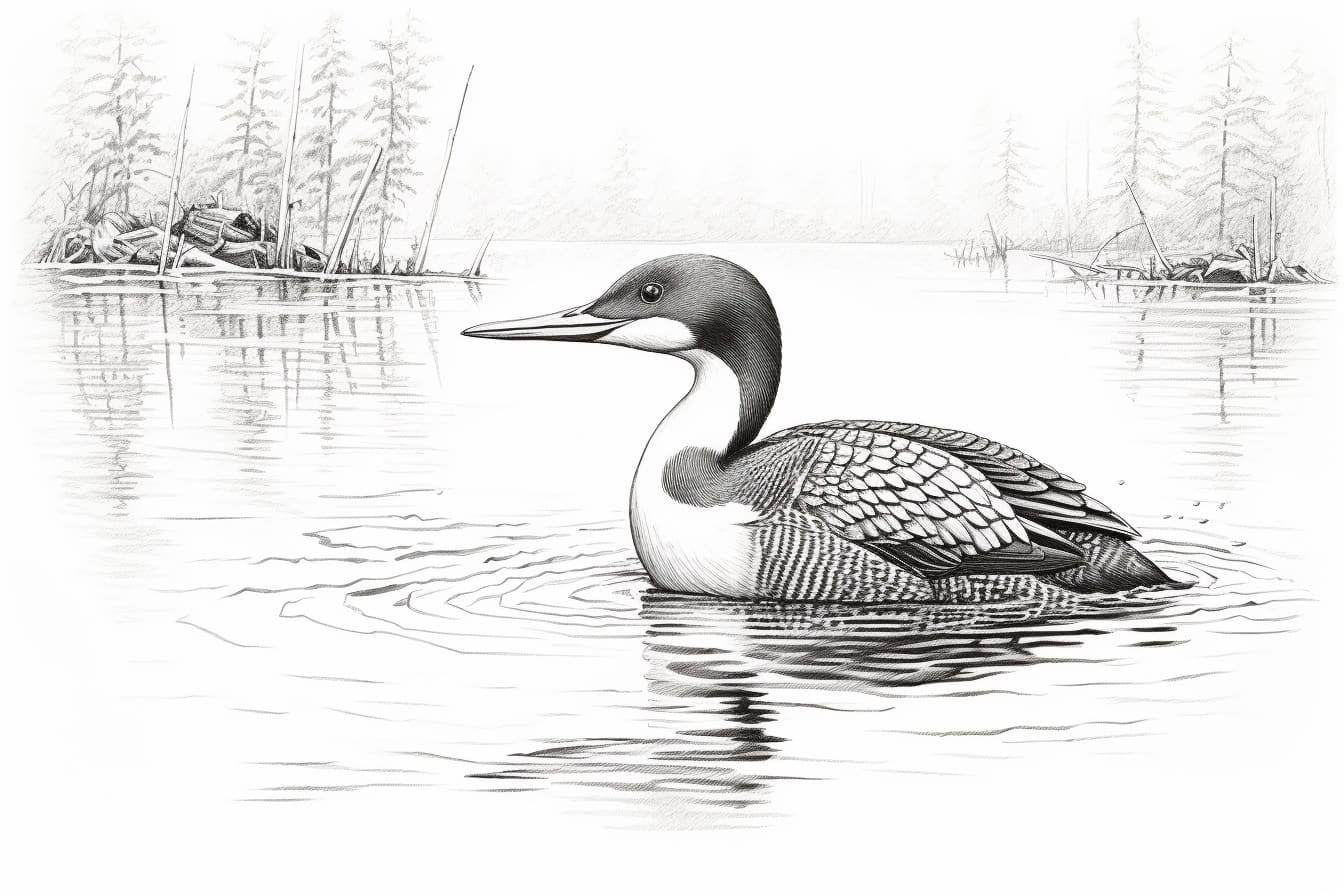
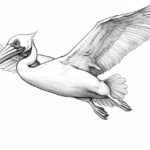
Welcome to this step-by-step guide on how to draw a loon! Loons, with their distinct black and white patterns and unique call, are fascinating birds to observe and capture on paper. In this article, I will guide you through the process of drawing a loon, from start to finish. So grab your drawing materials and let’s get started!
Materials Required
Before we begin, make sure you have the following materials:
- Drawing paper: Choose a smooth, heavyweight paper that is suitable for drawing with pencils or pens.
- Pencils: A set of graphite pencils with varying degrees of hardness (HB, 2B, 4B, etc.) will allow you to create different shades and textures.
- Eraser: A soft eraser will come in handy for making corrections and removing unwanted lines.
- Pens: If you prefer using pens, choose waterproof ink pens with different tip sizes for adding details and outlines.
- Reference image: Find a high-quality photo or picture of a loon to use as a reference while drawing.
Now that you have your materials ready, let’s dive into the step-by-step process of drawing a loon.
Step 1: Sketch the Basic Shapes
Start by lightly sketching the basic shapes that make up the loon’s body. Begin with a small oval for the head, followed by a larger oval or ellipse for the body. Connect the two shapes with a curved line to create the loon’s neck. This initial sketch will serve as the framework for your drawing.
Step 2: Add the Details
Next, start adding the details to your loon drawing. Use your reference image to observe the loon’s features carefully. Pay attention to the shape and size of the beak, the position of the eye, and the curvature of the neck. Use light pencil strokes to sketch these details, and don’t worry about perfection at this stage.
Step 3: Define the Outline
Now it’s time to define the outline of the loon. Choose a harder pencil (e.g., HB) and go over the main shapes you sketched in Step 1. Use smooth, flowing lines to create the curves of the body, neck, and head. Be observant of the angles and proportions to ensure accuracy in your drawing. Once you are satisfied with the outline, erase any unnecessary guidelines.
Step 4: Shading the Body
To add depth and dimension to your loon drawing, it’s essential to incorporate shading. Identify the light source in your reference image and imagine how it falls on the loon’s body. Start shading the darker areas, such as the head, wings, and tail, using a softer pencil (e.g., 2B or 4B). Gradually build up the layers of shading, paying attention to the feather patterns and the direction of the lines.
Step 5: Add the Eye and Beak
The eye and beak are crucial features that bring life to your loon drawing. Use a sharp pencil to carefully sketch the shape of the eye, ensuring it looks realistic and captures the loon’s expression. Pay attention to the placement and size of the eye in relation to the head. Similarly, sketch the beak with attention to detail, focusing on its shape, size, and the angles of the upper and lower parts.
Step 6: Refine and Add Texture
Take a step back and evaluate your loon drawing as a whole. Refine any areas that need adjustment, making sure the proportions and shapes are accurate. To add texture to the loon’s feathers, use short, curved pencil strokes in the direction of the feathers. Vary the pressure and pencil hardness to create different tones and textures that mimic the look of feathers.
Step 7: Finalize the Drawing
Once you are satisfied with your loon drawing, go over the lines with a fine-tip pen or marker to make them more defined and prominent. Carefully outline the silhouette of the loon, the feather details, and other important features. Afterward, erase any remaining pencil marks to clean up your drawing.
Congratulations! You have successfully drawn a loon. With practice, you will develop your style and technique, allowing you to capture the beauty of these remarkable birds in your future drawings.
Conclusion
Drawing a loon can be a rewarding experience, allowing you to appreciate the intricacies of these magnificent birds. By following the step-by-step instructions outlined in this article, you can create a detailed and realistic loon drawing. Remember to be patient, take your time, and most importantly, have fun! So grab your drawing materials and immerse yourself in the art of drawing a loon.

