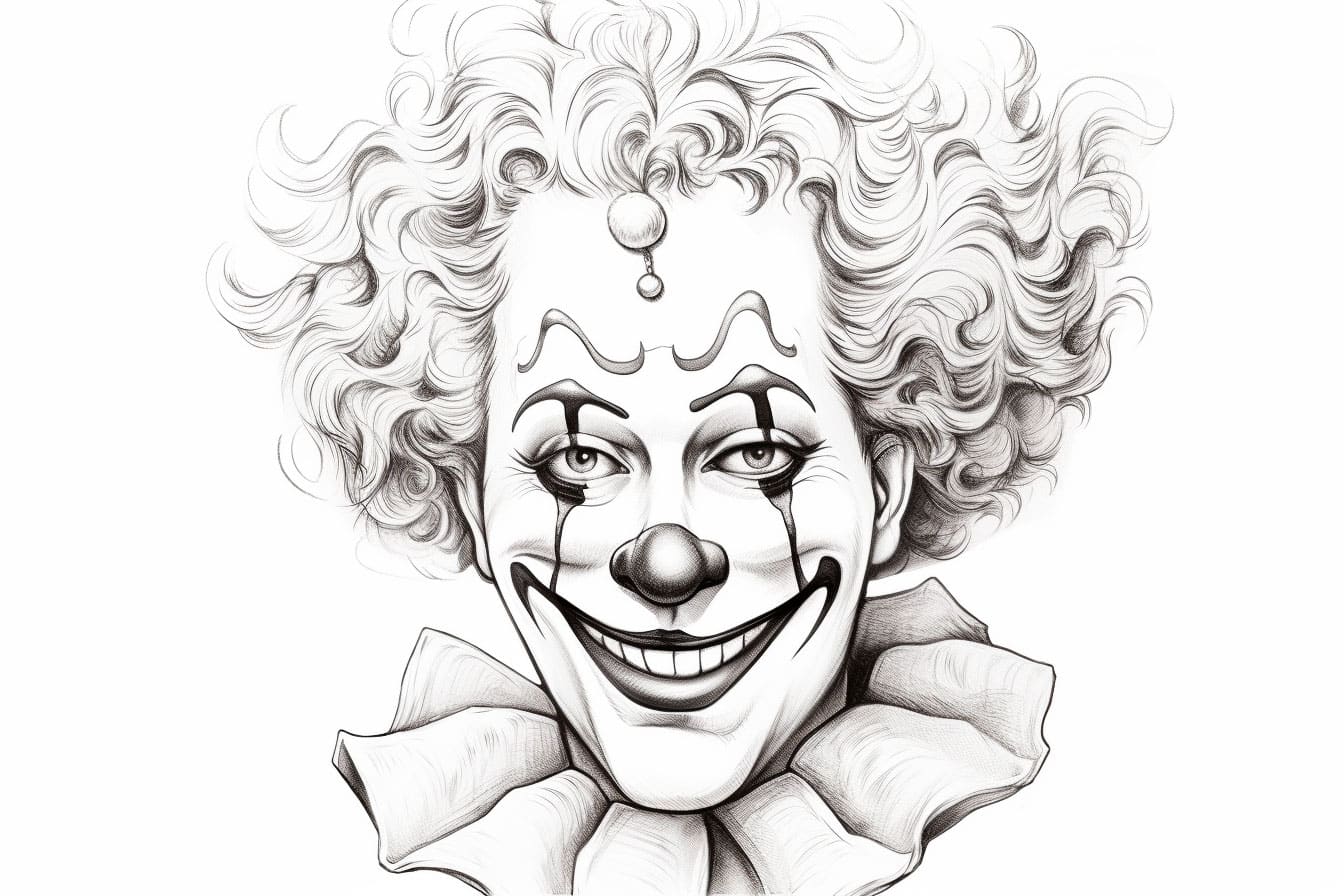
Welcome to an exciting journey into the world of art! In this step-by-step tutorial, we will explore the delightful process of learning how to draw a clown. Clowns are not just entertainers; they are vibrant characters that embody joy, playfulness, and creativity. Drawing one can be a fun and colorful experience as you unleash your imagination and bring to life a character that can charm and amuse.
Whether you’re an aspiring artist looking to illustrate a whimsical children’s book or simply want to engage in a playful craft project, this tutorial is designed for you. We will guide you through each step, providing clear instructions and tips to help you capture the essence of a clown. With just a few materials and some attention to detail, you’ll be able to create a whimsical and entertaining clown drawing that will surely bring a smile to anyone’s face.
So, grab your pencil and some paper, and let your creativity flow! This “How to Draw a Clown” tutorial is not just about technique; it’s also an invitation to have fun and enjoy the process. Are you ready to dive in and create your very own colorful clown character? Let’s get started!
Materials Required
- Pencil
- Eraser
- Drawing paper
- Reference picture of a clown
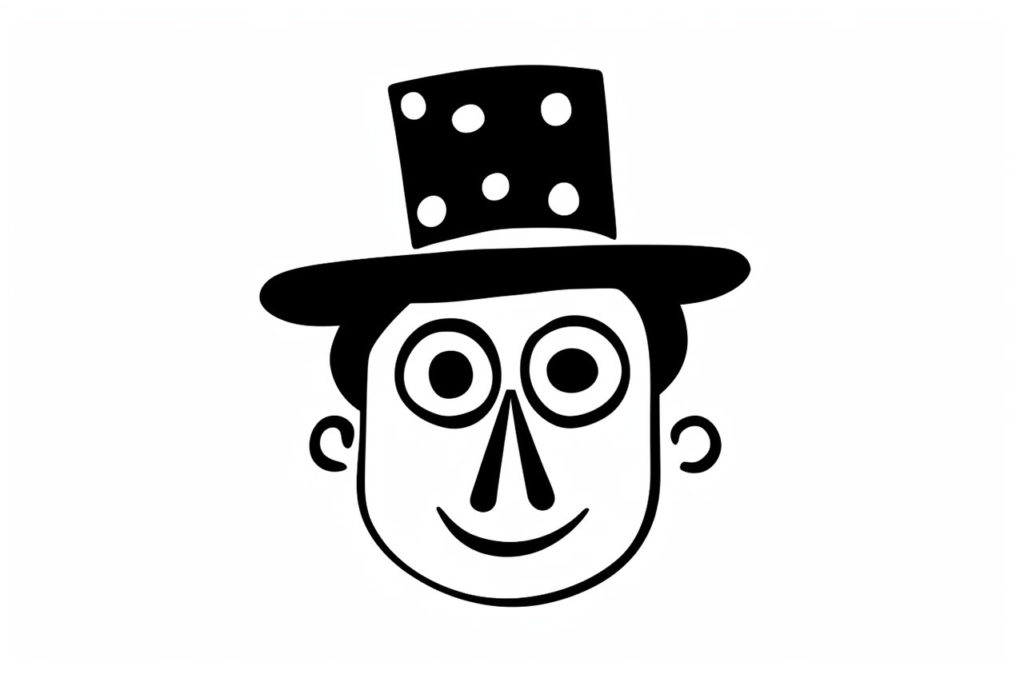
Step 1: Draw the Face
To begin, draw an oval shape in the center of your paper. This will be the clown’s face. Next, add two large circles for the eyes and a small circle for the nose. Position the eyes and nose in the middle of the oval.
Step 2: Add the Mouth
Now, draw a wide smile below the nose to create the clown’s mouth. You can make the smile as big and cheerful as you like. Add two curved lines on each side of the mouth to show the cheeks.
Step 3: Draw the Hair
To give your clown character some personality, draw the hair. Draw a series of wavy lines on top of the clown’s head to create the hair. Make the hair look messy and wild for a classic clown look.
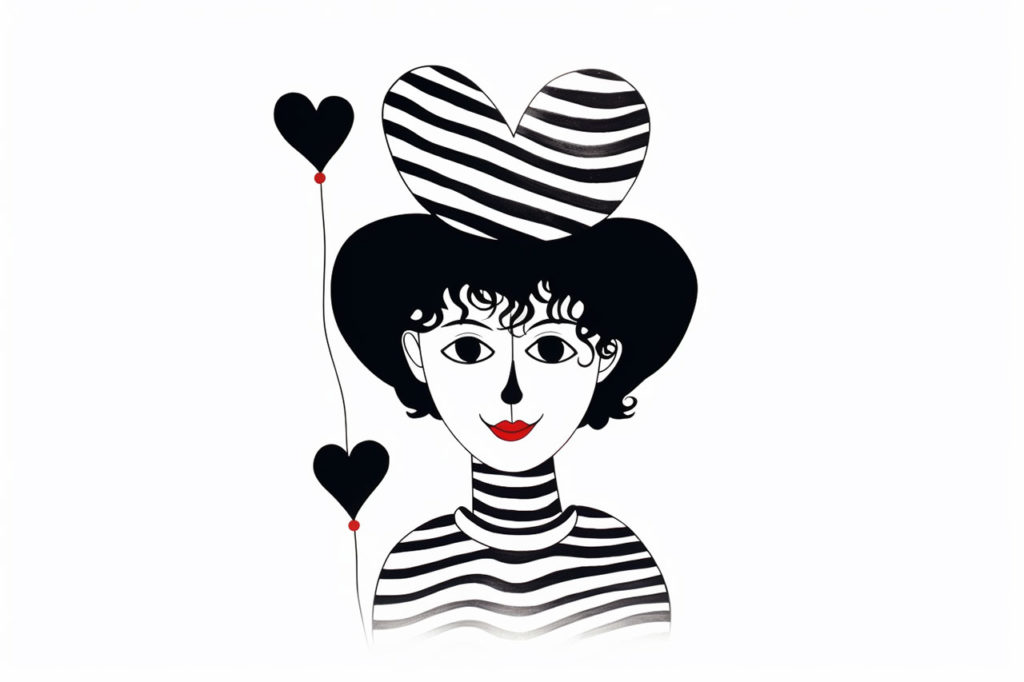
Step 4: Sketch the Hat
Next, let’s add a hat to our clown character. Draw a large, floppy hat on top of the clown’s head. Make the brim of the hat wide and add some curves to make it look playful.
Step 5: Add the Eyes and Details
Now it’s time to add some details to the clown’s face. Draw the eyes with small circles inside the larger circles. Add the eyebrows above the eyes and some freckles or dots on the cheeks. Don’t forget to draw the pupils in the eyes to give them life.
Step 6: Draw the Body
To complete the clown character, draw the body. Draw a large oval shape below the head for the body. Add two small circles for the arms and two larger circles for the legs. Position the arms and legs so that the clown looks like it’s dancing or jumping.
Step 7: Sketch the Outfit
Now, let’s add some clown clothes to our character. Draw a big, polka-dotted bowtie on the clown’s neck. Add some stripes or patterns to the clown’s outfit to make it look colorful and fun.
Step 8: Add Shading and Texture
To give your clown drawing some depth, add shading to the face and body. Shade in the areas where shadows would naturally fall, such as under the hat and around the neck. Add some texture to the hair and outfit by using short, curved lines.
Step 9: Final Touches
Take a step back and look at your drawing as a whole. Make any necessary adjustments and add any final touches that you feel are necessary to bring your clown character to life.
Conclusion
Congratulations! You have successfully drawn a playful and entertaining clown character. With practice and creativity, you can create a variety of clown characters with different expressions and personalities. So, grab your pencil and let your imagination run wild as you create your own colorful and whimsical clown drawings with this “How to Draw a Clown” tutorial.
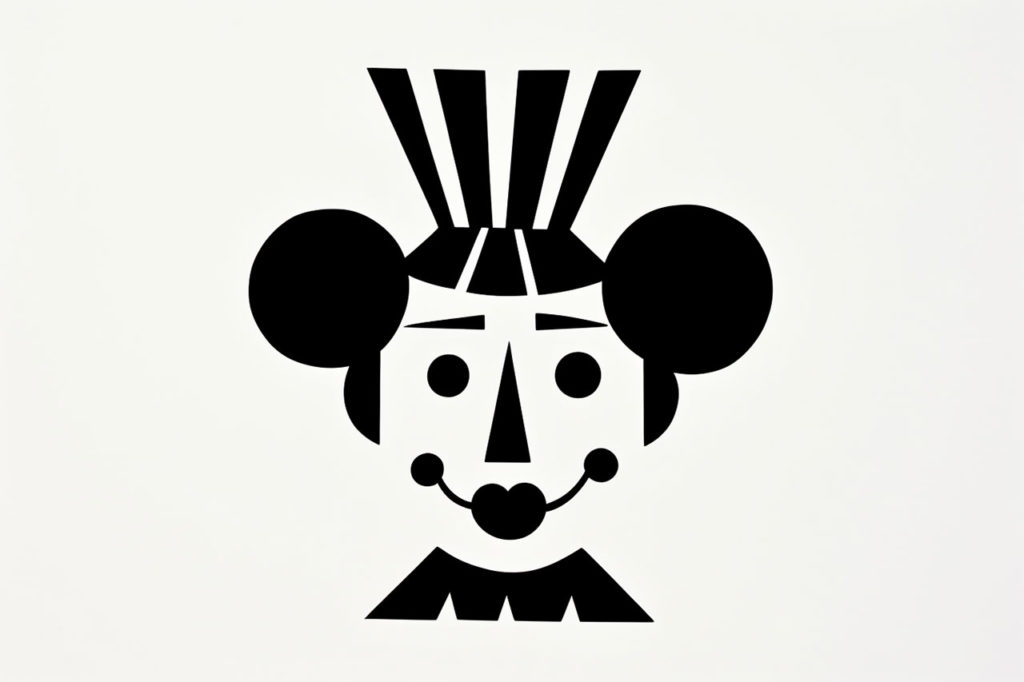
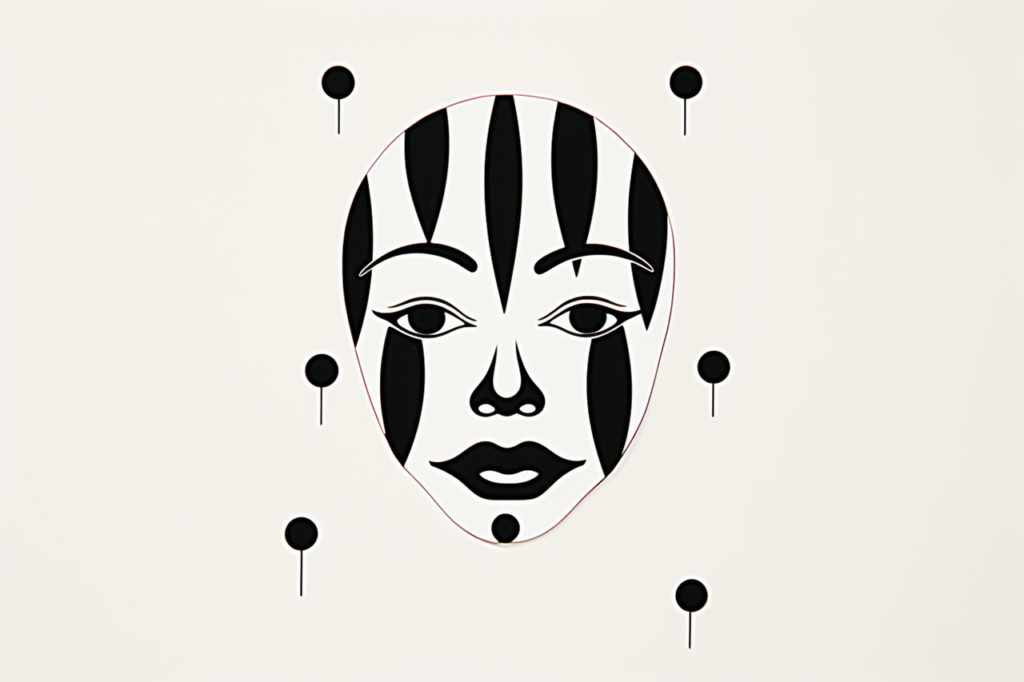
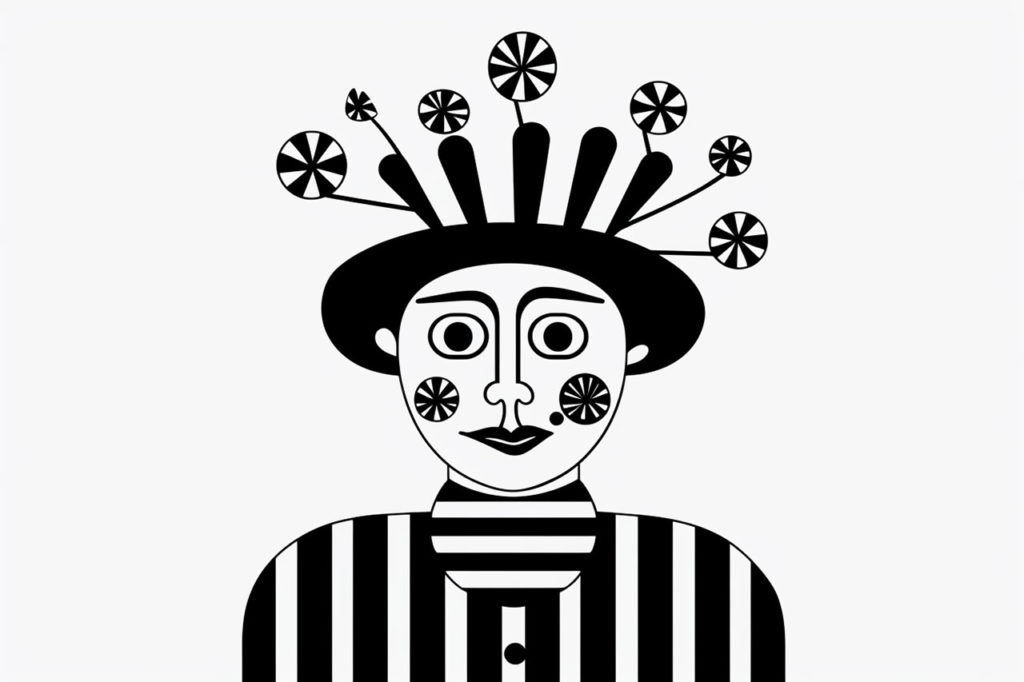
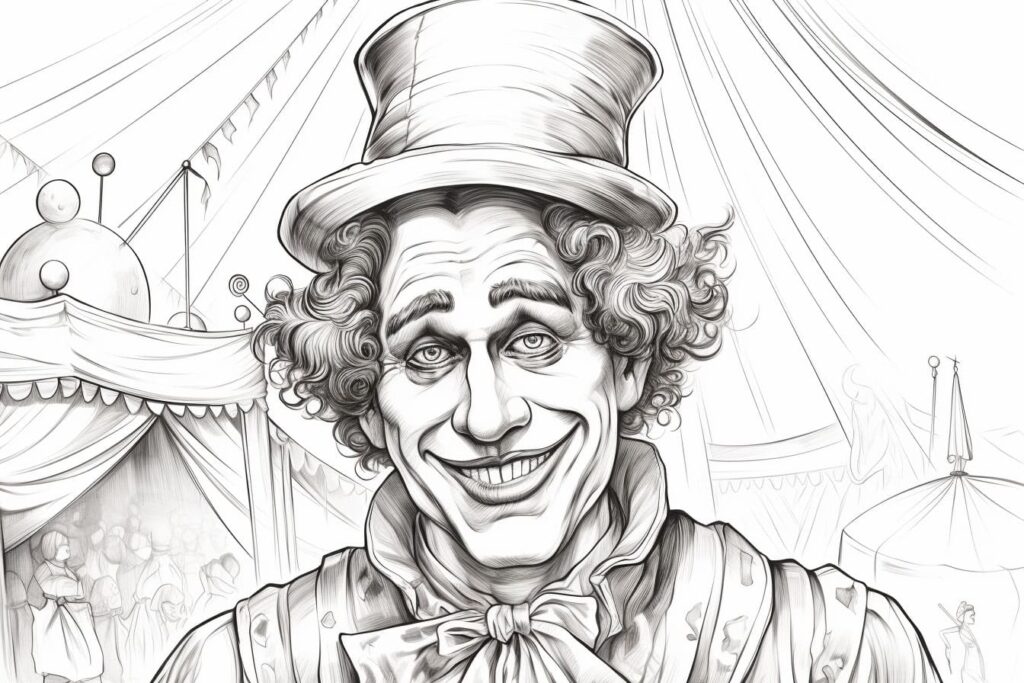
Gallery of Clown Drawings
Fun Facts About Clowns
- Clowns have been part of human culture for thousands of years, with ancient history in Egypt, Greece, and China.
- The iconic white-faced clown makeup emerged during the Commedia dell’arte performances in Italy during the 16th century.
- Coulrophobia is the term used to describe the fear of clowns, which some people experience due to their exaggerated features and behavior.
- The famous “auguste” clown type, with a red nose and baggy clothes, originated in Germany in the late 19th century.
- Clowns play an integral role in circuses and are known for their comedic antics, juggling, and slapstick humor.
- Ronald McDonald, one of the most recognized clown figures, was created as the mascot for the McDonald’s fast-food chain in the early 1960s.
- World Clown Association is a global organization that supports clowning as a profession and art form.
- Emmett Kelly, one of the most famous clowns in American history, was known for his “Weary Willie” character, a portrayal of a down-and-out hobo.
- Clowns have made notable appearances in literature and film, sometimes portrayed as humorous characters, and other times, as sinister figures.
- International Clown Week is celebrated during the first week of August, recognizing the contributions clowns make to entertainment and culture.
Suggestions for Scenes and Settings for Clown Drawings
- Circus Extravaganza: Draw a vibrant scene of clowns performing under the big top, with acrobatic tricks and balloons floating overhead.
- Clown Parade: Illustrate a procession of clowns marching down Main Street, handing out candy and flowers to delighted onlookers.
- Clown Classroom: Imagine a funny scenario where clowns are in school, learning the rules of comedy, and playing pranks on each other.
- Wild West Showdown: Design a humorous Western scene where clowns face off in a “pie duel” at high noon in a dusty frontier town.
- Enchanted Carnival: Create an enchanting night scene of a carnival with clowns juggling glowing balls and walking on stilts under twinkling lights.
- Clown Time Travelers: Draw clowns with vintage clothing and gadgets, visiting different historical eras for comedic purposes.
- Underwater Clown Show: Picture an aquatic performance with clowns engaging in underwater antics, complete with fish spectators.
- Winter Funland: Depict a snowy wonderland where clowns are skating on a frozen pond, building snowmen, and having snowball fights.
- Clowns in Outer Space: Imagine an out-of-this-world scene with clowns floating joyfully on a zero-gravity space station.
- Midnight Masquerade: Illustrate a mysterious night festival where all the clowns are wearing elaborate masks and engaging in playful activities.
Related posts:
 How to Draw a Christmas Elf in 10 Easy Steps
 How to Draw George Washington in 6 Patriotic Steps
 How to Draw a Chibi
 How to Draw a Halloween Witch in 7 Simple Steps
 How to Draw a Gnome in 7 Simple Steps
 How to Draw a Pumpkin Face
 How to Draw a Kitten in 8 Easy Steps
 How to Draw a Leprechaun Easy in 9 Nifty Steps