Welcome to this step-by-step tutorial on how to draw a gnome. Drawing a gnome can be a whimsical and fun experience. Gnomes are mythical creatures known for their pointy hats and beards, and they often live in gardens and forests. In this tutorial, we’ll guide you through the process of drawing a charming gnome that will bring a touch of magic to your artwork. Let’s get started!
Materials Required
- Pencil
- Eraser
- Drawing paper
- Reference picture of a gnome
Step 1: Draw the Basic Shapes
Start by drawing the basic shapes of the gnome. Draw a large circle for the head and a smaller circle for the body. Sketch a curved line for the hat and a straight line for the body. Add two small circles for the eyes and a triangle for the nose.
Step 2: Refine the Shapes
Next, refine the basic shapes by adding more details. Draw the arms and legs by following the curves of the body. Make sure that the arms and legs are short and stout to reflect the gnome’s appearance.
Step 3: Sketch the Face
Now it’s time to add the details to the gnome’s face. Sketch the eyebrows, eyes, and mouth. Add a beard to the gnome’s chin, making sure to follow the curves of the face.
Step 4: Add the Hat
Draw the gnome’s hat by following the curved line you sketched earlier. Make the hat pointy and slightly tilted to one side. Add a band around the base of the hat for extra detail.
Step 5: Draw the Clothes
Next, add the clothes to the gnome. Draw a shirt and pants by following the shape of the body. Gnomes often wear bright and colorful clothes, so feel free to get creative with the colors.
Step 6: Add Shading and Texture
Now it’s time to give your gnome some depth and dimension. Add shading to the gnome to make it look more three-dimensional. Shade in the areas where shadows would naturally fall, such as under the hat and around the nose. Add texture to the beard and clothes by using short, curved lines to show the direction of the gnome’s features.
Step 7: Final Touches
Take a step back and look at your drawing as a whole. Make any necessary adjustments and add any final touches that you feel are necessary to bring your gnome drawing to life.
Conclusion
Congratulations! You have successfully drawn a whimsical gnome. Gnomes are fun and magical creatures that can add a touch of fantasy to your artwork. With practice and creativity, you can draw a variety of gnomes with different poses and expressions. So, grab your pencil and let your imagination run wild as you create your own enchanting gnome characters with this “How to Draw a Gnome” tutorial.
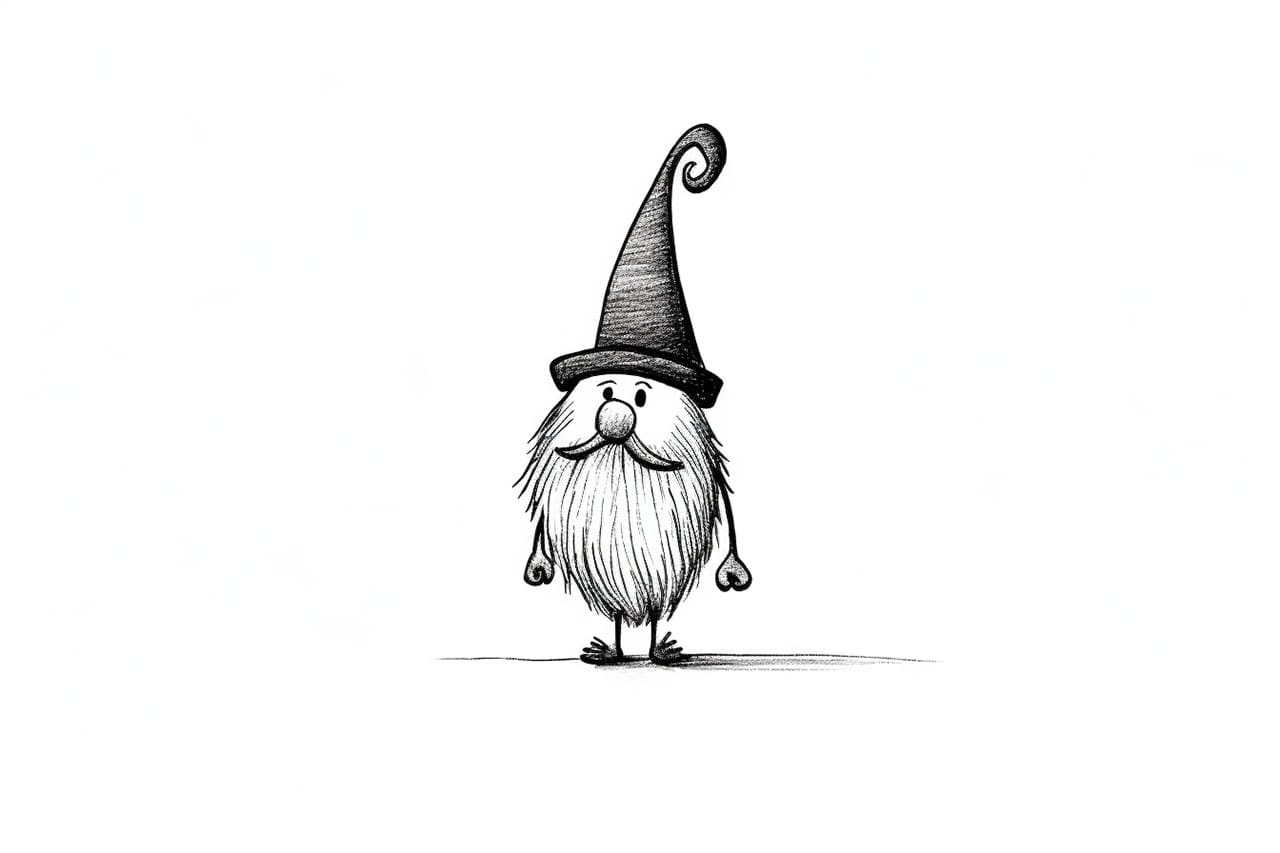
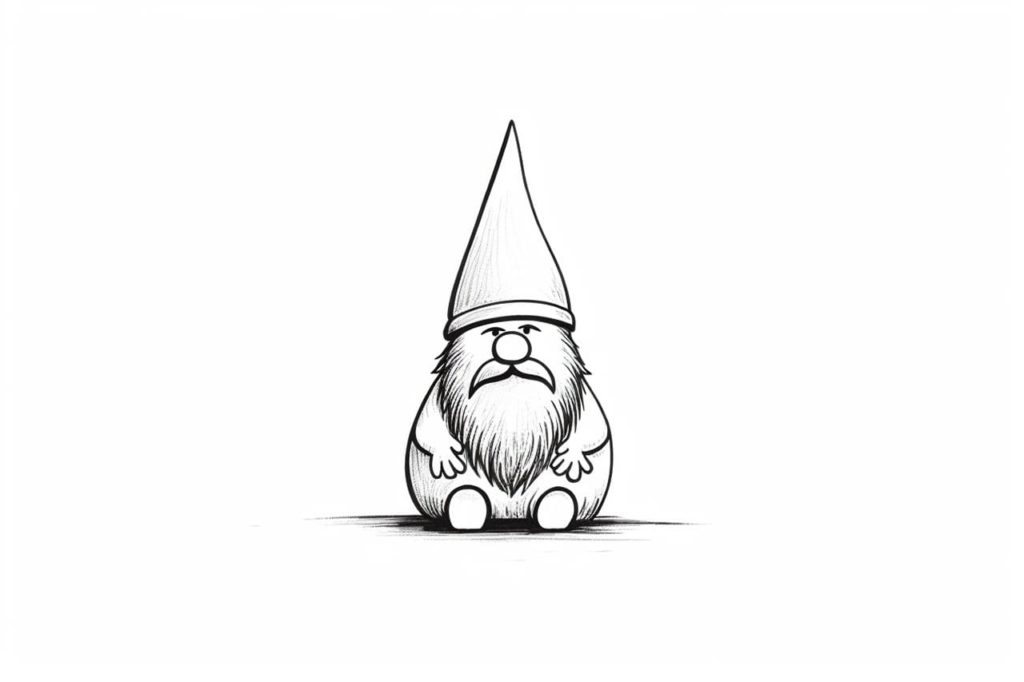
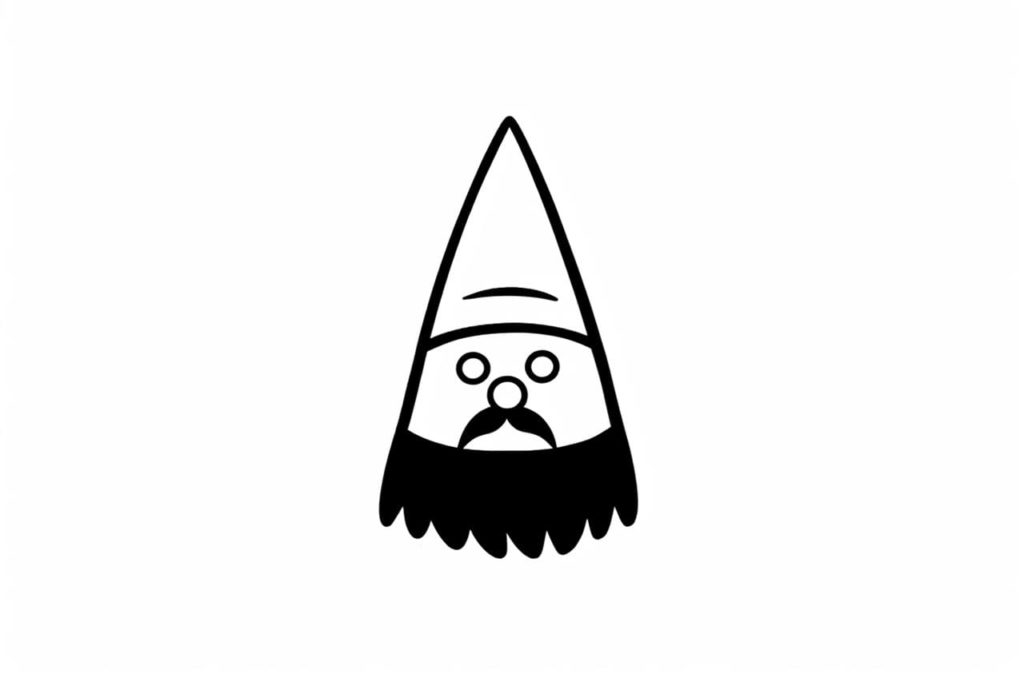
Gallery of Gnome Drawings


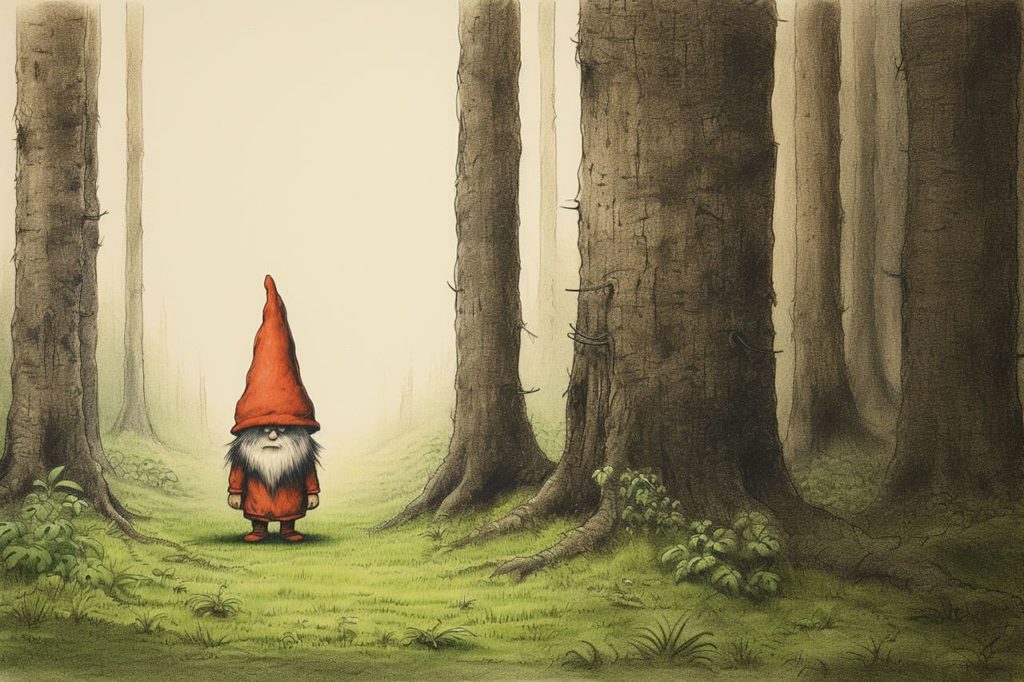
Advanced Tips for Backgrounds for Your Gnome Drawings
This is a little more advanced, but drawing backgrounds for pictures of gnomes can add depth and context to your artwork, enhancing the overall visual appeal. Here are some tips to help you create captivating backgrounds for your gnome illustrations:
- Consider the Gnome’s Environment: Think about the natural habitat of gnomes. They are often associated with gardens, forests, and woodland areas. Choose a setting that complements the gnome’s personality and story.
- Sketch a Thumbnail: Before diving into the final background, sketch small thumbnail sketches to plan the composition and layout. This will help you experiment with different ideas quickly.
- Create Depth with Perspective: Use perspective techniques to create depth in your background. Draw objects that are farther away smaller and less detailed compared to those closer to the viewer.
- Use Atmospheric Perspective: Employ atmospheric perspective by making distant elements lighter in color and less detailed. This technique adds a sense of depth and distance to your background.
- Incorporate Nature Elements: Integrate natural elements such as trees, flowers, rocks, and bushes into your background. These elements create a realistic environment for your gnome character.
- Add Texture: Use various strokes and shading techniques to add texture to different surfaces in your background. For example, rough strokes for tree bark and soft strokes for flowers.
- Balance Details: Pay attention to the level of detail in both the gnome character and the background. The background shouldn’t overpower the gnome, but it should still be rich enough to provide context.
- Use Reference Images: Refer to real-life images of gardens, forests, or natural landscapes to capture accurate details and textures.
- Choose Appropriate Colors: Select a color palette that complements the colors of your gnome. Harmonious colors will tie the gnome and the background together.
- Focus on Lighting: Consider the lighting direction in your scene. Shadows and highlights on the background elements should align with the light falling on the gnome.
- Create Focal Points: Designate a focal point in the background that draws the viewer’s attention while still allowing the gnome to remain the main subject.
- Add Depth with Overlapping: Use overlapping elements in your background to create a sense of space and depth. For example, draw branches in front of a tree trunk.
- Keep it Simple: While adding details is important, avoid overcrowding the background. A cluttered background can distract from the gnome character.
- Practice Perspective Drawing: Practice drawing different scenes with proper perspective to improve your background-drawing skills.
- Tell a Story: Let the background tell a story that complements the gnome’s narrative. A gnome in a garden might be tending to plants, while one in the woods could be exploring.