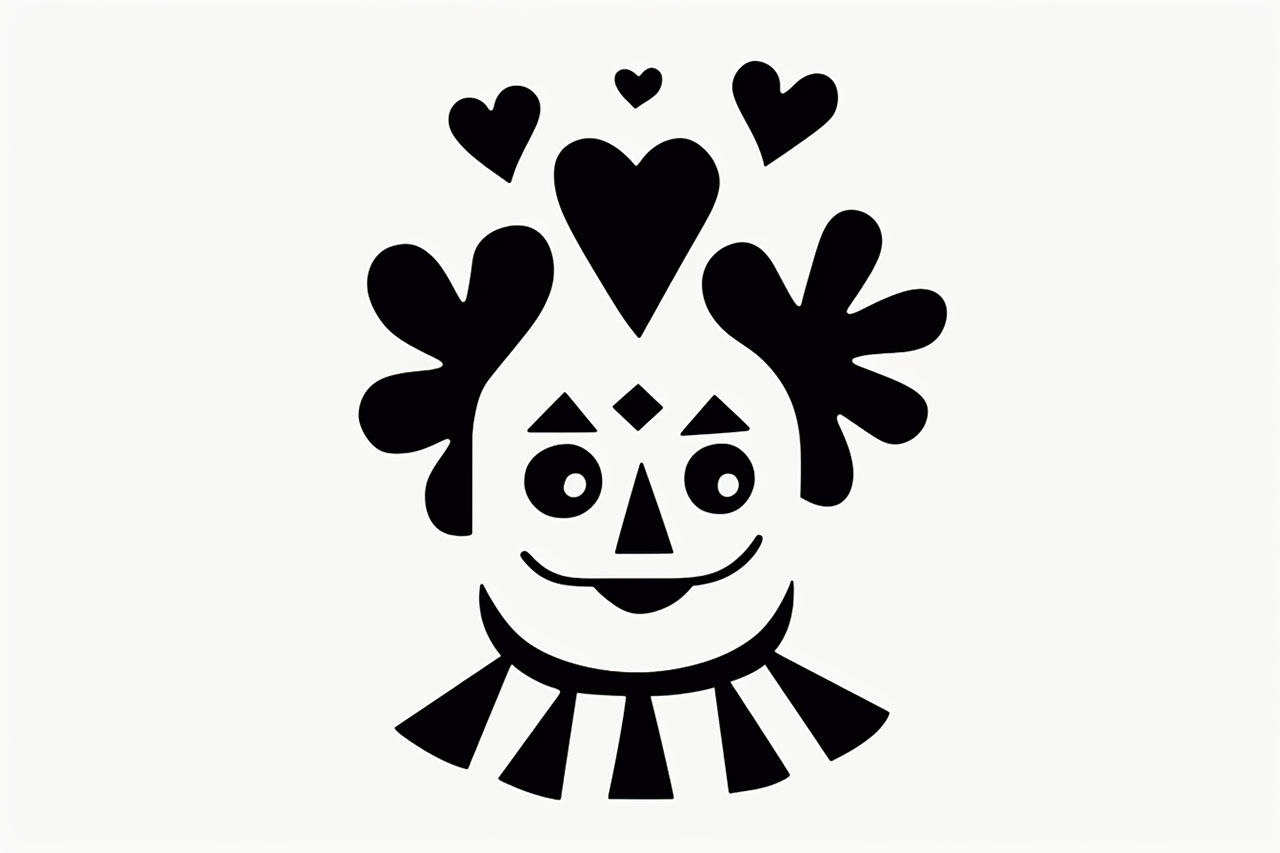
Welcome to this step-by-step tutorial on how to draw a clown. Drawing a clown can be a fun and colorful experience. Whether you want to create a clown character for a children’s book illustration or a playful art project, this tutorial will guide you through the process. With some simple steps and attention to detail, you can create a whimsical and entertaining clown drawing that will bring a smile to anyone’s face. Let’s get started with this “How to Draw a Clown” tutorial!
Materials Required
- Pencil
- Eraser
- Drawing paper
- Reference picture of a clown
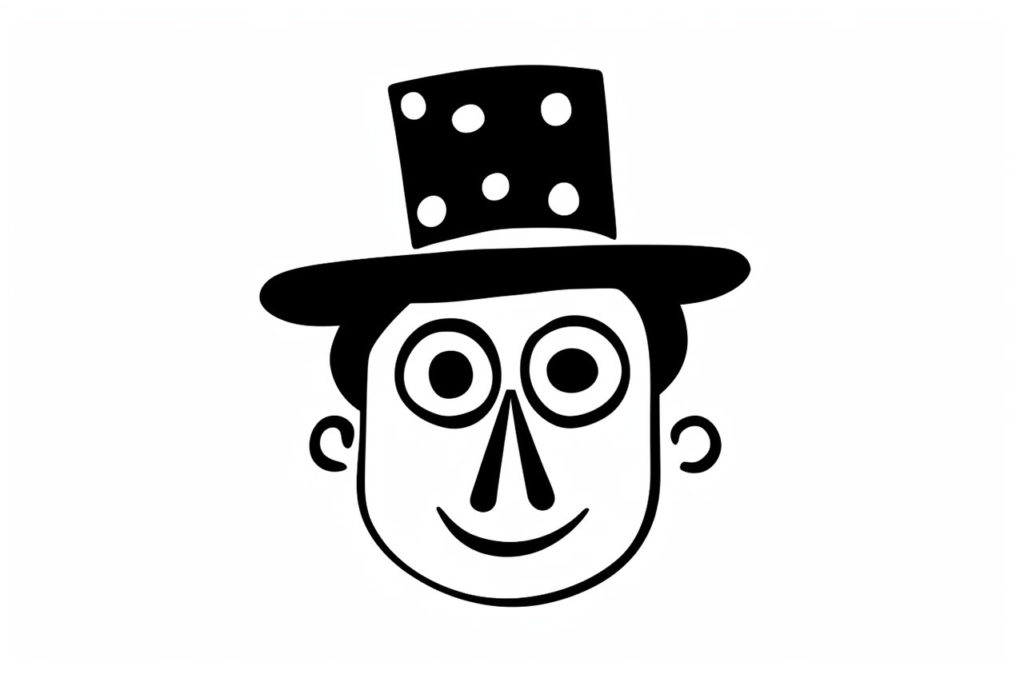
Step 1: Draw the Face
To begin, draw an oval shape in the center of your paper. This will be the clown’s face. Next, add two large circles for the eyes and a small circle for the nose. Position the eyes and nose in the middle of the oval.
Step 2: Add the Mouth
Now, draw a wide smile below the nose to create the clown’s mouth. You can make the smile as big and cheerful as you like. Add two curved lines on each side of the mouth to show the cheeks.
Step 3: Draw the Hair
To give your clown character some personality, draw the hair. Draw a series of wavy lines on top of the clown’s head to create the hair. Make the hair look messy and wild for a classic clown look.
Step 4: Sketch the Hat
Next, let’s add a hat to our clown character. Draw a large, floppy hat on top of the clown’s head. Make the brim of the hat wide and add some curves to make it look playful.
Step 5: Add the Eyes and Details
Now it’s time to add some details to the clown’s face. Draw the eyes with small circles inside the larger circles. Add the eyebrows above the eyes and some freckles or dots on the cheeks. Don’t forget to draw the pupils in the eyes to give them life.
Step 6: Draw the Body
To complete the clown character, draw the body. Draw a large oval shape below the head for the body. Add two small circles for the arms and two larger circles for the legs. Position the arms and legs so that the clown looks like it’s dancing or jumping.
Step 7: Sketch the Outfit
Now, let’s add some clown clothes to our character. Draw a big, polka-dotted bowtie on the clown’s neck. Add some stripes or patterns to the clown’s outfit to make it look colorful and fun.
Step 8: Add Shading and Texture
To give your clown drawing some depth, add shading to the face and body. Shade in the areas where shadows would naturally fall, such as under the hat and around the neck. Add some texture to the hair and outfit by using short, curved lines.
Step 9: Final Touches
Take a step back and look at your drawing as a whole. Make any necessary adjustments and add any final touches that you feel are necessary to bring your clown character to life.
Conclusion
Congratulations! You have successfully drawn a playful and entertaining clown character. With practice and creativity, you can create a variety of clown characters with different expressions and personalities. So, grab your pencil and let your imagination run wild as you create your own colorful and whimsical clown drawings with this “How to Draw a Clown” tutorial.
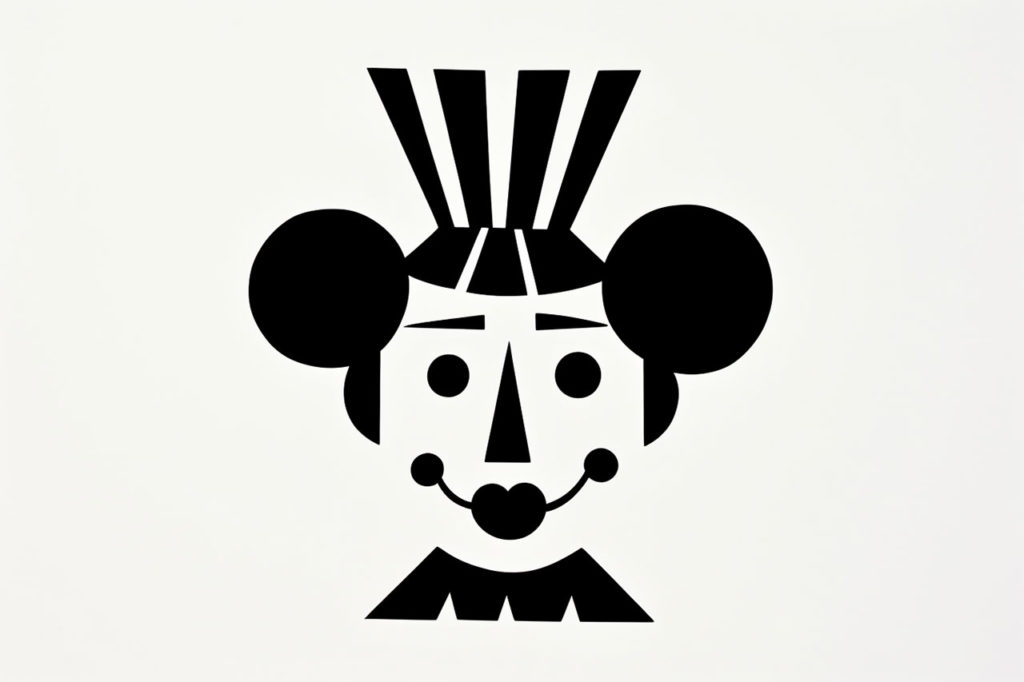
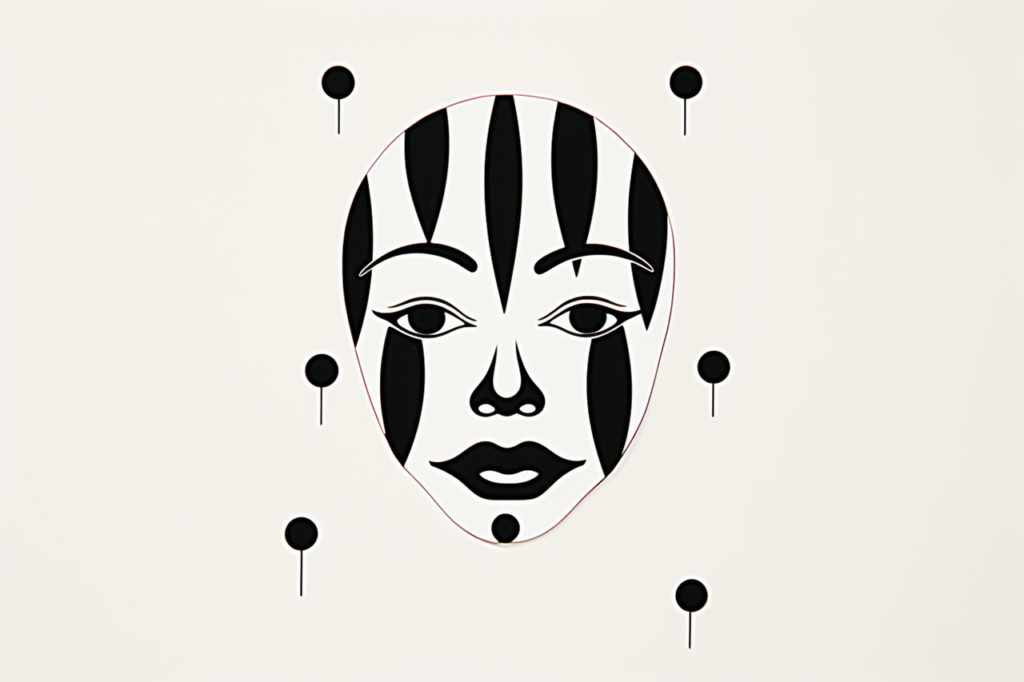
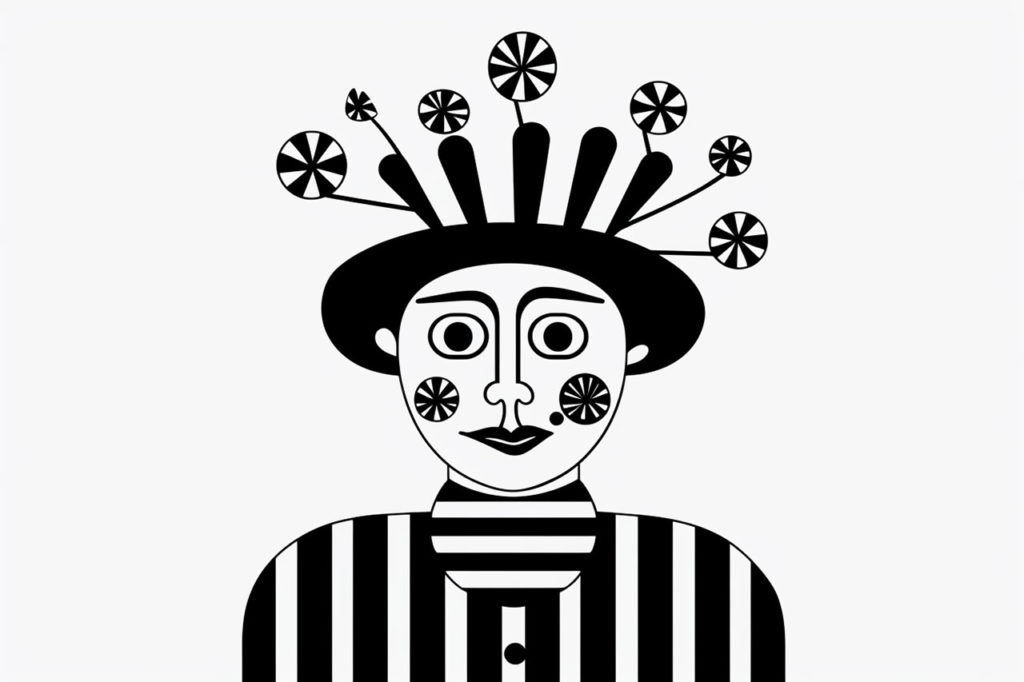
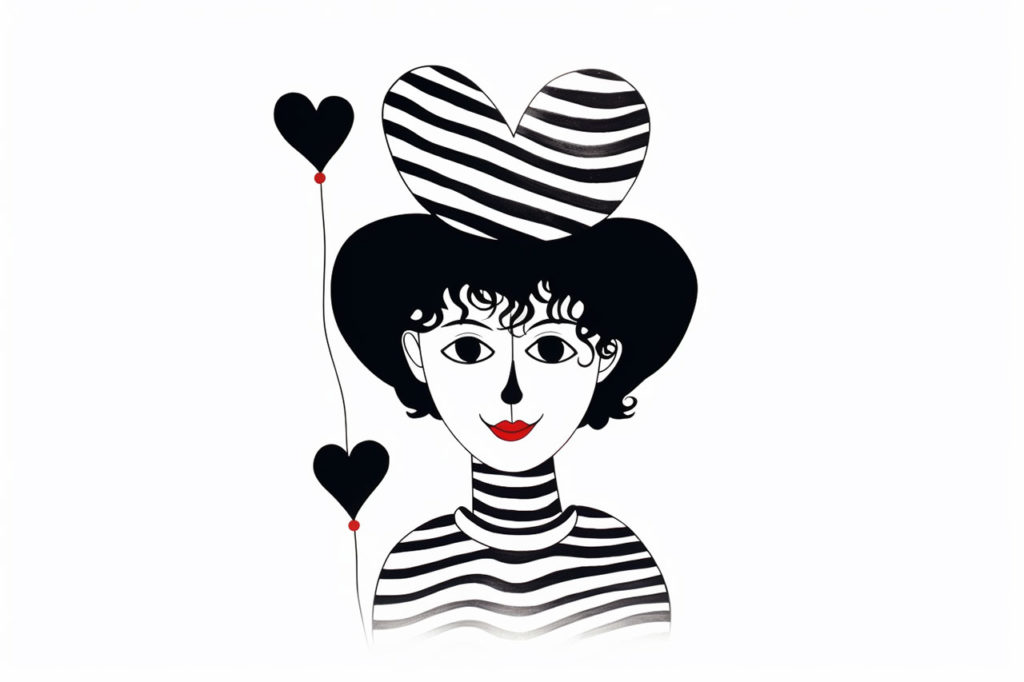
Gallery of Clown Drawings