Welcome to this step-by-step guide on how to draw a chibi! Chibi, which translates to “short person” or “small child” in Japanese, is a cute and exaggerated style of drawing that has gained popularity worldwide. In this article, I will show you how to create your very own chibi character using simple shapes and easy-to-follow techniques. So, grab your art supplies, and let’s get started!
Materials Required
Before we begin, make sure you have the following materials:
- Pencil
- Eraser
- Fine-tip black pen or marker
- Colored pencils or markers
- Paper (preferably bristol or drawing paper)
Now that you have everything you need, let’s dive into the world of chibi drawing!
Step 1: Basic Proportions
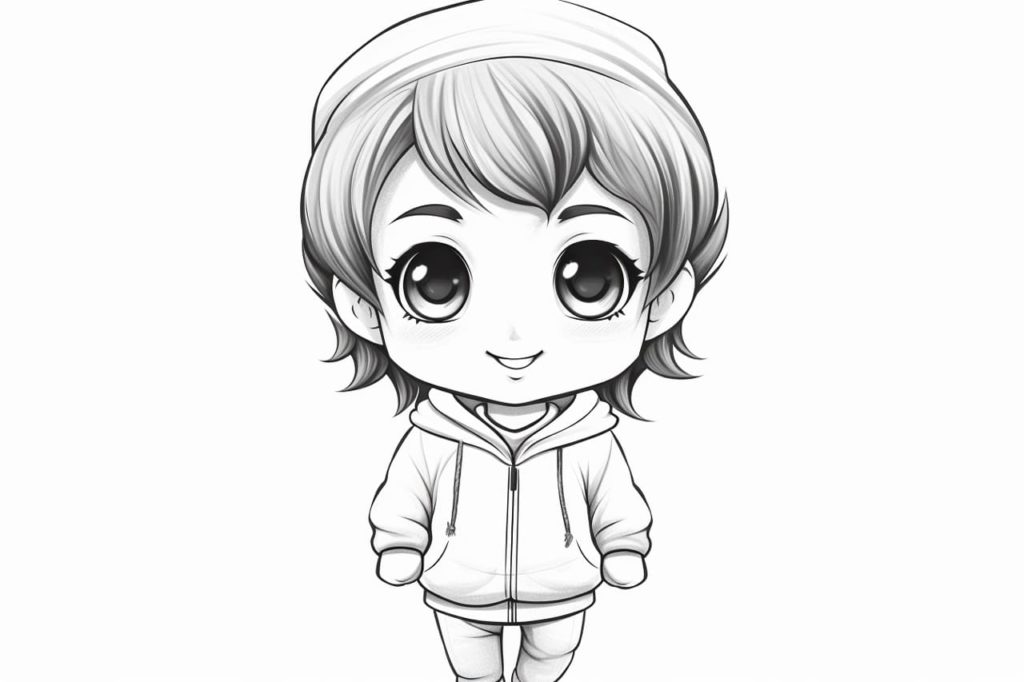
Start by drawing a large circle for the head. Chibi characters have big heads compared to their bodies, which adds to their cuteness.
Next, draw a smaller oval shape below the head to represent the body. Chibi bodies are generally shorter and plumper compared to realistic figures.
Step 2: Facial Features
Now, let’s add some facial features to give our chibi character personality.
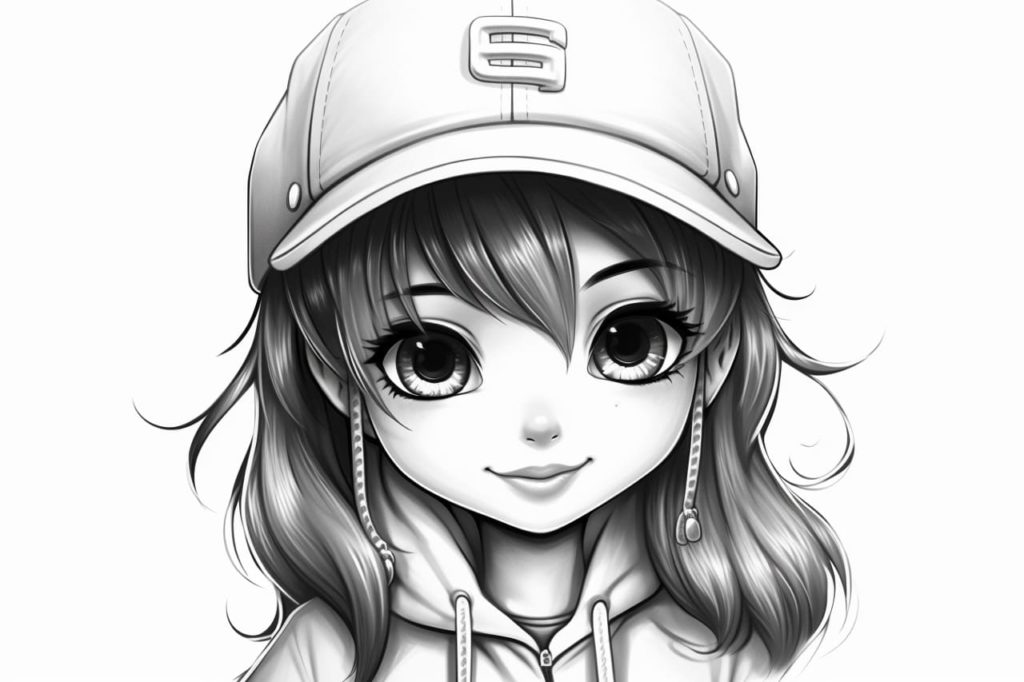
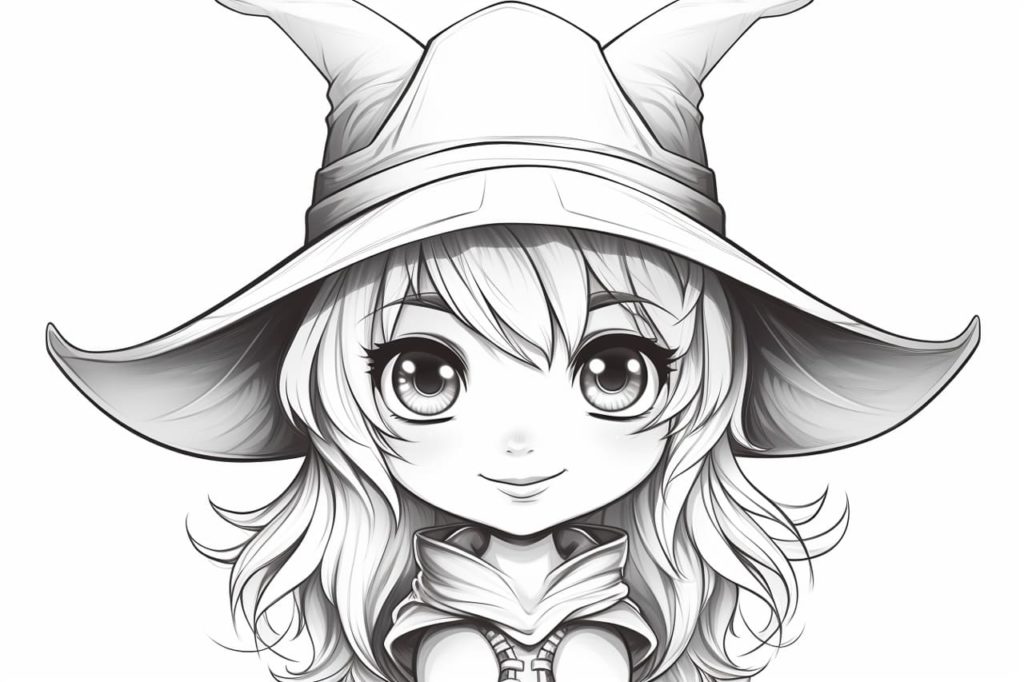
Draw two large, round eyes in the middle of the head. Chibi eyes are usually exaggerated and take up a significant portion of the face.
Beneath the eyes, draw a small, curved line to represent the nose. Keep it simple and minimalistic.
Finally, draw a small, smiling mouth below the nose. Chibi characters often have tiny mouths to enhance their cuteness.
Step 3: Hair and Accessories
Chibi characters can have a variety of hairstyles, so let your imagination run wild! Draw the hair using simple shapes and lines. Experiment with different styles, such as pigtails, buns, or long flowing hair.
To add some flair to your chibi, you can also include accessories like bows, ribbons, or hats. These small details can make your character more unique and fun to draw.
Step 4: Clothing
Now it’s time to dress up your chibi! Draw the clothes using basic shapes and lines. Chibi outfits are often simple and have a cute and playful style. You can add details like buttons, pockets, or patterns to make the clothes more interesting.
Don’t forget to give your chibi character some shoes or boots. Again, keep the designs simple and stylized to match the overall chibi look.
Step 5: Coloring
Once you’re happy with the line drawing, it’s time to bring your chibi to life with colors!
Use colored pencils or markers to add vibrant hues to your character. You can choose any color palette you like or get inspired by your favorite anime or manga characters. Experiment with different shading techniques to add depth and dimension to your chibi.
Remember to have fun and let your creativity shine through in your color choices!
Step 6: Adding Shadows and Highlights
To make your chibi drawing pop, add some shadows and highlights.
Imagine a light source and determine where the shadows would fall on your chibi character. Use a darker shade of the base color to create shadows in those areas. Conversely, use a lighter shade or leave some areas white for highlights.
By adding shadows and highlights, you can create a sense of volume and make your chibi character look more three-dimensional.
Conclusion
Congratulations on completing your chibi drawing! I hope this step-by-step guide has helped you create a cute and adorable chibi character of your own. Remember, practice makes perfect, so keep drawing and exploring different styles.
Whether you’re a beginner or an experienced artist, chibi drawing is a delightful way to express your creativity and bring characters to life. So, grab your art supplies and start drawing chibis today!
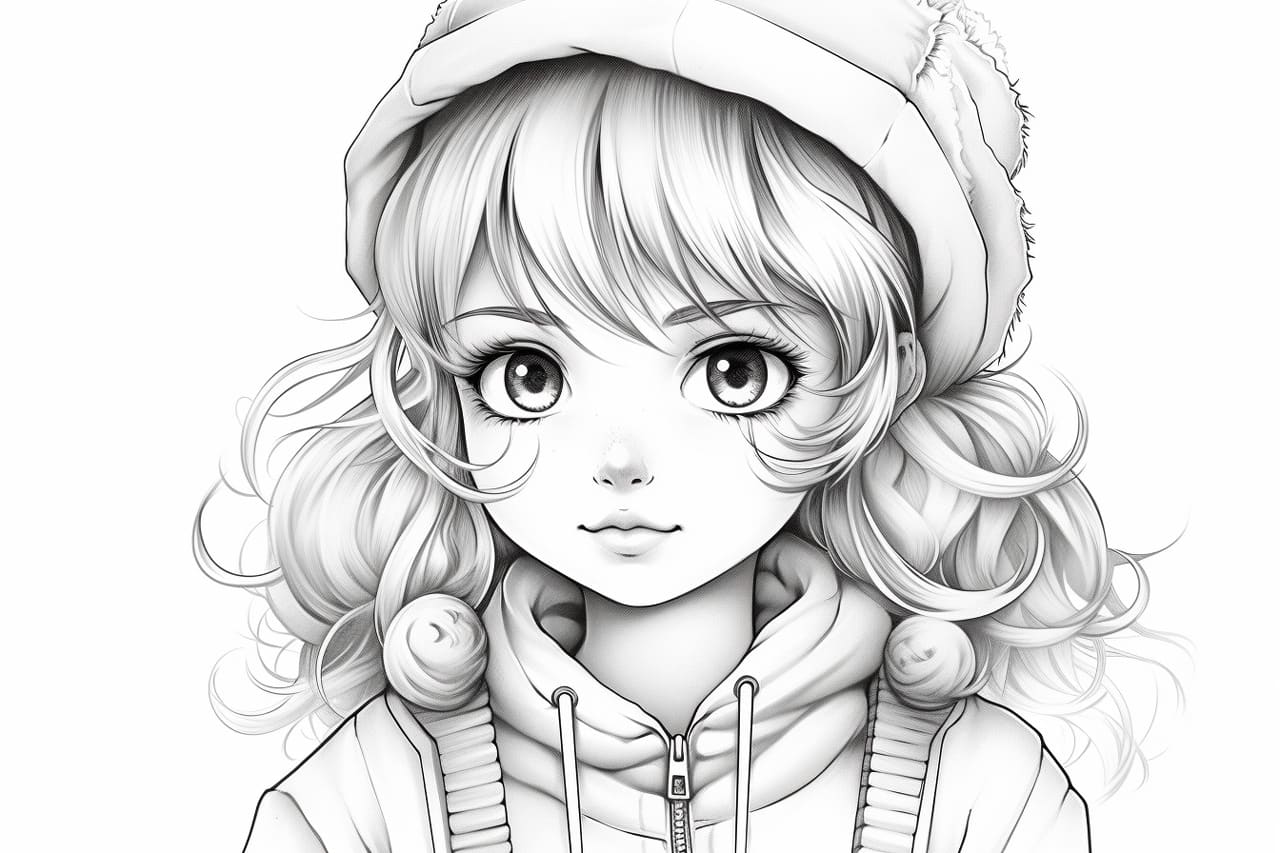
Gallery of Chibi Drawings