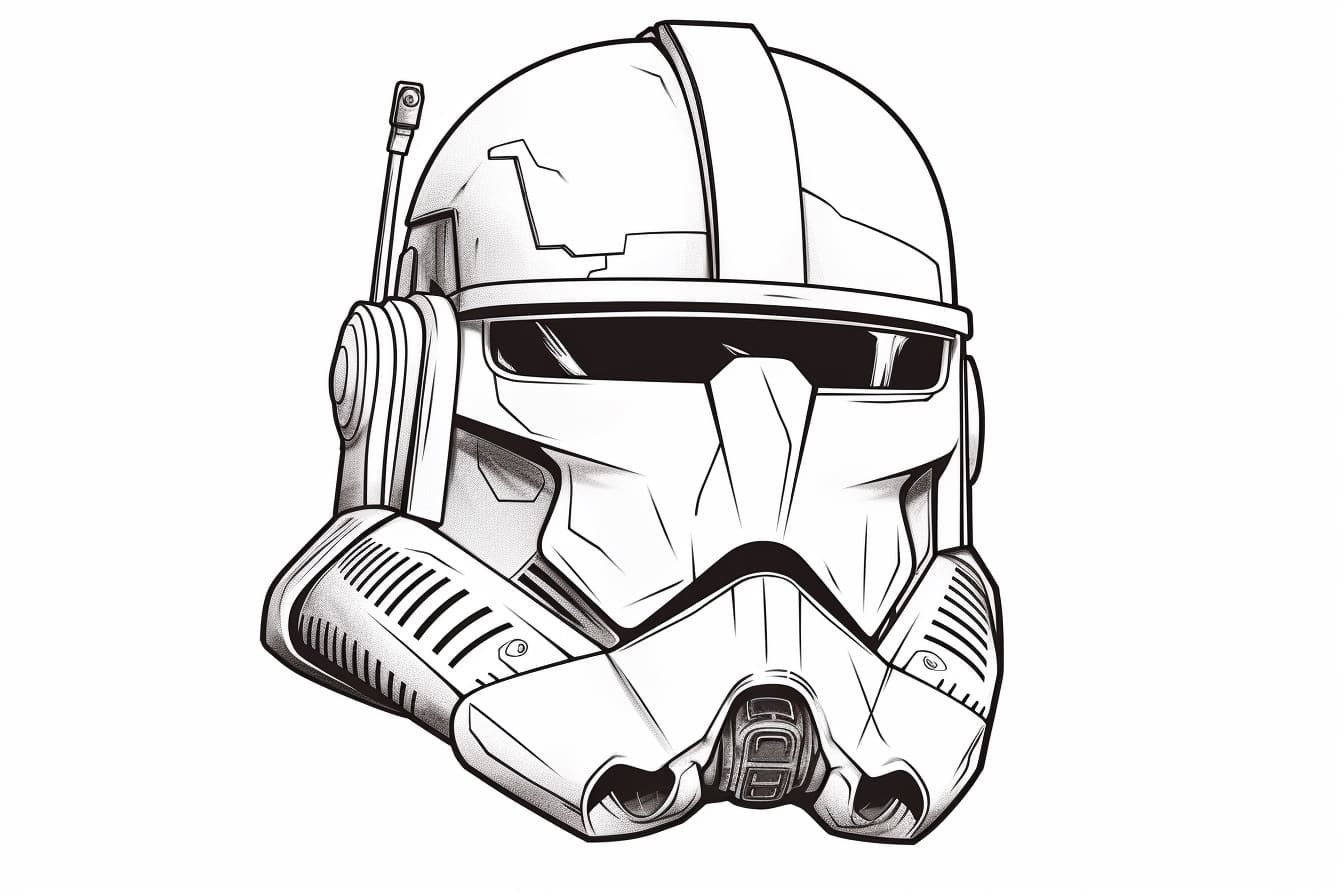
The Clone Trooper helmet is an iconic symbol from the Star Wars franchise. Whether you’re a fan looking to recreate the helmet or an artist seeking a new challenge, this step-by-step guide will help you learn how to draw a Clone Trooper helmet with ease. With clear instructions and simple techniques, you’ll be able to capture the essence of this beloved helmet in no time. So, let’s get started!
Materials Required
Before we begin, make sure you have the following materials ready:
- Drawing paper or sketchbook
- Pencil
- Eraser
- Fine-tip black marker or pen
- Ruler
- Compass (optional)
Now that you have everything you need, let’s dive into the step-by-step process of drawing a Clone Trooper helmet!
Step 1: Basic Helmet Shape
Start by drawing a large oval shape in the center of your paper. This will serve as the basic outline of the helmet. Use light, loose pencil strokes so that you can easily make adjustments as you go along.
Step 2: Face Opening
To create the face opening, draw a horizontal line across the middle of the oval. Then, draw a vertical line from the top of the oval to the bottom, crossing the horizontal line in the middle. This will help position the facial features later on.
Step 3: Side Extensions
Extend two lines diagonally from each side of the oval, starting from the halfway point of the vertical line. These lines should curve slightly as they move away from the oval, creating the side extensions of the helmet.
Step 4: Bottom Curve
At the bottom of the oval, draw a curved line that connects the two side extensions. This will complete the lower part of the helmet.
Step 5: Visor Placement
Using the horizontal and vertical lines as guides, draw a curved line that follows the shape of the lower part of the helmet. This line will serve as the placement for the Clone Trooper’s visor.
Step 6: Visor Details
Next, draw two small rectangles within the visor’s placement area. These rectangles will represent the vents on the visor. Make sure they are evenly spaced and centered within the visor shape.
Step 7: Dome Details
Now, it’s time to add some details to the top of the helmet. Draw a small rectangular shape on top of the oval, slightly closer to the front. This will represent the antenna on the Clone Trooper helmet.
Step 8: Ventilation Holes
To add more depth and realism to the helmet, draw several small circles along the sides of the helmet. These circles represent ventilation holes and add intricate detail to your drawing.
Step 9: Clean Up the Lines
At this point, you should have all the major components of the Clone Trooper helmet in place. Take a moment to go over your drawing and refine any lines that may be too rough or uneven. Use your eraser to remove any unnecessary guidelines.
Step 10: Darken the Lines
Once you’re satisfied with the overall sketch, grab your fine-tip black marker or pen and carefully go over the lines to make them more defined and bold. This step will bring your drawing to life and give it a polished look.
Step 11: Shading and Texturing (Optional)
If you want to take your drawing to the next level, you can add shading and texturing to give it a more realistic appearance. Use your pencil to lightly shade different areas of the helmet, creating depth and highlights. You can also add small lines and dots to represent wear and tear on the helmet.
And there you have it! You’ve successfully drawn a Clone Trooper helmet. With practice and attention to detail, you can refine your skills and create even more intricate Star Wars-inspired artwork.
Conclusion
Drawing a Clone Trooper helmet may seem daunting at first, but with the right guidance and a bit of patience, anyone can achieve great results. By following the step-by-step instructions outlined in this guide, you’ll be able to capture the essence of this iconic helmet in your artwork. So, grab your materials and let the Force guide your hand as you embark on this creative journey!