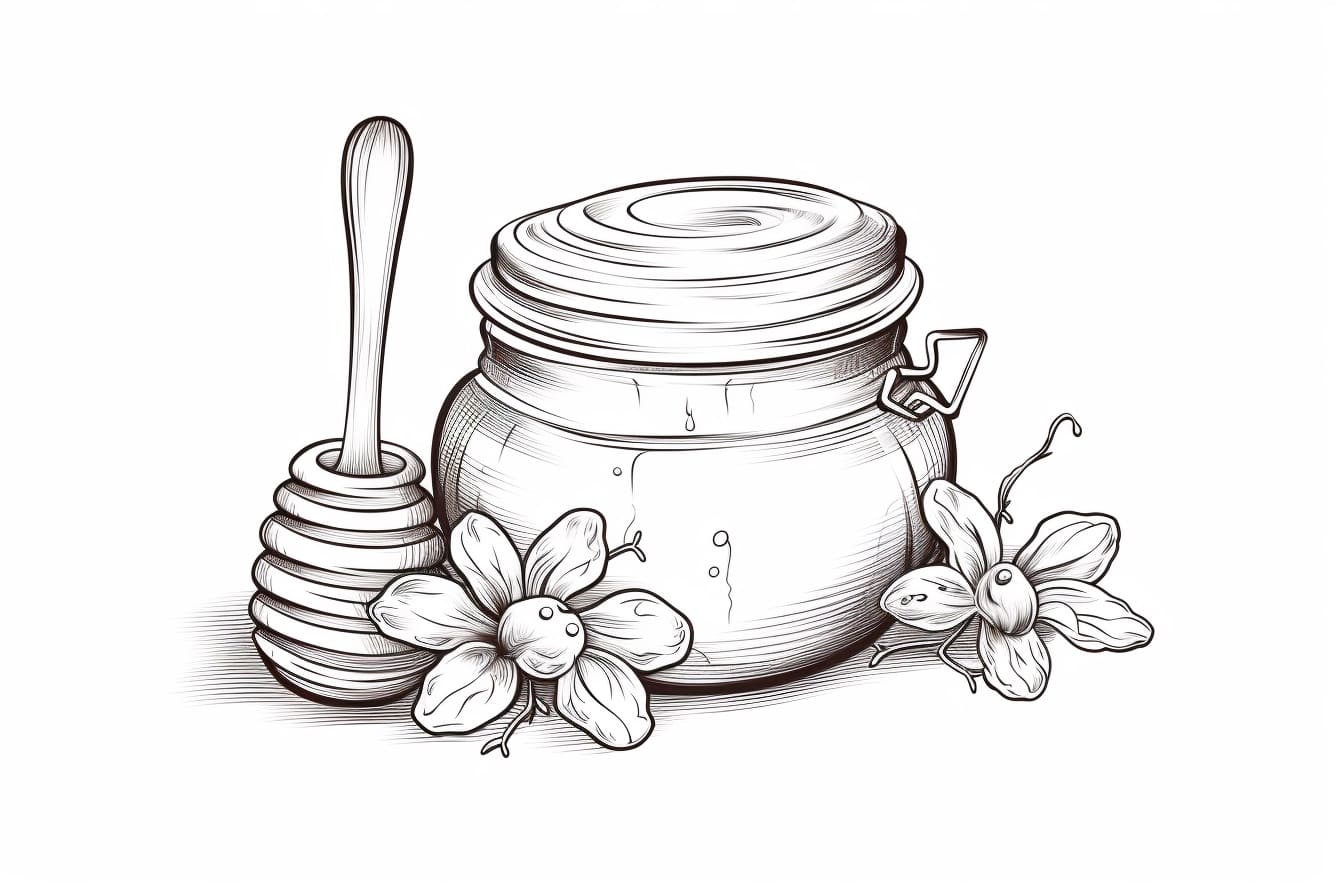
Welcome to this step-by-step tutorial on how to draw a honey pot! Whether you are a beginner or an experienced artist, this guide will help you create a realistic and vibrant representation of a honey pot. With just a few simple materials and a bit of patience, you’ll be able to draw a charming honey pot that will add sweetness to any artwork. So let’s get started!
Materials Required
To draw a honey pot, you will need the following materials:
- Pencil
- Eraser
- Drawing paper
- Ruler or straight edge
- Compass
- Protractor
- Colored pencils or markers (optional)
Gather these materials before beginning, and let’s dive into the steps!
Step 1: Outline the Basic Shape
Begin by drawing a simple outline of the honey pot. Start with a slightly curved horizontal line near the top of your paper. This line will represent the mouth of the pot. Then, draw two vertical lines extending downwards from each end of the curved line. These lines will be the sides of the pot. Finally, connect the ends of the vertical lines with a curved line to form the bottom of the pot.
Step 2: Add Handle and Lid
Once you have the basic shape of the pot, it’s time to give it some details. Draw a curved line from the top of one side of the pot to the other, creating a handle. The shape of the handle should resemble a half-moon. Next, draw a smaller curved line near the top of the pot, representing the lid. Make sure the lid follows the contour of the pot.
Step 3: Refine the Shape and Add Texture
Now, let’s refine the shape of the honey pot. Use your eraser to remove any unnecessary lines from the previous steps, leaving only the outline and essential details. Pay close attention to the curves and proportions of the pot to make it look balanced and realistic.
To add texture to the pot, create a series of short, curved lines on the sides and bottom. These lines should follow the shape of the pot and give the illusion of a ceramic or glass surface. Use your pencil lightly to create these lines, ensuring they blend well with the overall drawing.
Step 4: Draw the Honey
A honey pot wouldn’t be complete without honey! To draw the honey, start by drawing a semi-oval shape inside the pot, near the bottom. This shape will represent the honey level inside the pot. Then, add dripping lines from the upper edge of the honey level to the bottom of the pot, indicating the flow of honey. These lines can be curved, irregular, and thicker at the top, gradually thinning towards the bottom.
Step 5: Add Shadows and Highlights
To make the honey pot appear three-dimensional, it’s important to add shadows and highlights. Determine the direction of the light source and use your pencil to create shading accordingly. Add darker shading to areas that are farther away from the light source, such as the underside of the pot, the handle’s bottom part, and the side opposite the light source.
To create highlights, use your eraser to gently lighten areas that would catch the most light, such as the top and sides of the pot, the handle’s upper part, and the lid. This contrast between shadows and highlights will make the honey pot appear more realistic and give it depth.
Step 6: Color the Honey Pot (Optional)
If you have colored pencils or markers, you can take your drawing to the next level by adding color. Choose shades of browns, yellows, and oranges to bring the honey pot to life. Apply the colors lightly at first and gradually layer them to achieve the desired intensity. Remember to blend the colors smoothly to avoid any harsh lines or transitions.
Conclusion
Congratulations! You have successfully learned how to draw a honey pot. By following these step-by-step instructions and using your creativity, you can now create charming honey pots in your artwork. Remember to practice and experiment with different techniques to further enhance your drawing skills. Happy drawing!