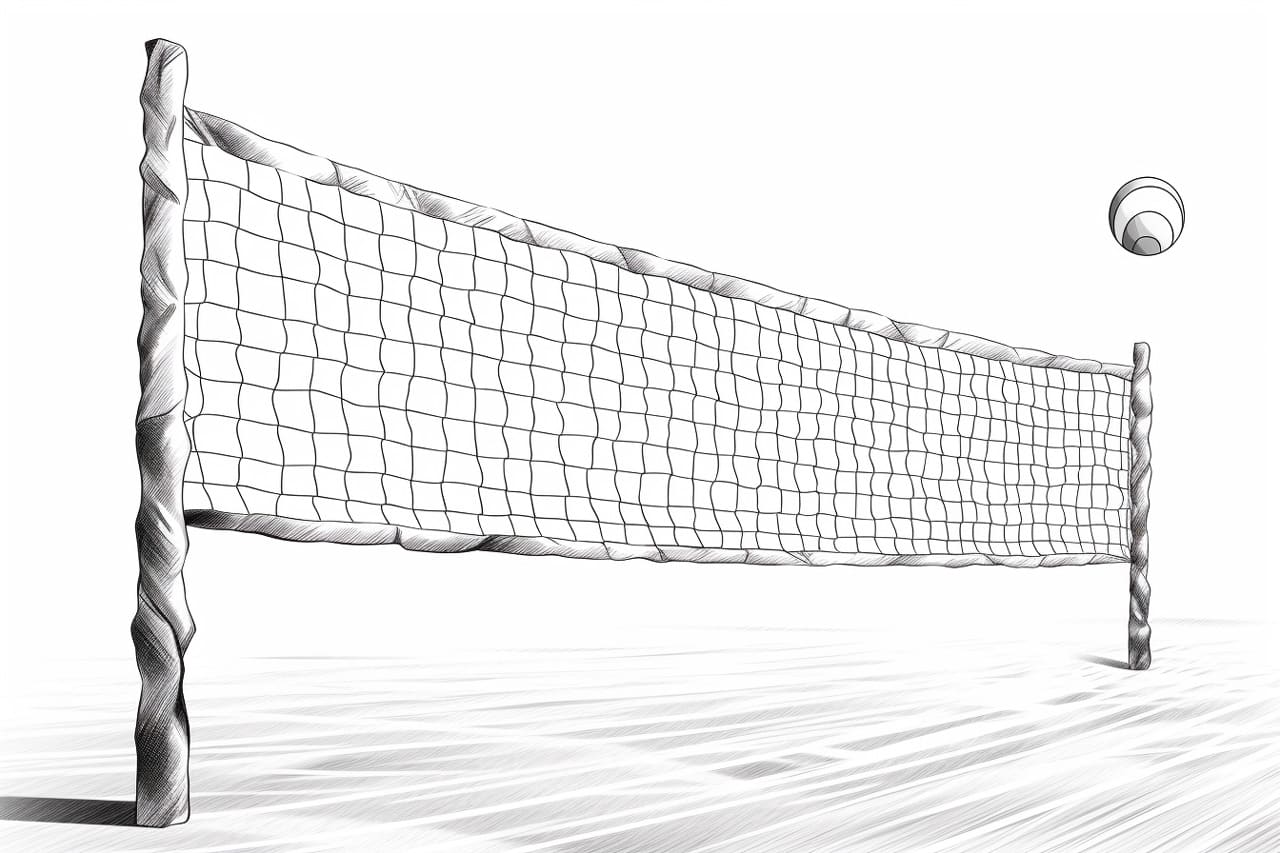
Welcome to this step-by-step guide on how to draw a volleyball net. Whether you are an aspiring artist or simply enjoy doodling, this tutorial will help you create a realistic representation of a volleyball net. So grab your materials and let’s get started!
Materials Required:
To draw a volleyball net, you will need the following materials:
- Paper: Choose a medium-weight paper that is suitable for drawing. A blank sheet of printer paper or a sketchbook will work just fine.
- Pencil: Use a regular pencil with an HB or 2B lead for sketching the initial lines. You can also use a mechanical pencil if you prefer.
- Eraser: Have a good quality eraser handy to correct any mistakes or stray lines.
- Ruler: A straight edge ruler will be necessary to draw the straight lines of the net.
- Compass (optional): If you want to draw the circular shape of the volleyball, a compass will come in handy.
Now that you have gathered your materials, let’s move on to the steps for drawing a volleyball net.
Step 1: Draw the Outline of the Volleyball
Start by drawing an oval shape that will serve as the outline of the volleyball. Use a compass to create a perfect circle if you have one. Otherwise, draw the oval shape by hand, making sure it is proportionate and symmetrical.
Step 2: Add the Vertical Center Line
Draw a vertical line through the center of the volleyball. This line will help you position the net accurately later on. Remember to keep the line light, as you will be erasing it later.
Step 3: Sketch the Upper Portion of the Net
Using your ruler, draw two parallel horizontal lines on top of the volleyball. These lines will represent the top and bottom edges of the net. Make sure the lines are evenly spaced and parallel to the outline of the volleyball.
Step 4: Draw the Side Strands of the Net
Now, draw two diagonal lines that connect the outer edges of the top line to the outline of the volleyball. These lines will represent the side strands of the net. Repeat this step on the other side to create a symmetrical look.
Step 5: Add the Bottom Portion of the Net
Extend the side strands downwards by drawing two parallel horizontal lines. These lines should be slightly longer than the previous ones. They will represent the bottom edge of the net.
Step 6: Connect the Strands
To create the interconnected pattern of the net, draw small horizontal lines between the side strands and the central strands. These lines should be evenly spaced and parallel to the top and bottom edges of the net.
Step 7: Erase Unnecessary Lines
Carefully erase the initial oval shape of the volleyball and the vertical center line. Also, remove any stray pencil marks or unnecessary lines that you may have drawn during the process.
Step 8: Shade the Net
To add depth and dimension to your drawing, lightly shade the areas where the strands of the net overlap. Use a pencil to achieve a subtle shading effect. This step is optional but can enhance the realism of your artwork.
Congratulations! You have successfully drawn a volleyball net. Take a moment to admire your creation and make any final adjustments if needed.
Conclusion
Drawing a volleyball net may seem daunting at first, but by following these step-by-step instructions, you can accomplish it with ease. Remember to take your time, use the proper materials, and don’t be afraid to make mistakes. Practice makes perfect, and the more you draw, the better you will become.
So grab your paper, pencil, ruler, and eraser, and get ready to create your own volleyball net masterpiece. Enjoy the process and let your creativity shine!