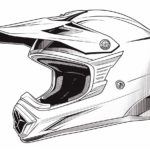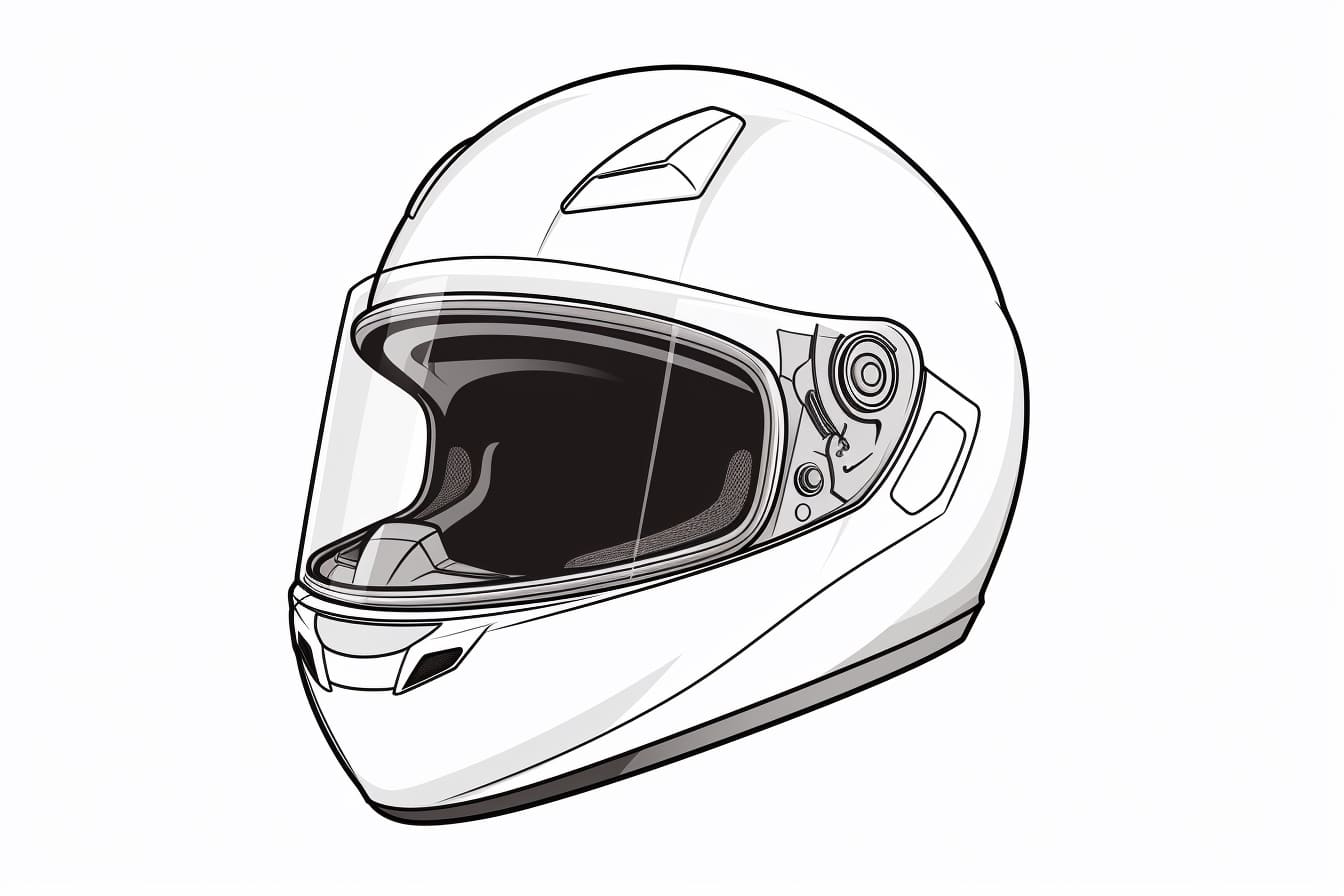
Motorcycle helmets are not only crucial for safety, but they also have a unique and eye-catching design. If you’re an artist looking to capture the essence of a motorcycle helmet on paper, you’ve come to the right place. In this step-by-step guide, we will walk you through the process of how to draw a motorcycle helmet. So, grab your drawing tools and let’s get started!
Materials Required
Before we begin, make sure you have the following materials ready:
- Pencil (preferably a mechanical pencil with different lead thicknesses)
- Eraser
- Drawing paper
- Ruler
- Protractor (optional)
- Colored pencils or markers (optional, for adding color to your drawing)
With all the materials at hand, you’re now ready to embark on this artistic journey.
Step 1: Outline the Basic Shape
To start, lightly sketch an oval shape on your drawing paper, slightly tilted to the side. This will be the basic outline of the helmet. The angle of the tilt will depend on your preference and the perspective you want to create. Don’t worry about perfection at this stage, as you can refine the shape later.
Step 2: Add the Visor
Next, draw a curved line extending from one side of the oval shape. This will represent the visor of the helmet. Remember that the visor is typically angled upwards for better visibility. Continue the line beyond the oval shape to create the desired length and shape of the visor.
Step 3: Shape the Helmet
Now it’s time to add some depth to the helmet. Starting from the top of the oval shape, draw two lines that curve downwards and meet at the bottom. These lines will define the sides of the helmet. From there, draw a curved line connecting the two sides, completing the bottom edge of the helmet.
Step 4: Refine the Shape
Take a moment to adjust and refine the shape of the helmet. Use the eraser to remove any unnecessary lines or mistakes. Pay attention to the curves and angles to ensure a realistic and proportionate representation.
Step 5: Add Details
To make your drawing more authentic, add some key details to the helmet. Start by sketching the ventilation holes or vents on the top of the helmet. These are usually small, circular openings. You can also add extra details, such as graphics or brand logos, depending on the style you want to portray.
Step 6: Shade and Texture
Now that the basic structure of the helmet is complete, it’s time to add shading and texture to give it a three-dimensional look. Determine the direction of the light source and shade accordingly. Use lighter shading for the areas that catch more light and darker shading for the areas in shadow. This will help create depth and realism in your drawing.
For texture, use small, repetitive strokes or dots to represent the different materials and finishes on the helmet, such as matte or glossy surfaces. This step may require some practice and patience, so take your time and experiment until you achieve the desired effect.
Step 7: Optional Coloring
If you prefer to add color to your drawing, now is the time to do so. Use colored pencils or markers to bring your motorcycle helmet to life. Research different helmet designs and color schemes for inspiration, or get creative and design your own unique helmet.
Conclusion
Drawing a motorcycle helmet may seem challenging, but by following these step-by-step instructions, you can create a realistic and visually appealing representation. Remember to pay attention to details, shading, and texture to make your drawing truly stand out. With practice, you’ll be able to capture the essence of a motorcycle helmet effortlessly.
Now, armed with your artistic tools and newfound knowledge, it’s time to put pencil to paper and let your imagination soar. So, go ahead, draw that perfect motorcycle helmet and enjoy the process that comes with it.