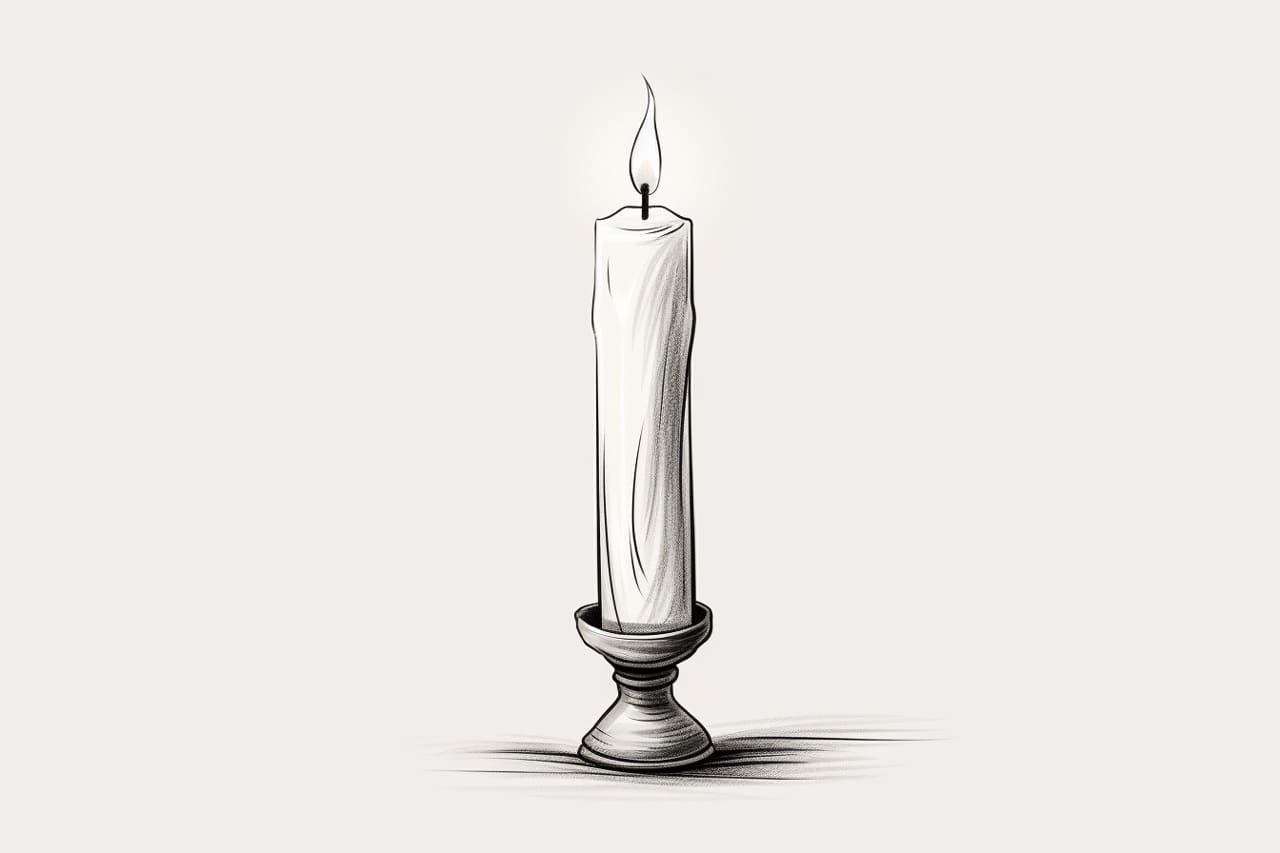
Have you ever wanted to learn how to draw a candle? Drawing a candle can be a fun and rewarding experience, whether you are a beginner or an experienced artist. In this step-by-step guide, I will walk you through the process of drawing a realistic candle. So grab your sketchbook and let’s get started!
Materials Required
Before we start drawing, let’s gather the materials you will need:
- Pencil: Start with a pencil to create the initial sketch and outline of the candle.
- Eraser: Keep an eraser handy to correct any mistakes or make adjustments.
- Paper: Choose a smooth paper that is suitable for drawing. A heavier weight paper will work best to prevent smudging.
- Colored pencils or markers (optional): If you want to add color to your drawing, have some colored pencils or markers ready.
That’s it! With these basic materials, you’ll be able to create a beautiful drawing of a candle.
Step 1: Outline the Candle Shape
Begin by lightly drawing an oval shape to represent the body of the candle. This will serve as a guide for the overall shape. You can adjust the size of the oval to your preference.
Step 2: Draw the Candle Base
Below the oval shape, draw a slightly wider rectangle to represent the base of the candle. Make sure the width of the base is proportionate to the size of the oval shape.
Step 3: Add the Wick
Inside the oval shape, draw a thin vertical line to represent the wick of the candle. The wick should extend slightly above the top of the candle.
Step 4: Sketch the Flame
At the top of the wick, sketch a small teardrop shape to represent the flame. The flame should be wider at the base and taper to a point at the top.
Step 5: Define the Candle’s Shape
Refine the outline of the candle by adding curves and contours to give it a more three-dimensional look. Pay attention to the curves of the body and the base.
Step 6: Add Texture to the Candle Body
To create a realistic effect, add texture to the body of the candle. You can do this by lightly drawing short, vertical lines along the sides of the candle. These lines represent the drips of melted wax.
Step 7: Shade the Candle Body
Using your pencil, start shading the candle body to create depth. Add darker shading to the areas where the light would be blocked, such as the edges and underneath the drips. Gradually blend the shading to create a smooth transition.
Step 8: Shade the Candle Base
Continue shading the base of the candle using the same technique. Darken the areas that would be in shadow and blend the shading for a realistic look.
Step 9: Add Highlights and Reflections
To make the candle appear more three-dimensional, add highlights and reflections. Use an eraser to carefully lighten certain areas, such as the top of the candle body and the base, to create the illusion of light hitting the surface.
Step 10: Optional: Add Color
If you want to add color to your drawing, now is the time to do so. Use colored pencils or markers to add depth and vibrancy to the flame and the candle body. Pay attention to the values and shades to create a realistic effect.
Conclusion
Drawing a candle can be a great exercise in observation and technique. By following these step-by-step instructions, you can create your own beautiful and realistic candle drawing. Remember to start with a light sketch and gradually build up the details and shading. With practice, you’ll be able to create stunning candle drawings that capture the beauty and warmth of real candles.
So grab your pencils and let your creativity shine as you draw a candle! Enjoy the process and have fun experimenting with different techniques and styles. Happy drawing!