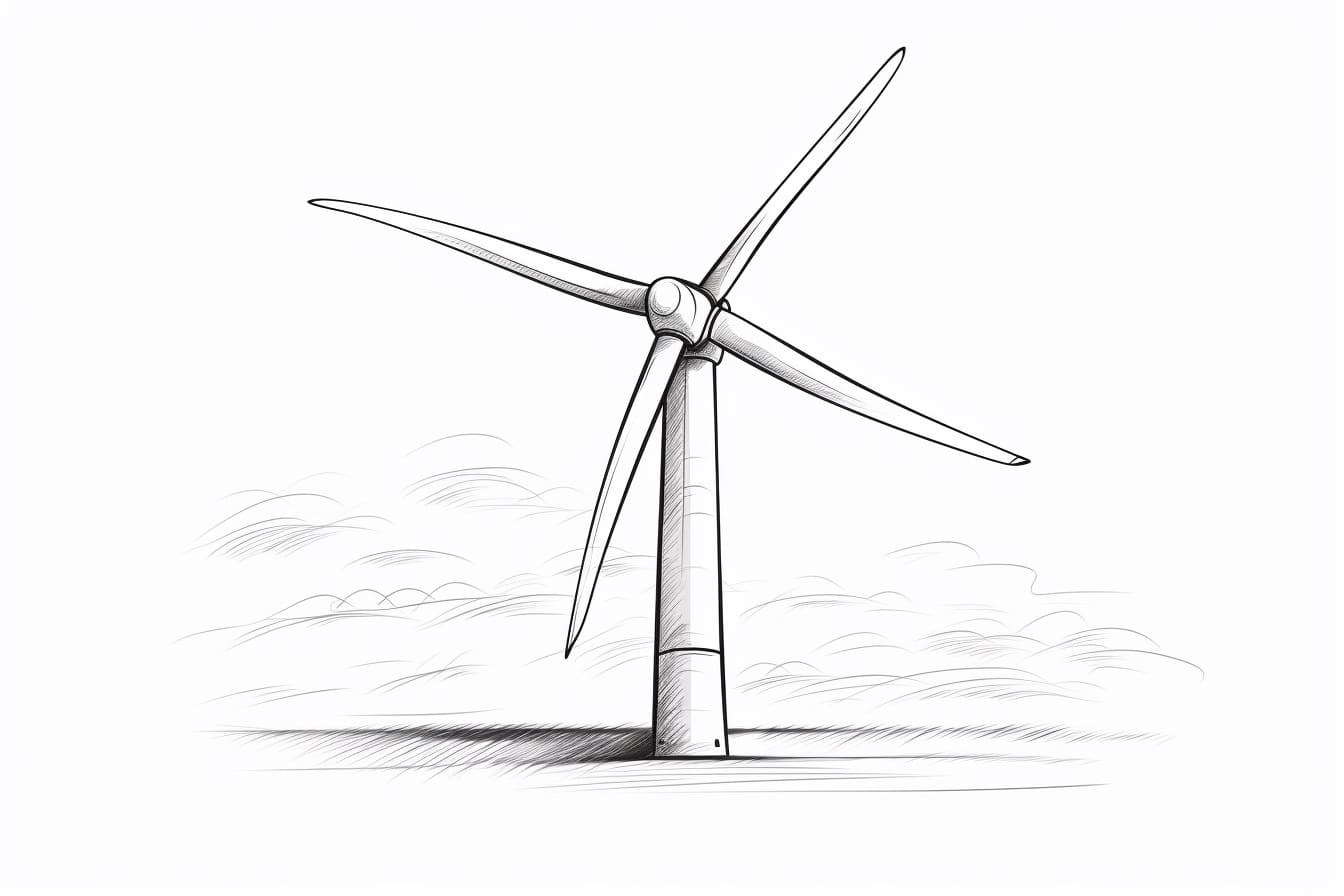
Welcome to this step-by-step guide on how to draw a wind turbine. In this tutorial, you will learn how to create a detailed and realistic drawing of this renewable energy source. Whether you are an aspiring artist or just someone looking to improve their drawing skills, this tutorial is perfect for you. So let’s get started!
Materials Required
Before we begin, let’s gather the materials you’ll need for this drawing:
- Drawing paper
- Pencil (HB or 2B recommended)
- Eraser
- Ruler
- Compass
- Drawing pens or fine liners (optional)
- Colored pencils or markers (optional)
Make sure you have all these materials ready before moving on to the next steps.
Step 1: Sketch the Base and Tower
Start by sketching the base and tower of the wind turbine. Use your ruler to draw a horizontal line in the center of your paper. This line will serve as the base. Then, draw a vertical line above the base line to create the tower. Adjust the length and height of the tower as per your preference, keeping in mind the proportions.
Step 2: Add the Blades
Extend three lines outward from the top of the tower to create the blades of the wind turbine. These lines should be evenly spaced and angled slightly upwards. Use your ruler and compass to achieve precision in your drawing. Remember that the length of the blades can vary, so feel free to experiment and find the proportions that you like best.
Step 3: Refine the Base and Tower
Refine the base and tower of the wind turbine by adding more details. Study reference images or real wind turbines for inspiration on how to make your drawing accurate. Add support beams, bolts, and other structural elements to make the tower look realistic. Use your ruler and compass to maintain straight lines and precise angles.
Step 4: Add Details to the Blades
Next, add details to the blades of the wind turbine. Draw lines along the length of each blade to represent the segments or panels. These lines should radiate from the center of the blades and extend all the way to the edges. Again, refer to reference images to ensure accuracy in your drawing.
Step 5: Draw the Nacelle
Proceed to draw the nacelle, which is the housing at the top of the tower where the blades are connected. Use your ruler to draw a rectangular shape, slightly wider than the tower, at the top of the tower. Then, create a smaller rectangle on top of the first one to represent the front face of the nacelle. Add details like windows, vents, and doors to make the nacelle more realistic.
Step 6: Add the Spinner and Hubs
Draw the spinner and hub assembly at the center of the nacelle. Start by drawing a circle at the center of the smaller rectangle you just created. This circle represents the spinner. Then, draw three smaller circles evenly spaced around the spinner to represent the hubs where the blades are attached.
Step 7: Add Finishing Details
Lastly, add finishing details to your wind turbine drawing. Refine the shapes and proportions of the different components. Add shading and texture to give depth and dimension to your drawing. You can use pencils, pens, or markers to add color if desired. Experiment with different techniques to create a realistic and eye-catching drawing.
Congratulations! You have successfully drawn a wind turbine. By following these steps and practicing regularly, you can continue to improve your drawing skills and create more detailed and intricate artworks.
Conclusion
Drawing a wind turbine may seem complex at first, but by breaking it down into simple steps, anyone can create a beautiful and realistic drawing. Remember to gather the necessary materials, take your time, and enjoy the process. Practice regularly, and soon you will be able to draw wind turbines with ease. Keep experimenting with different techniques and approaches to develop your own unique style. So grab your paper and pencil, and let your creativity soar as you draw your very own wind turbine!