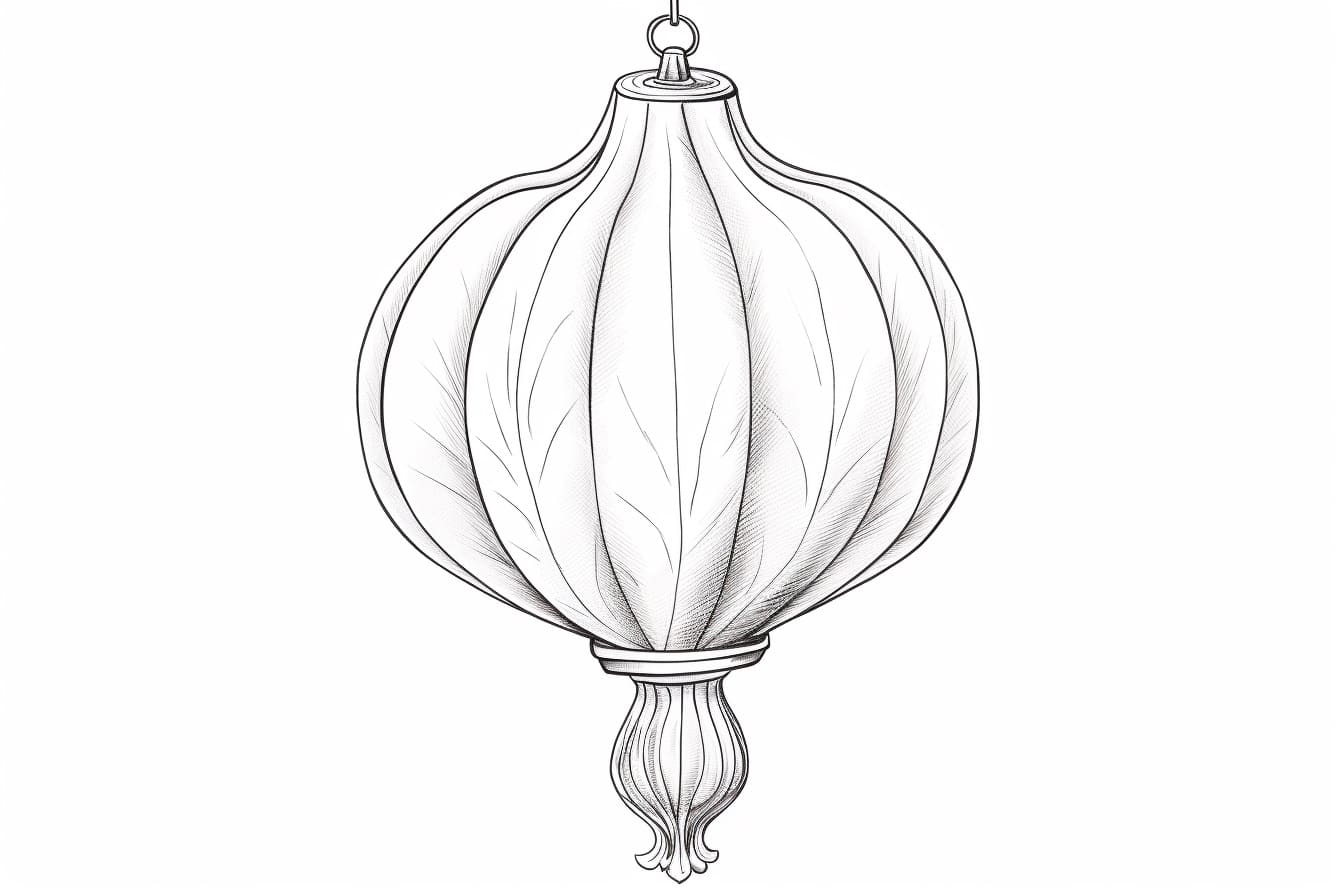
Chinese lanterns are beautiful decorative items that are commonly seen during festive occasions such as Chinese New Year and the Lantern Festival. These lanterns are not only visually appealing but also hold cultural significance. If you’re interested in learning how to draw a Chinese lantern, you’ve come to the right place! In this step-by-step guide, I will walk you through the process of drawing a Chinese lantern with clear and concise instructions. So grab your drawing materials and let’s get started!
Materials Required:
- A pencil
- Eraser
- Drawing paper
- Fine-tipped black marker or pen
- Colored pencils or markers (optional)
Step 1: Draw the Lantern Frame
Start by drawing a vertical line in the center of your paper. This line will act as the main support of the lantern. Then, draw a horizontal line across the top of the vertical line, creating a T-shape. This horizontal line will serve as the top frame of the lantern. Next, draw two diagonal lines extending from the top corners of the vertical line to the ends of the horizontal line. These lines will form the sides of the lantern.
Step 2: Add Side Frames
To give your lantern dimension, draw two additional diagonal lines on each side of the lantern. These lines should connect the ends of the horizontal line to the bottom of the vertical line. These lines will create the side frames of the lantern.
Step 3: Create the Bottom Frame
To complete the basic structure of the lantern, draw a horizontal line at the bottom of the vertical line, slightly longer than the top frame. This line will form the bottom frame of the lantern.
Step 4: Sketch the Curved Shape
Now it’s time to add the characteristic curved shape of the Chinese lantern. Starting from the top frame, draw a curved line that follows the outer edges of the lantern frame, connecting all the corners. This curved line should be smooth and even, giving your lantern a rounded appearance.
Step 5: Draw the Lantern Handle
Chinese lanterns typically have handles attached to the top frame for carrying or hanging. To draw the handle, start from the top of the lantern and sketch a slightly curved line extending upward. Then, draw a parallel line to connect the top of the curved line with the lantern frame. Finally, complete the handle by drawing another slightly curved line connecting the end of the parallel line to the top frame of the lantern.
Step 6: Add Decorative Elements
Chinese lanterns are often adorned with beautiful patterns and designs. Let your imagination run wild and add your own personal touch to the lantern. You can draw intricate floral patterns, geometric shapes, or anything that inspires you. Use a fine-tipped black marker or pen to add these decorative elements. If you prefer, you can also use colored pencils or markers to bring your lantern to life with vibrant colors.
Step 7: Erase Unnecessary Lines
Once you are satisfied with your lantern drawing, carefully erase any unnecessary lines that you may have used as guidelines. Take your time and use a gentle touch to avoid smudging or damaging your artwork.
Step 8: Shade and Highlight (Optional)
If you want to add depth and dimension to your lantern drawing, you can choose to shade certain areas and add highlights. This step is optional but can enhance the overall appearance of your artwork. Use your colored pencils or markers to lightly shade the areas that would naturally be in shadow. Then, use a white colored pencil or marker to add highlights to the areas that would catch the light.
Conclusion
Drawing a Chinese lantern may seem challenging at first, but with the right guidance, it becomes an enjoyable and rewarding experience. By following these step-by-step instructions, you can create a beautiful Chinese lantern drawing that showcases your artistic skills. So grab your drawing materials, let your creativity flow, and have fun bringing the charm of Chinese lanterns to life on paper!
Tags
drawing, art, Chinese culture, lanterns