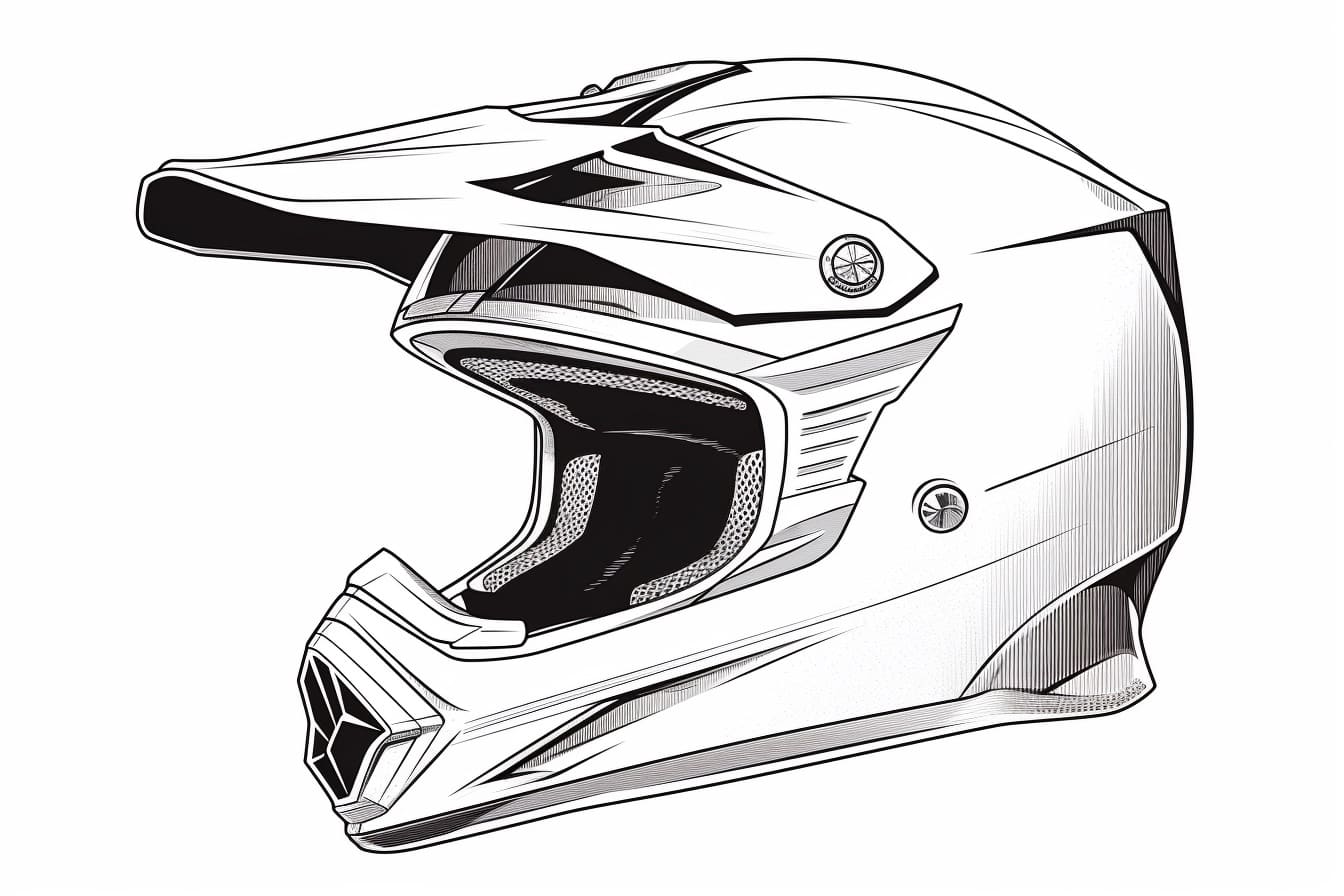
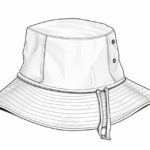
Welcome to this step-by-step tutorial on how to draw a dirt bike helmet. Whether you’re an aspiring artist or just a dirt bike enthusiast, this guide will walk you through each stage of the drawing process in a clear and concise manner. So grab your pencil and paper, and let’s get started!
Materials Required:
Before we dive into the drawing process, let’s gather all the materials you’ll need:
- Pencil
- Paper
- Eraser
- Ruler
- Colored pencils or markers (optional)
- Reference image of a dirt bike helmet (optional)
Now that we have all the materials ready, let’s begin drawing our dirt bike helmet!
Step 1: Outline the Shape
Start by lightly sketching an oval shape in the center of your paper. This oval will serve as the base of the helmet. Use your ruler if needed to ensure the shape is symmetrical and proportionate. Don’t worry about making it perfect at this stage, we can refine it later.
Step 2: Draw the Visor
Just above the oval shape, draw a curved line to represent the visor of the helmet. The visor usually extends slightly forward to protect the rider’s eyes. Make sure to leave enough space for the rider’s face inside the helmet.
Step 3: Add the Side Vents
On either side of the helmet, draw two small rectangles to represent the side vents. These vents provide ventilation and airflow inside the helmet. Position them slightly below the top edge of the helmet, towards the back.
Step 4: Sketch the Details
Now it’s time to add some details to our dirt bike helmet. Start by sketching the straps that secure the helmet in place. Draw two curved lines extending from the sides of the helmet, crossing at the bottom of the oval shape. Then, add buckle-like shapes at the end of each strap.
Step 5: Define the Design
Next, let’s define the design of our helmet. You can get creative with this step by adding patterns, decals, or any other unique elements you prefer. Take reference from real dirt bike helmets or let your imagination run wild. Remember to sketch lightly and make any necessary adjustments along the way.
Step 6: Refine the Shape
Go back to the initial oval shape and start refining it to give the helmet a more three-dimensional look. Use curved lines to add depth and contours, following the shape of the helmet. Pay attention to the curves and angles as they play a vital role in making the drawing realistic.
Step 7: Add Shading and Highlights
To add depth and dimension to your drawing, add shading and highlights. Determine the direction of light source and darken the areas that would be in shadow. Use your pencil to gently shade those areas, gradually building up the darkness. Add highlights by leaving some areas white or lightly erasing to create a reflective effect.
Step 8: Optional Coloring
If you want to take your drawing to the next level, you can use colored pencils or markers to add color to your dirt bike helmet. Choose colors that suit your design and preferences. Remember to start with light layers of color and gradually build up to achieve the desired effect.
Conclusion
Congratulations! You have successfully learned how to draw a dirt bike helmet. By following these step-by-step instructions and unleashing your creativity, you’ve created a realistic and eye-catching representation of a dirt bike helmet. Keep practicing and exploring different designs to further enhance your drawing skills. Happy drawing!

