Drawing the human armpit may not be the first subject that comes to mind when considering artistic subjects, but this often-overlooked area of the body can offer a fascinating challenge and opportunity for artistic expression. The armpit, with its intricate anatomy and unique contours, presents a rich and dynamic subject for artists to explore. From the interplay of light and shadow on the skin to the subtle curves and creases that define its shape, capturing the armpit in a drawing can be a rewarding exercise in observation and technique. In this guide, we will delve into the art of drawing the armpit, exploring techniques for rendering its form and texture with accuracy and skill. Whether you are a beginner looking to improve your drawing abilities or a seasoned artist seeking a new creative challenge, mastering the art of drawing the armpit can expand your artistic repertoire and deepen your appreciation for the human form.
Materials Required
To draw an armpit, you will need the following materials:
- Drawing paper or sketchbook
- Pencils (different grades for shading and detailing)
- Eraser
- Blending tools (such as blending stumps or tortillons)
- Reference photo of an armpit for accuracy
- Optional: colored pencils or markers for added detail or color
These materials will help you accurately depict the textures and shading of an armpit in your drawing.
How to Draw an Armpit: a Step-by-step Guide
Drawing an armpit can be a challenging task due to its complex anatomy and shadows. Here is a step-by-step guide to help you tackle this subject:
Step 1: Understanding the Anatomy
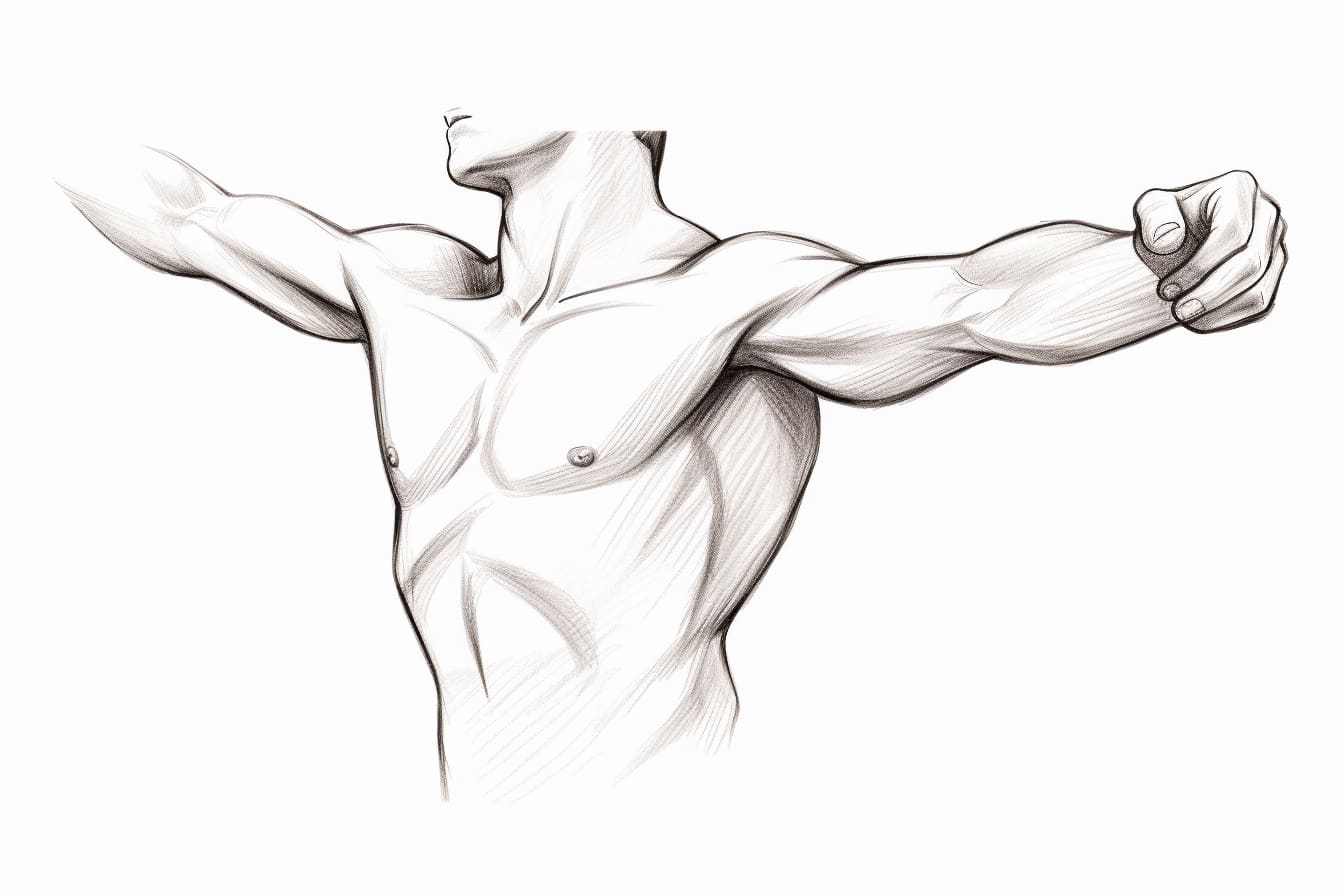
Before you start drawing, it’s important to understand the basic anatomy of the armpit. The armpit is a concave area located beneath the shoulder joint where the arm meets the torso. It contains muscles, fat, hair follicles, sweat glands, and lymph nodes.
Step 2: Sketch the Basic Shapes
Begin by lightly sketching the basic shapes of the armpit area. Use simple shapes like circles and ovals to outline the general structure of the armpit, including the shoulder, upper arm, and torso.
Step 3: Add Details
Once you have the basic shapes in place, start adding more details to your drawing. Add the contours of the muscles, the curve of the armpit, and any visible hair follicles or sweat glands. Pay attention to the shadows and highlights in the armpit area to create depth and dimension.
Step 4: Focus on Shadows and Highlights
Shading is crucial when drawing an armpit to create a realistic look. Observe the light source in your drawing and determine where the shadows fall. Darken those areas to create depth. Add highlights to areas where light hits the skin to make it look more three-dimensional.
Step 5: Refine Your Drawing
Continue to refine your drawing by adding more details and textures to the armpit area. Pay attention to the skin texture, wrinkles, and any other distinguishing features. Take your time to make sure all the elements come together cohesively.
Step 6: Final Touches
Once you are satisfied with the overall look of your drawing, make any final touches to enhance the realism of the armpit. Add small details like veins, pores, or fine hairs to make your drawing more lifelike.
Step 7: Evaluate and Adjust
Take a step back and evaluate your drawing. Look for any areas that may need adjusting or refining. Make any necessary corrections to ensure your drawing accurately captures the anatomy and details of the armpit.
By following these steps and practicing regularly, you can improve your ability to draw an armpit realistically and with confidence.
Conclusion
In conclusion, mastering the art of drawing an armpit requires careful observation, understanding of anatomy, and practice. By focusing on the unique shapes, textures, and shadows found in the armpit area, artists can create realistic and detailed representations. Remember to experiment with different techniques and materials to bring depth and dimension to your drawings. With dedication and patience, you can elevate your artistic skills and capture the intricacies of the armpit in your artwork.
Fun Facts About Armpits
- Armpits contain a large number of sweat glands, with each armpit housing around 20 to 40 sweat glands per square inch.
- The scent of body odor produced by armpits is actually odorless. The characteristic smell is created when bacteria on the skin break down the proteins and acids in the sweat.
- Armpits are one of the warmest parts of the body, creating an ideal environment for bacteria to thrive and contribute to body odor.
- Shaving or removing armpit hair can actually make body odor more noticeable, as the hair helps to wick sweat away from the skin and allows it to evaporate more easily.
- Armpits are a common location for the formation of sweat stains on clothing due to the high concentration of sweat glands in the area.
- In some cultures, body odor from armpits is considered attractive or even arousing, as it is believed to contain pheromones that play a role in sexual attraction.
- The practice of using deodorants and antiperspirants to control body odor is relatively modern, with commercial deodorants becoming widely available in the early 20th century.
- Armpits can be a sensitive area for some individuals, as the skin in this area is thinner and more prone to irritation from shaving, friction, or certain products.
- Some people experience excessive sweating in their armpits, a condition known as hyperhidrosis, which can significantly impact their daily lives and self-confidence.
- Armpits can also be a site for medical conditions such as hidradenitis suppurativa, a chronic skin condition characterized by painful lumps and abscesses in the armpit area.
Suggestions for Scenes and Settings for Armpit Drawings
Of course! Here are some specific suggestions for scenes and settings for drawings of an armpit:
- Underarm Oasis: Create a lush, tropical paradise inside the armpit complete with palm trees, a waterfall, and exotic flowers.
- Armpit Galaxy: Imagine the armpit as a vast, star-filled galaxy with planets and constellations twinkling within its depths.
- Armpit Jungle Adventure: Draw a dense jungle scene inside the armpit with wild animals, vines, and hidden treasures waiting to be discovered.
- Armpit Cityscape: Transform the armpit into a bustling cityscape with skyscrapers, bustling streets, and tiny cars navigating the urban landscape.
- Armpit Beach Vacation: Picture a sunny beach scene inside the armpit with golden sand, crystal-clear water, and colorful umbrellas dotting the shore.
- Armpit Wonderland: Create a whimsical wonderland inside the armpit with whimsical creatures, candy-colored landscapes, and fantastical elements.
- Armpit Space Station: Design a futuristic space station inside the armpit complete with astronauts, space shuttles, and high-tech equipment.
- Armpit Pirate Cove: Draw a pirate cove scene inside the armpit with a pirate ship, hidden treasure chests, and a stormy sea.
- Armpit Zen Garden: Imagine a tranquil Zen garden inside the armpit with raked sand, bonsai trees, and peaceful meditation spots.
- Armpit Time Machine: Create a time-travel themed scene inside the armpit with different eras and historical events unfolding in each corner.
Feel free to let your imagination run wild and have fun exploring these unique and creative settings for your armpit drawings!