Welcome to this step-by-step guide on how to draw a calculator. Whether you’re an aspiring artist or simply looking for a fun drawing project, drawing a calculator can be a rewarding experience. In this tutorial, I will walk you through the process in a clear, clean, and concise manner.
Materials Required
Before we begin, make sure you have the following materials:
- A pencil
- A sheet of paper
- An eraser
- A ruler
- Coloring tools (optional)
Now that we have everything we need, let’s get started!
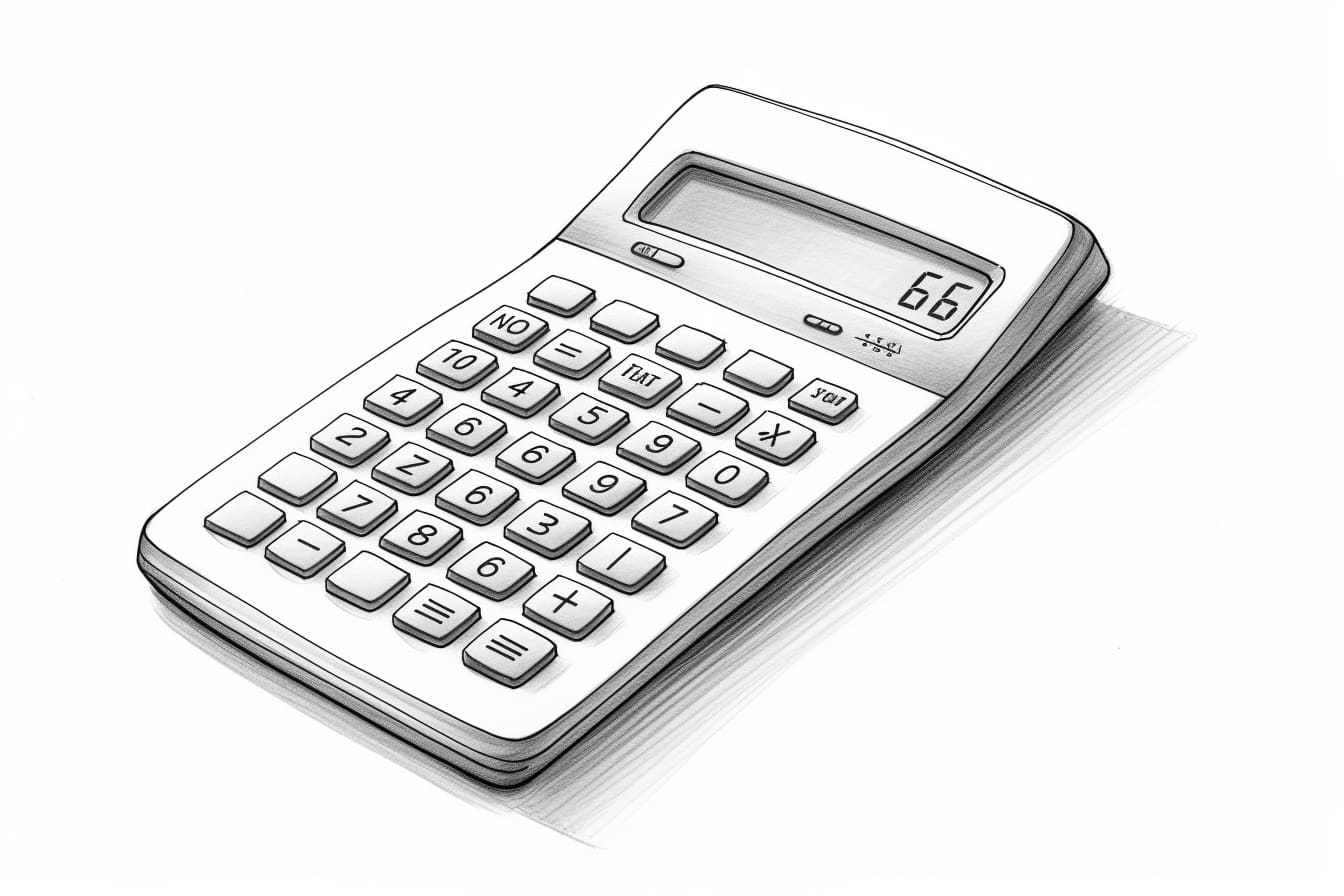
Step 1: Draw the Basic Shape
To begin, we will draw the basic shape of the calculator. Start by drawing a rectangle in the center of your paper. This rectangle will serve as the main body of the calculator. Use your ruler to ensure that the lines are straight and even.
Step 2: Add the Display
Next, let’s draw the display of the calculator. Inside the rectangle, draw another smaller rectangle that will represent the screen. To make it look more realistic, you can round the corners of the screen. Again, use your ruler to keep the lines straight.
Step 3: Draw the Buttons
Now it’s time to draw the buttons on the calculator. Along the bottom edge of the rectangle, draw a row of square or rectangular shapes, evenly spaced apart. These will be the number buttons. Above the number buttons, draw a few additional buttons for functions such as addition, subtraction, multiplication, and division.
Step 4: Add Details
To make the calculator look more realistic, we need to add some details. Draw a line around the edges of the calculator to define its shape. You can also add small circles or dots inside the number buttons to represent the individual keys.
Step 5: Erase Unnecessary Lines
Now that we have drawn all the necessary elements, it’s time to clean up our drawing. Use your eraser to carefully remove any unnecessary lines, such as the construction lines we used in the earlier steps.
Step 6: Color Your Drawing (Optional)
If you want to add some color to your drawing, now is the time to do so. Use your coloring tools to fill in the buttons and add shading to give the calculator a three-dimensional appearance. You can choose any colors you like, but most calculators have buttons in shades of gray or black.
Conclusion
Congratulations on completing your drawing of a calculator! Remember, practice makes perfect, so don’t be discouraged if your first attempt isn’t exactly how you envisioned it. With time and practice, you will improve your drawing skills. I hope you enjoyed this tutorial on how to draw a calculator. Happy drawing!